Race Taper, Day before, pre, warm-up, final details
Race training taper & details of the final days
Reviewing the final taper and key details in the days and hours before a goal race.
Tapering before competition
The thing to remember is that, in the crudest terms, to train is to stress the body through exercise, before allowing it sufficient time to recover and rebuild itself in a stronger form. Without sufficient rest, training is pointless.
Tapering should occur in the final phase of training before a major goal.
During this period the volume of work is slowly reduced as your objective approaches. Although you will still be doing quality training, the aim is to ensure that you arrive at the start line with your body working optimally.
A full taper is something that should be attempted only a few times a year, as it involves a significant reduction in training volume, but part-tapers of shorter terms can be used on a more regular basis.
With one week to go, training is finished and it is highly improbable that you will generate more form in this period through more training. It is, however, very easy to compromise your condition in this final week by trying to do too much.
During the taper week you should start to feel fresh and alert and have an increasing sense of well-being, so hard training would be both no problem and psychologically satisfying to one’s ego. However, you must resist the urge to do more than has been planned for the taper period. In this phase, less is definitely more.
A typical taper week involves about 60 per cent of the usual intensity and volume of training and exercises that are more about technique at high powers than overloading the body.
The final details
Best way of dealing with the details is to make as many of the decisions that need to be made, in advance, by mapping out how you want the week to go.
In the taper week you should take the time to plan your rest periods and not just sleep. Also, think carefully about your diet, to give your body all the building blocks necessary to repair cell damage and store sufficient fuel for the race itself. However, keep an eye on the overall volume of food consumed for the majority of the week, remembering that you are only using about 40 per cent of the calories you would normally require when training.

The day before
This short period is where all your hard work can be lost through needless mistakes. We’ve seen it happen many times at World Championships and other events, when all the details haven’t been worked out and people start running around at the last moment like headless chickens.
To give you an example of how to attempt to avoid such a predicament, here are a few of the questions looking to seek answers to well before a race:
Week
Weeks or sometimes months before the day ascertain whether: it is necessary to see the race circuit in order to make basic equipment selections such as chaining sizes, sprocket choice and tire selection. This recon also gives you a mental image of the challenge to be faced that can be used in training. Quite often this information will influence the type of exercises that are done and the roads choosen for them.
- The day before the race ride the circuit again and see how barrier placement has affected the corners, work out a racing line and consider how rain would affect the surface. Do this alone, absorbing as much information as possible.
- If possible, see where the signing-on area will be and check the distance between the start and the team parking area so that when I arrive on the day you will be familiar with the environment in which you will be working.
- On returning to the hotel, give final instructions to the mechanics on gear and tyre choice. If in any doubt about tires, always opt for the ‘safer’ road models.
- That evening have a quick meeting with staff, including: mechanic, soigneur and the team director to make sure everyone knows who is doing what the following day. Work out what equipment, clothing and food you will use after seeing the start time.
The big day
Here is a sample of a typical day, if the start was at 4pm, would look like this:
- 8am: breakfast.
- 10am: one hour on bike usually on the circuit with some small efforts.
- 11:30am: sleep or read, put race numbers on, pack race bag
- 1pm: light lunch of pasta, omelette and snack.
- 2:30pm: arrive at start area, sign on and get the official start time, checking how long it will take to get to the start line from the warm-up area. Return to bus and lay out race kit; have a read to stay relaxed.
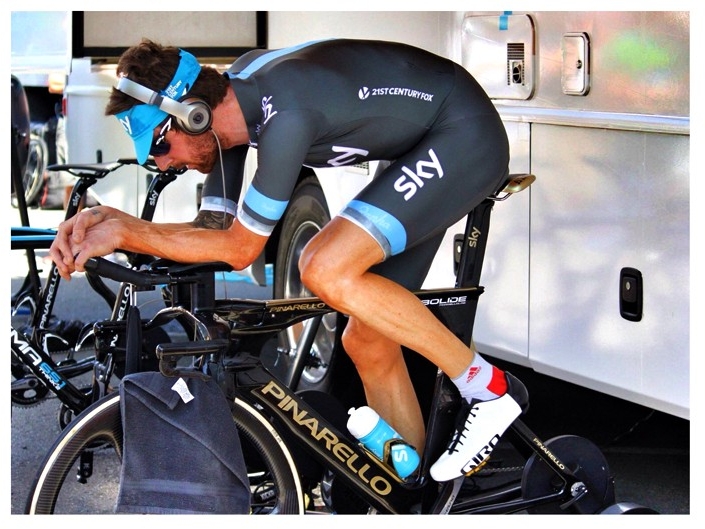
- 3:20pm: get ready for warm-up.
- 3:30pm: get on rollers for 20 minutes progressive warm-up (see Warmups below),
- 3:50pm: finish warm-up, towel down, put helmet, glasses and mitts on.
- 3:52pm; roll to start.
- 4pm: race.
Obviously, this is an example, but a structured approach is sound for any discipline and it definitely reduces the possibility of disaster.
Warm-ups
A few pointers here; the warm-up is just that, to warm-up muscles. It is not designed to give nervous people something to do to kill time.
In a stressful environment it is the hardest thing in the world to do nothing, so have a book or magazine with you to help pass the time.
You may want to vary the length of time you spend warming up to suit your needs, but having — over more than a decade of trial and error —minutes before the start. I have arrived at the following procedure:
Around 20 minutes total time, stopping about 10 minutes before the start of race or when needing to go to staging.
Equipment
Use a static trainer for warm-ups. This useful piece of equipment allows two things:
- Visualize the race route and focus on how you are going to tackle it physically, mentally and technically, without interruption or undue distractions
- Undergo a repeatable and controlled warm-up every time, regardless of the surrounding terrain or weather. There is also no significant wind-chill factor on a static trainer, allowing warm-ups that are short and effective and keeping energy reserves for the race.
Protocol
Regarding the intensity of the warm-up, a progressive approach works best. Beginning at a cadence of more than 100 rpm, with five minutes going from stationary to lower level 1 (a low heart rate) 5 minutes progressing from here to upper level 2 and five minutes going touch level 3, or tempo pace. Then progress to level 4 or time trial pace for two minutes before doing two 10″ sprints at a high cadence with about one minute between each before winding down in the final minute. The sprints help to stop the starting effort from coming as a shock.
Your pulse during the warm-up will vary too. If fresh, it will probably be much higher than normal; this is good. In the middle of a stage race the opposite will be true so don’t forget this is also normal and everyone will be the same.
Your sport, your responsibility
This is your ‘sporting career’, so take charge of it. Make yourself responsible for planning, organizing and delegating what has to be done Never assume that someone else will do it.
- If you have the chance, memorize the race route, or key parts of it
- Give yourself time to plan. Get used to making notes and timetable so everyone knows what their responsibilities are.
- Good communication is a key element in any strategy. For a professional rider, regular contact with key personnel is crucial and, during the final few days before a main goal, a daily meeting is essential.
- Practice your warm-up so you are comfortable with it on the day.
- Plan in time to fix disasters.
- And finally, if possible, have two of everything, making sure you’re prepared to use the reserve item if the need arises. Good luck.
Psychology
A section on the psychology of the athlete seemed the most appropriate way to outline two philosophical standpoints that are worthwhile adopting in your approach to sport.
• The first standpoint is that not only is it OK to make mistakes, it can even be desire-valuable lessons. The tragedy occurs when you make the same mistake twice.
• The second point to consider is a personal maxim: strive not to be the best, only to be as good as you can be – if you can achieve this, no one can ask any more of you.
In preparing for a major event correctly we have already applied a lot of psychological techniques, namely:
- Structuring our approach to control all the controllable influences on our performance.
- Implementing a communication structure with the key people who will be involved with our training and racing.
- Researching our objectives in order to visualize how we are going to tackle them both technically and physically.
- Keeping detailed records of our training and performances in order to learn from our mistakes and implement the lessons in our future endeavors.
Morale and focussing
Morale is a small word that has a huge effect on performance. By implementing the above strategies, you’ve already gone a long way towards removing a lot of the things that can dent a positive mental approach.
Another maxim, is to try to treat difficult situations – be it a last-minute mechanical failure or adverse weather conditions — as a challenge as opposed to a problem. After all, the only other option is to quit and then you definitely won’t succeed.
It also helps either have someone on hand to remind you of these things when necessary, or alternatively to write down just a few statements of your own, that will help to focus you on the task in hand and put those statements somewhere prominent, perhaps where you will be warming-up before a race.
*Some excerpts from CS July 1999 by Chris Boardman
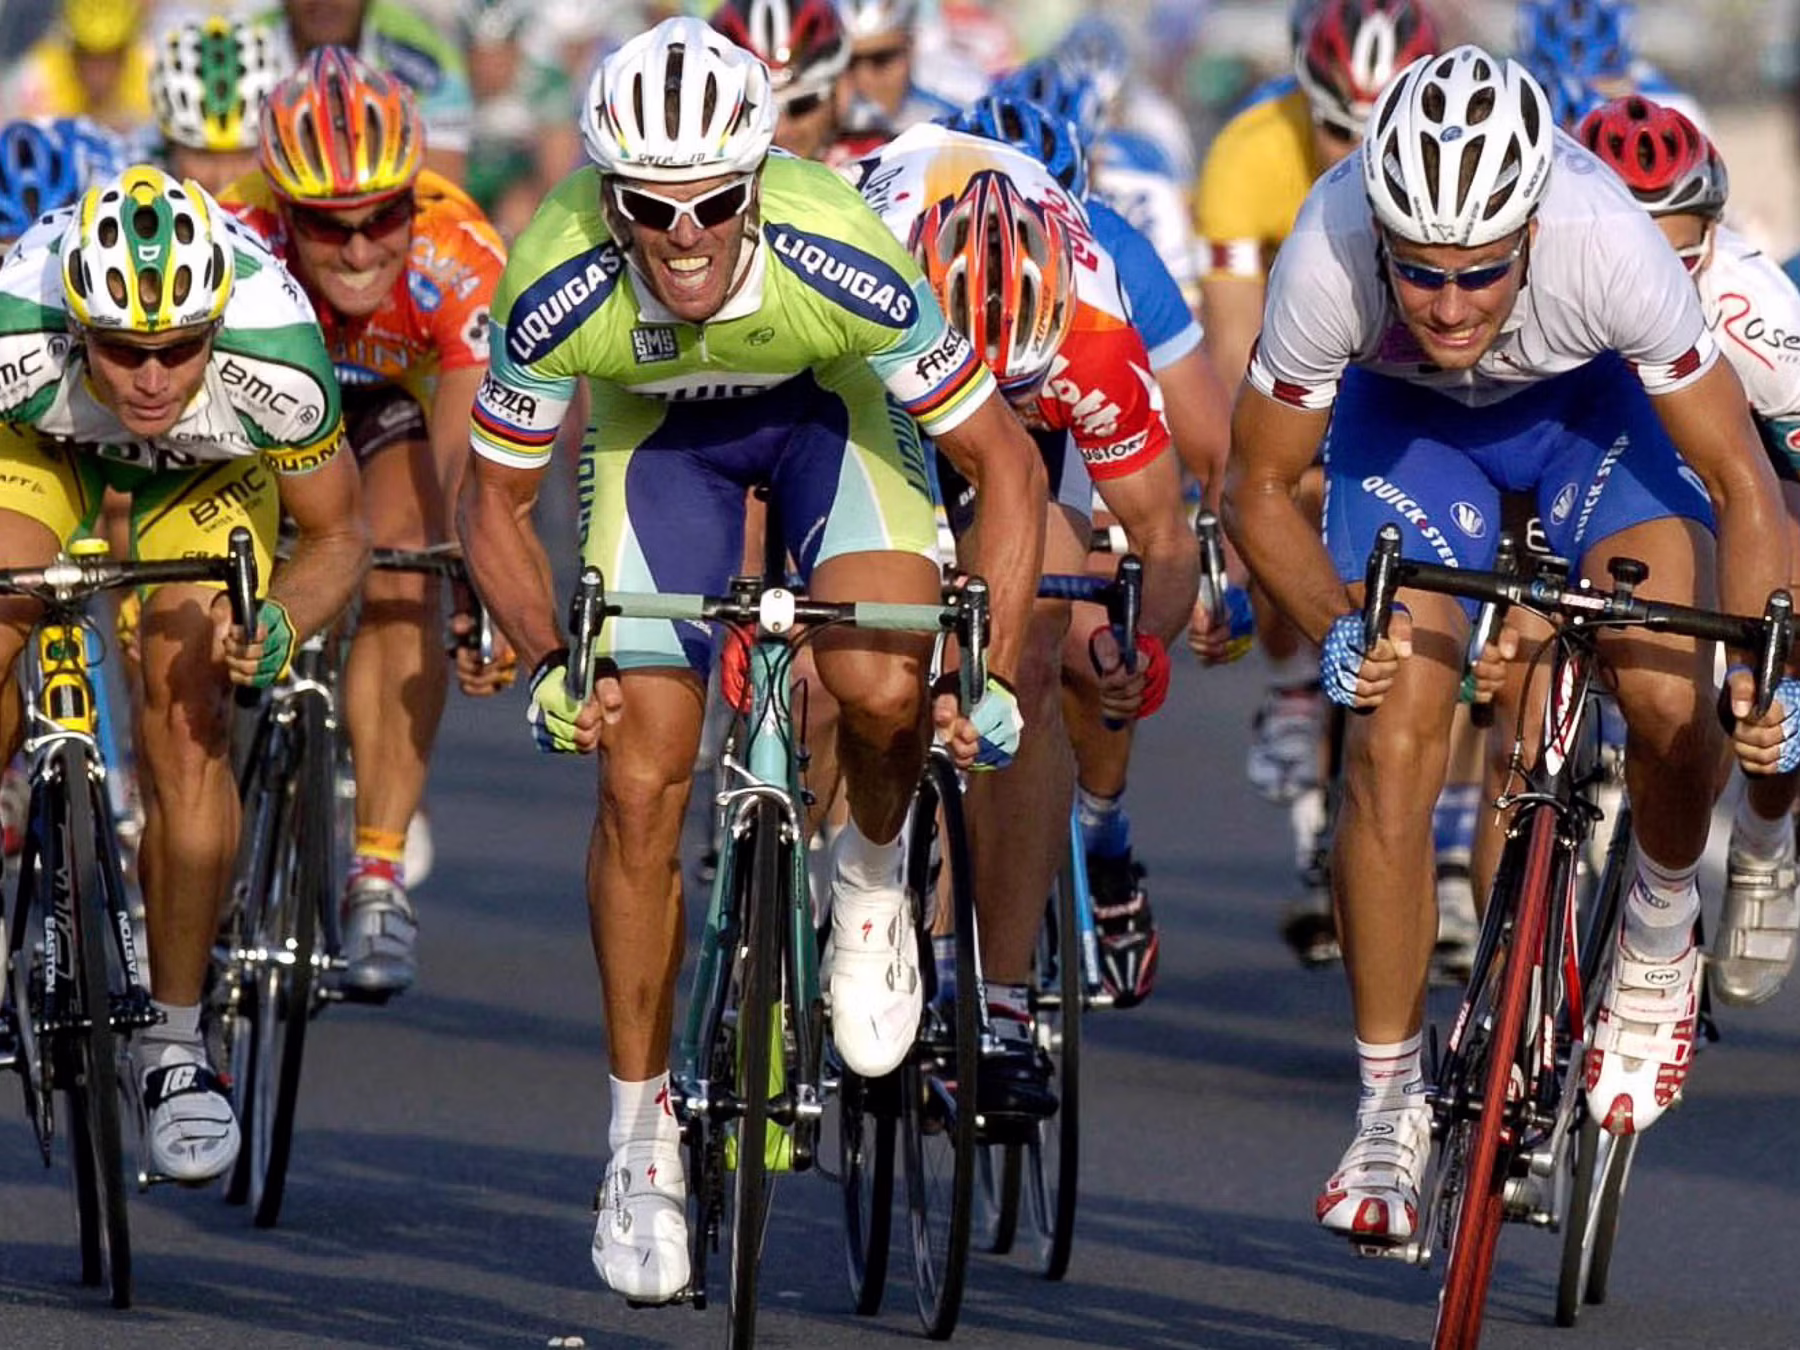
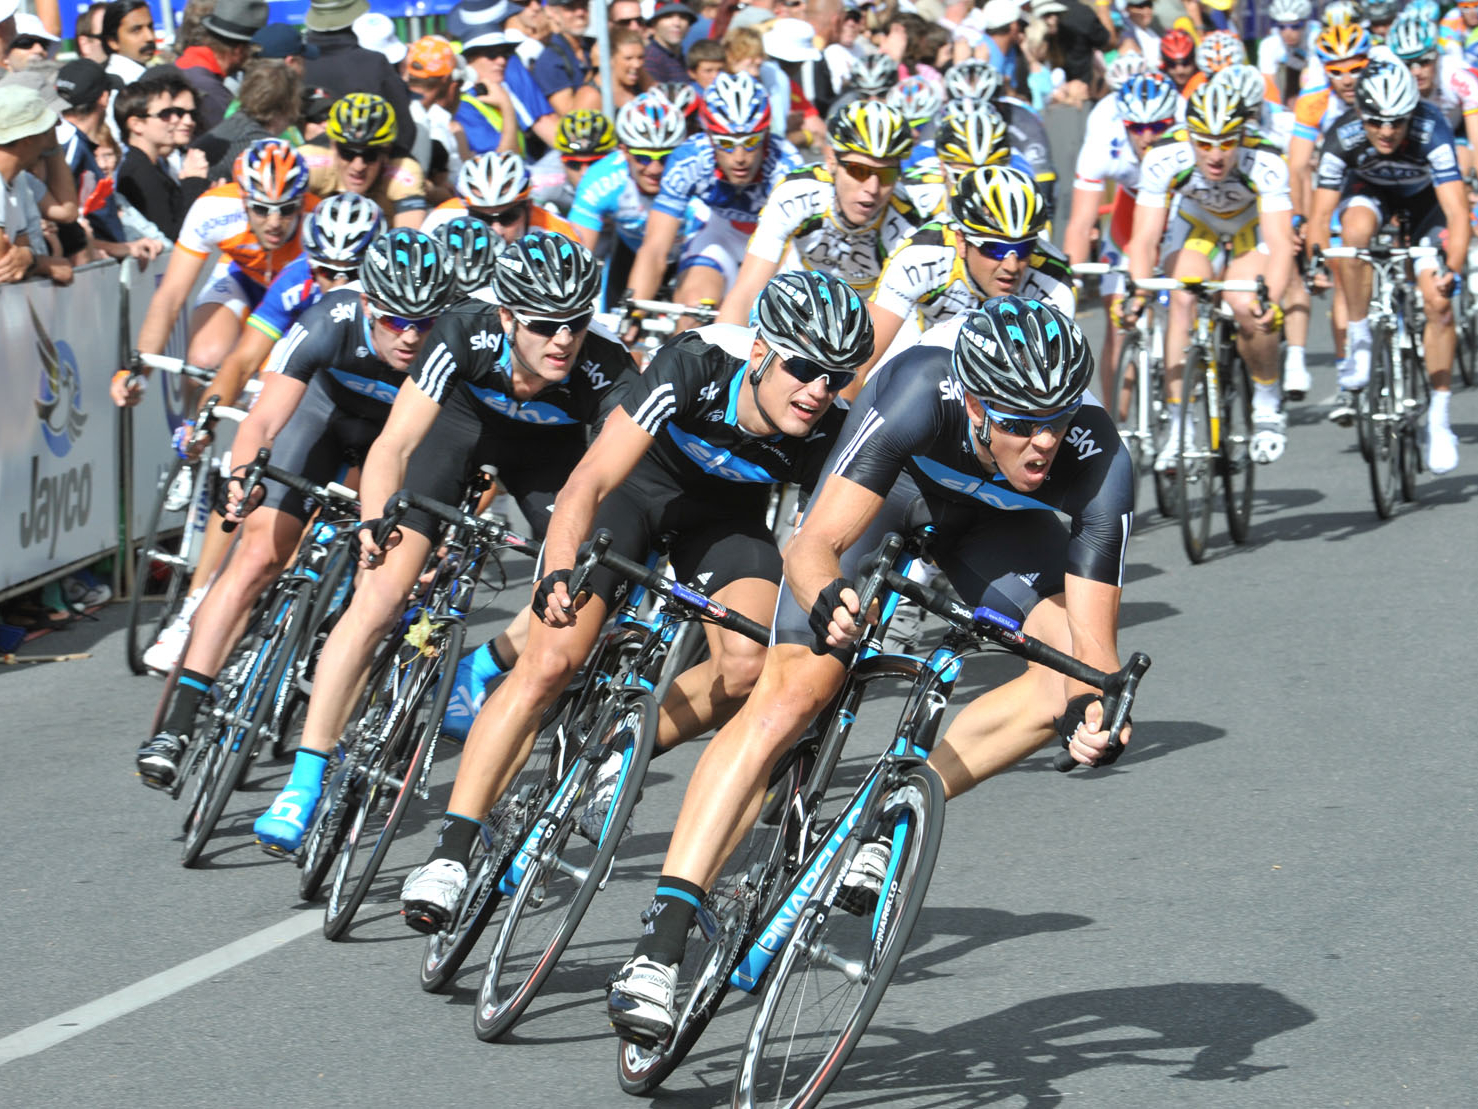
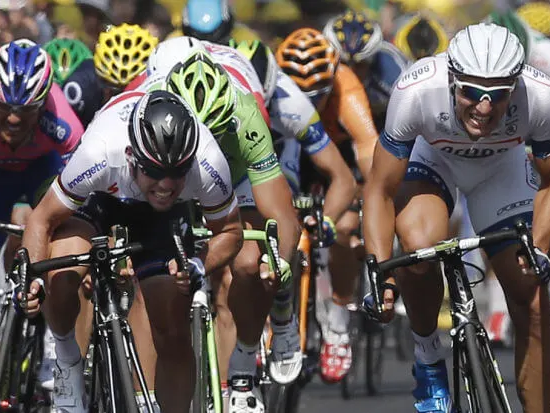
Sprinting
Want to Win, Better Sprint
Key guidelines to optimize sprinting through tactics and technique
Visualize
Use your past experience to get a strong image of what might happen. For big races start visualizing months in advance by seeing just a few seconds of your “movie.” As the race draws near, the movie becames more and more a full-length feature, starring “you”, of course.
Visualize sprints in slow motion, which means that you have time to assess what’s going on around you and make sound decisions. Practice to have superb spatial awareness so you can time and spread your efforts perfectly.
Get to know your competition ... and yourself
Study your opponents’ habits or style. Knowing people’s strengths and weaknesses is very important to being able to beat them. Does someone win by sheer power or by tactical savvy? Are they predictable or do they constantly surprise you? What support do they have from their team?
Five-second peak power is a measure that coaches use to establish sprint potential together with low frontal area put off by physical contact in the sprints. As speed increases, drag goes up exponentially, and a low position creates less drag than other riders, which accounts for the high absolute speed achieved in a sprint.
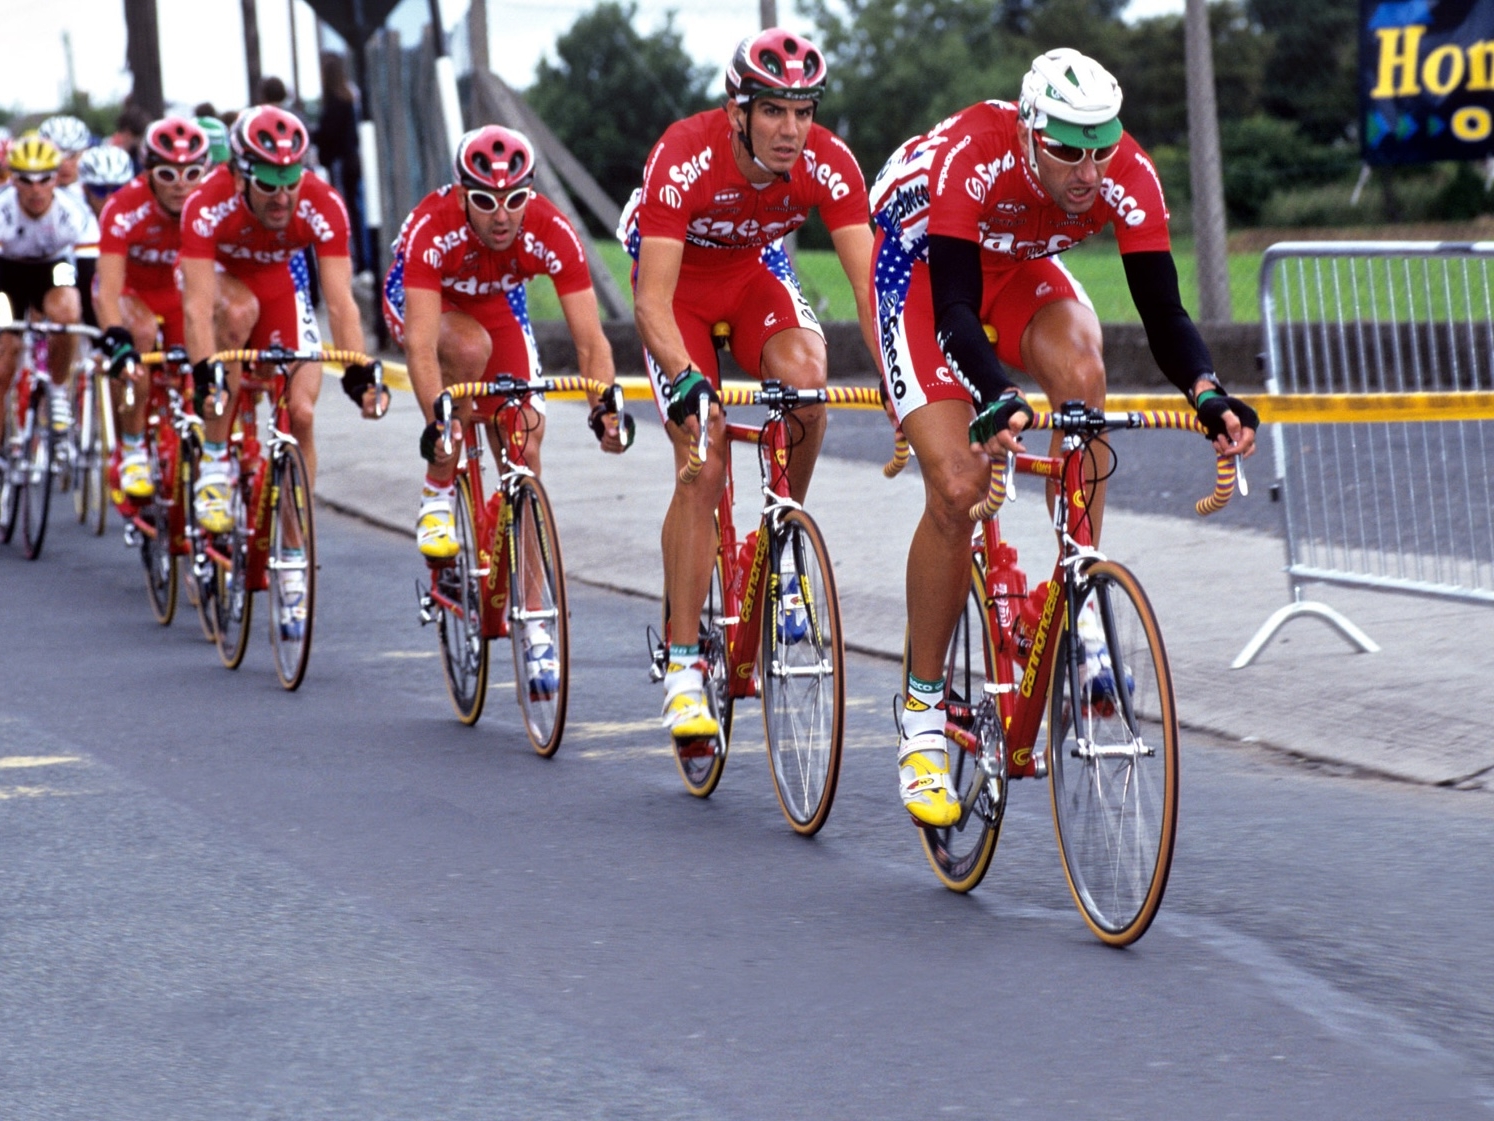
Plan your team or individual strategy ahead of time
Going into a race with a solid strategy is necessary if you are going to come out on top. This doesn’t mean you know or can control the entire race, but planning moves based on past experience and knowledge of the competition will give you an edge. If strong teams are present and you know their patterns, you can take advantage of them. Some courses are difficult enough to break up the race, but most races in America are broken up by tactics, luck or crashes.
Having a plan prepares you for any eventuality and puts you in the driver’s seat.
Break down races into their constituent parts. Always know what is required. Think outside the box, by playing mind games making rivals believe you are going to do “this” and then you do “that”.
Modify your plan as the race progresses
Even the best laid plans need to be altered as the race unfolds. Communicate with your teammates, evaluate your progress and assess the race periodically. If your “sure-fire” strategy falls apart, you still have a chance for glory if you can think fast and react to the ever-changing events of the race.
Practice and perfect your cornering lines throughout the race
Practice during the race! In criteriums, you have the opportunity to fly through the finish many times – when primes are offered or the race is heating up with attacks – get a feel for what it will take to win the race. Try different lines through the turns; try going early or waiting until late. Find the best places to move up, both when the pack is going fast and is stringing out and also when it is bunched up and slower. By the final lap, you should have a sense for what will work.
Natural talent means very little without the desire to work to perfect it, and the physical constitution to support that work. Strive to become a superb bike handler who moves well in the peloton, pedals beautifully and rides in a way that helps absorb knocks and not be put off by physical contact in the sprints
Plan your finishing move
Whether it’s a road race where you have only seen the finish on a course map, or a criterium where you have practiced the finish many times during the race, give yourself some cues to know when to go.
Don't spend all your energy staying on or getting to the front
It is extremely taxing to try to stay in the front third of the field, let’s say from 10th to 30th place, because that’s where everyone wants to be. Toward the end of the race, either try to stay in the top 10 (often with the help of a teammate), or sit back and wait to move up to the front with two to three miles remaining.
It requires skill and momentum to ride up to the front late in the race. When done right, it need not be an exhausting effort. Use other riders’ drafts or their inconsistent cornering to move up quickly. Tagging on to another fast-moving rider is a great advantage, too, but it’s always a good idea to stay close to the riders you’re passing – that way you don’t lose the draft created by the group. Cut to the inside on turns if your cornering ability allows it, because the outside tends to shut down, and you get an accordion effect that might leave you further behind than ahead.
Focus
Focus is so intense in a sprint that time literally slows down, despite the frenetic pace and commotion of the field. A top sprinter has to think on his feet and weigh many options. Control of your mind gives you control of your body. When you focus, you clear your mind of nonessential thoughts. This is the Zen of sprinting
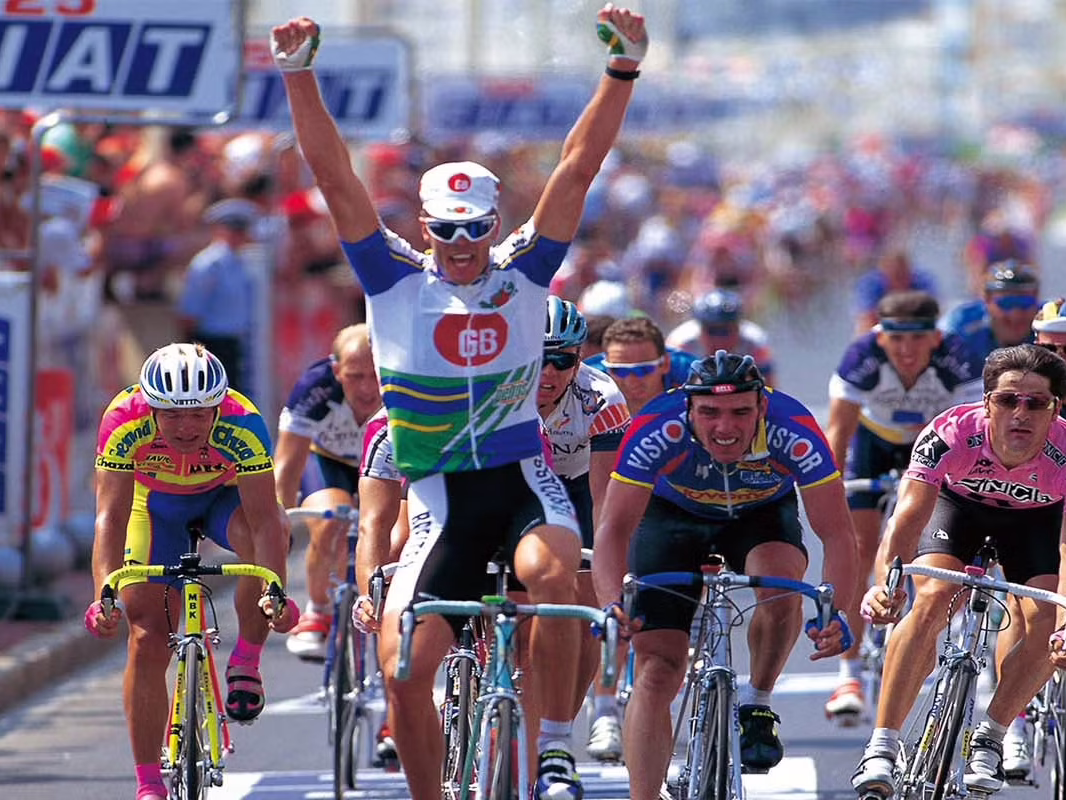
Commit 100 percent when the time comes
Watch track sprinters in the last 200 meters to learn a lesson in commitment. When they go, they give at least 110 percent. Many road riders have a difficult time committing to a sprint, because they have the attitude that there will always be another chance. There are no second chances!
Sprint through the line
The worst way to lose is by easing off too early when you are ahead and then getting beat to the line. Never assume victory until you get through the line. Practicing a good bike throw can’t hurt. Always remember – in sprinting, it all comes down to the line, So be sure to go all the way.
Technique, form and aerodynamics of sprinting
HEADS UP
Sprinting with your head down is an absolute no-no on the track. Not just for safety but helmets aren’t designed to work going full on into the wind. They are shaped to be aerodynamic with your face looking forward. That way the air flows through and over them. If they are full on they just collect air and create loads of extra drag. Sprint with your head up.
SMALL IS BEAUTIFUL
Smaller creates less drag. Get your upper body low, with chest close to the bike’s top tube, reducing drag further. Have a flat back to smooth out the air-flow over it. Also, for side-winds, close the gap between upper body and legs reduces dirty air flow in that area.
HEAD TO HEAD
Having your head sticking up above your torso, not only creates unnecessary drag but it also upsets the flow of air all down your back.
Technique, form and aerodynamics of sprinting (cont.)
ELBOW ROOM
Have upper body and arms not held rigid makes it easy to change direction quickly and absorb knocks. It doesn’t happen on the track because of the short distance, but road sprinters tend to tense up when they get tired. Make sure not to do this.
WHAT A DRAG
When reviewing your body position, make sure to NOT point your feet downwards through the pedal stroke, which increases drag from them and also makes you taller on the bike. This with a head-up position means you have to produce a lot more power to go the same speed as others. Having an upper body angled quite high collects air in the gap between the body and legs. All together making a less efficient position, thus requirement more power for the same outcome.

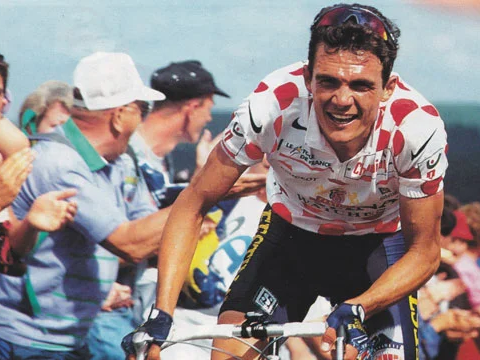
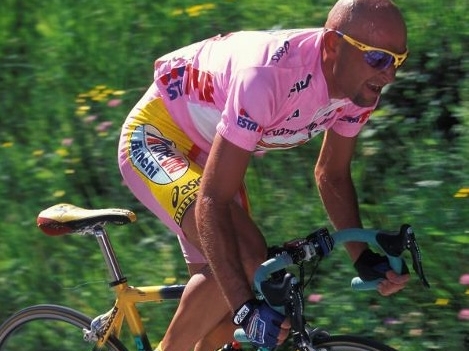
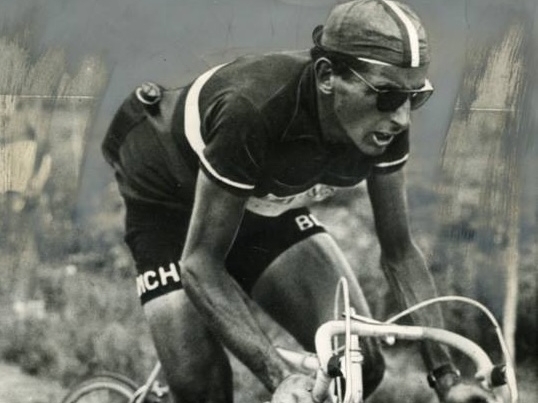
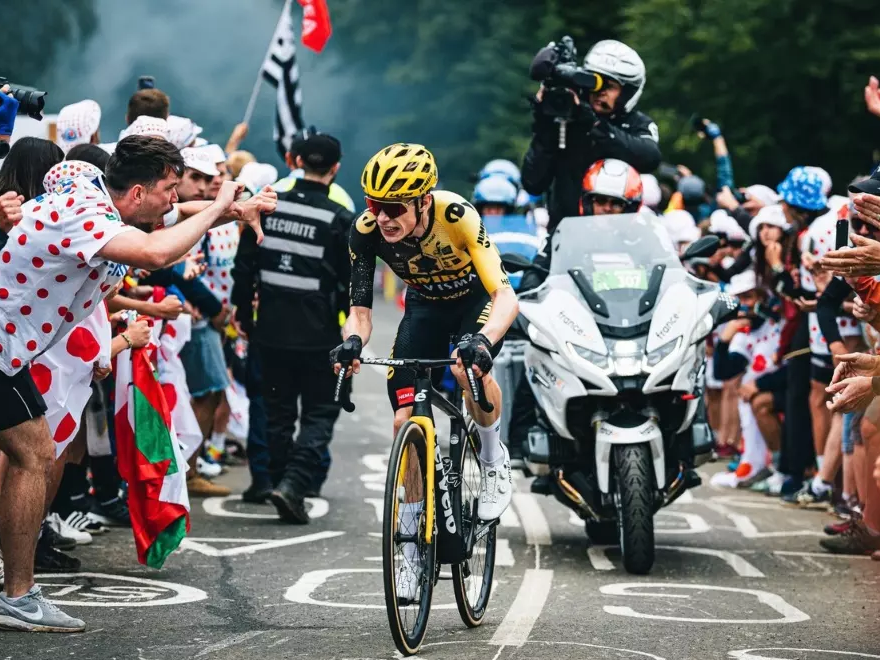
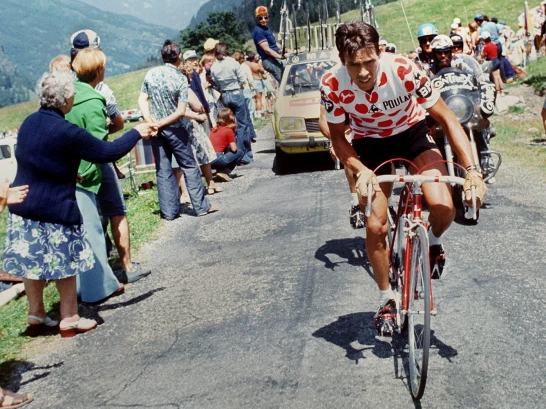
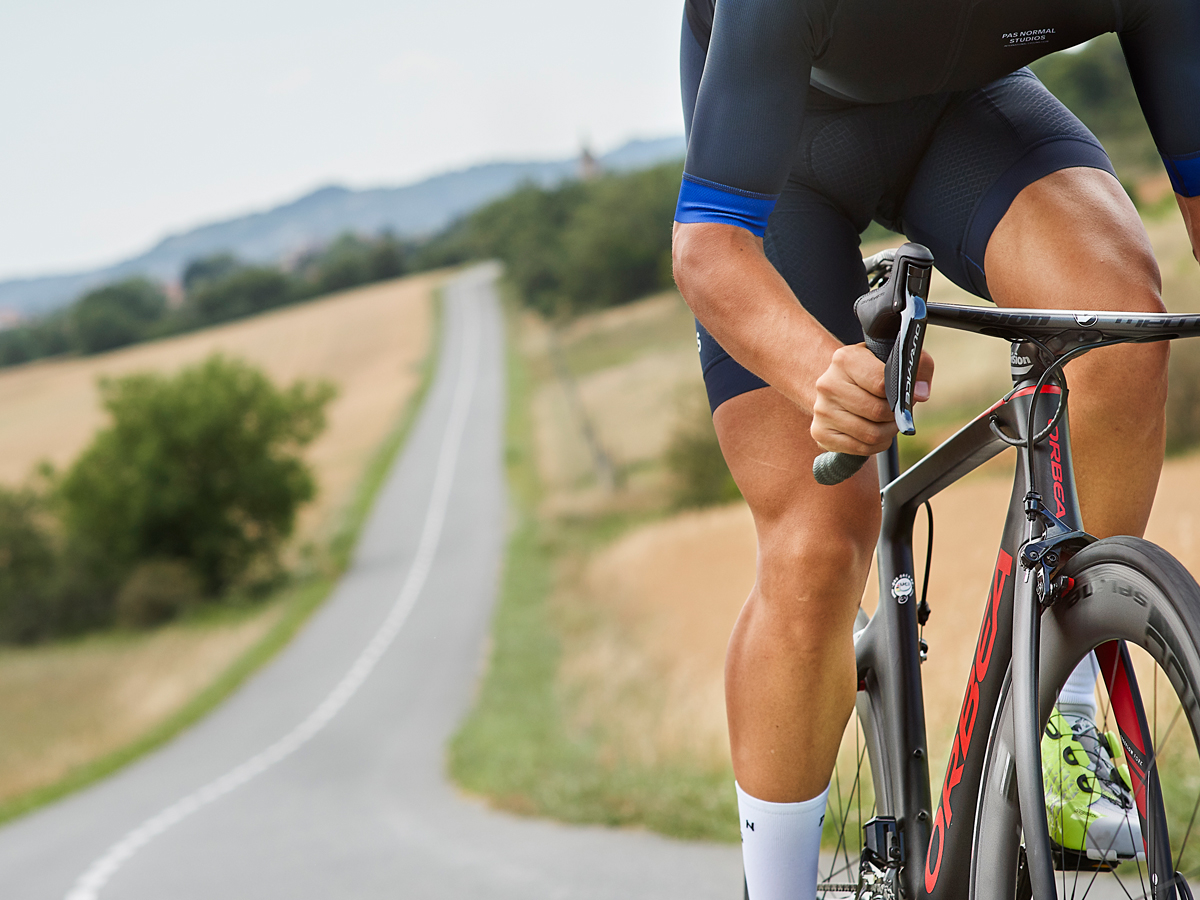
The Anatomy of a Climber
The Anatomy of a Climber
Souplesse e Coup de Pedale: Science & Art of Climbing

Cycling's Legendary Climbs
To understand what defines a great climber, let’s first highlight some of the most legendary and iconic climbs that challenge and inspire them:
Tour de France Climbs
- Alpe d’Huez – 21 legendary hairpin turns, a decisive battleground.
- Mont Ventoux – The “Giant of Provence,” known for its barren, wind-swept summit.
- Col du Tourmalet – One of the most famous Pyrenean climbs, a true test of endurance.
- Col du Galibier – A high-altitude Alpine climb, often featured in dramatic moments.
- Col d’Aubisque – A breathtaking but brutal Pyrenean ascent.
Giro d’Italia Climbs
- Stelvio Pass – Italy’s highest paved mountain pass, with 48 switchbacks on one side.
- Mortirolo Pass – A brutally steep and relentless climb, feared by many.
- Zoncolan – One of the steepest climbs in pro cycling, demanding immense power.
- Gavia Pass – Known for its high altitude, unpredictable weather, and epic Giro moments.
Vuelta a España Climbs
- Angliru – A brutally steep Spanish climb, with gradients exceeding 20%.
- Covadonga Lakes – A scenic but challenging climb in Asturias.
- Pico Villuercas – A tough ascent often shaping GC battles in the Vuelta.
Belgium
- Mur de Huy – Famous for the Flèche Wallonne finish, short but explosively steep.
- Koppenberg – A short, cobbled monster in Flanders.
- Côte de la Redoute – One of the most famous climbs in Liège-Bastogne-Liège, with max gradients over 20%.
USA & Canada
- Mount Lemmon (USA) – A long, steady climb in Arizona, popular for training.
- Haleakalā (Hawaii, USA) – The longest paved climb in the world, rising from sea level to over 10,000 feet.
First, ya gotta get to the climb
Training on flat terrain is crucial, with a focus on speed work and developing the skills needed to ride efficiently and conserve energy within the group. This ensures you stay fresh and prepared for the climbs when they come.
Solid Core
Total body strength is essential, including—but not limited to—a strong core and abdominal section for effective power transfer. The best way to develop this strength is through compound exercises such as squats and deadlifts. Additionally, incorporating strength training on the bike, such as force drills, can further enhance overall performance.
Climb and then climb so more
Harmony and balance are key to effective climbing. Discovering your climbing rhythm requires practice and repetition. When tackling climbs, focus on your pedal stroke, syncing it with your breathing to maintain efficiency and control.
Focus and Anatomy
The art of climbing lies in focusing on effort and managing pain. What you can sustain for 20 minutes, you can push for 40+ minutes with the right mindset. Climbers rely on a blend of slow-twitch and fast-twitch muscle fibers—slow for endurance and fast for bursts of speed and cadence changes. Prioritize a smooth, efficient pedal stroke, focusing on spinning up climbs rather than overloading muscles with excessive torque.
Efficiency
Climbing efficiently begins with smooth, high-velocity pedaling, while also prioritizing energy conservation by staying seated as long as possible. Although all climbers alternate between sitting and standing on long climbs, it’s important to recognize that standing increases heart rate due to the additional oxygen demand of the upper body muscles, leading to greater energy expenditure.
VAM: (Velocità Ascensionale Media)
Less is more when training. Do one less interval more often than one more interval.
How VAM is Calculated:
VAM=Elevation Gain (meters)Time (hours)
For example, if a cyclist ascends 500 meters in 30 minutes, their VAM would be:
500×2=1000 m/h
Interpreting VAM Values
- 800–1000 m/h → Amateur level
- 1100–1300 m/h → Competitive club cyclist
- 1400–1600 m/h → Professional level
- >1700 m/h → Elite Grand Tour climbers
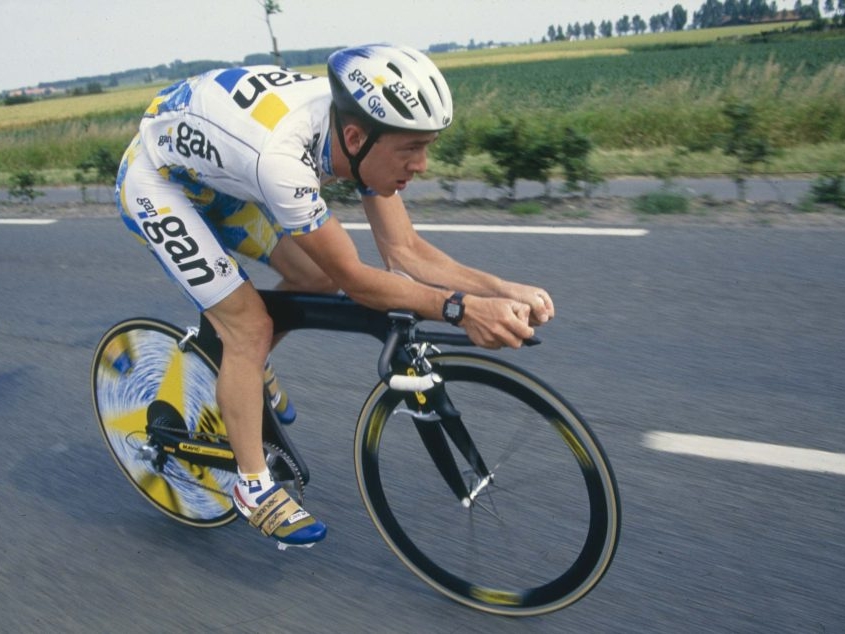
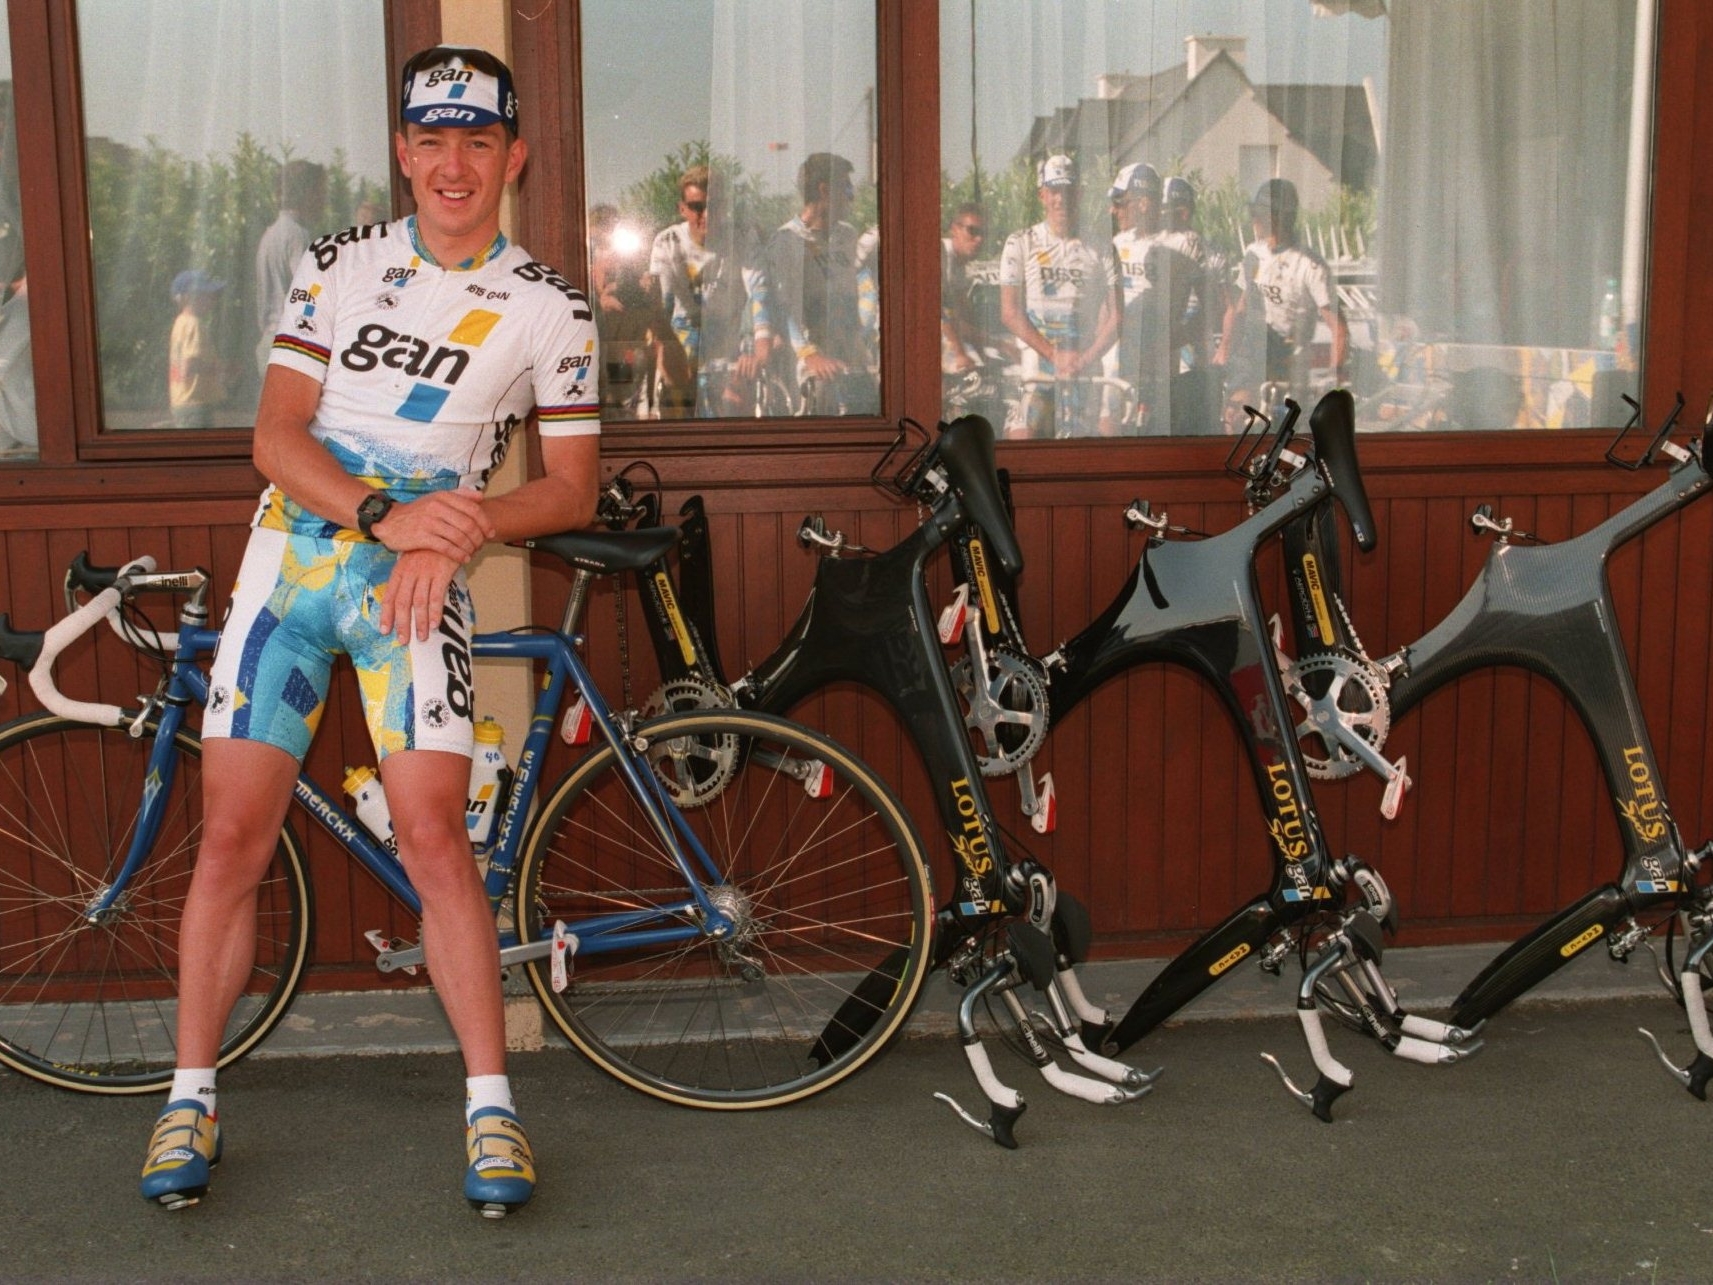
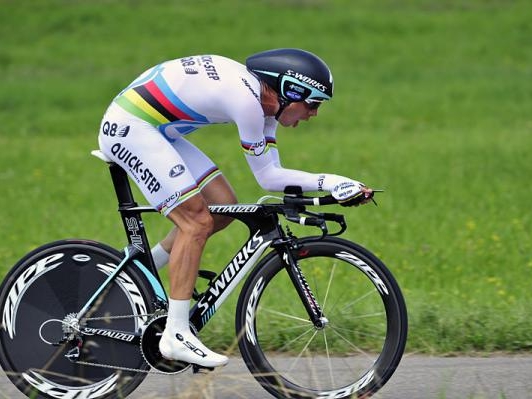
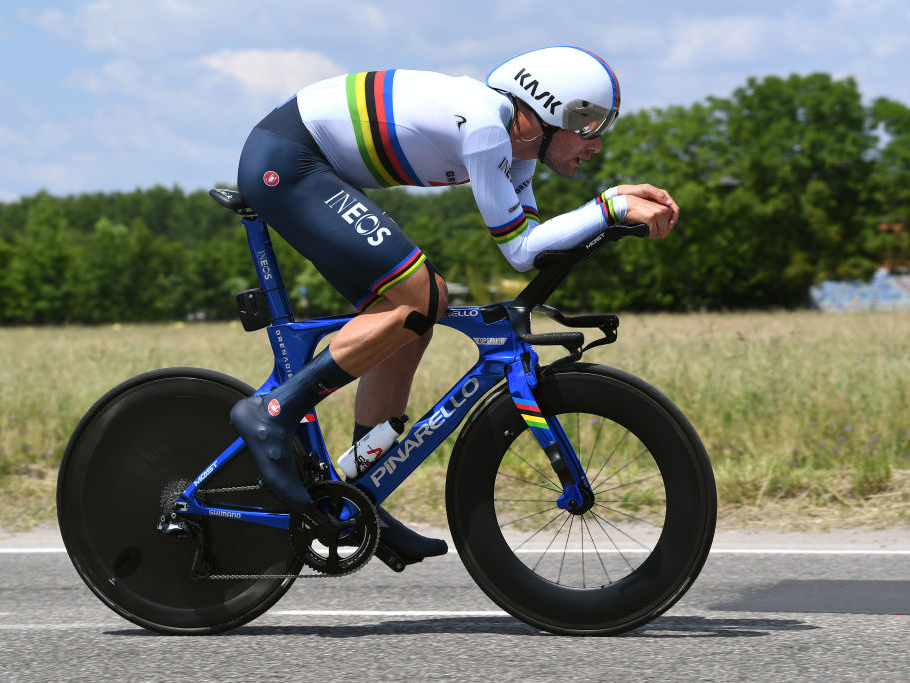
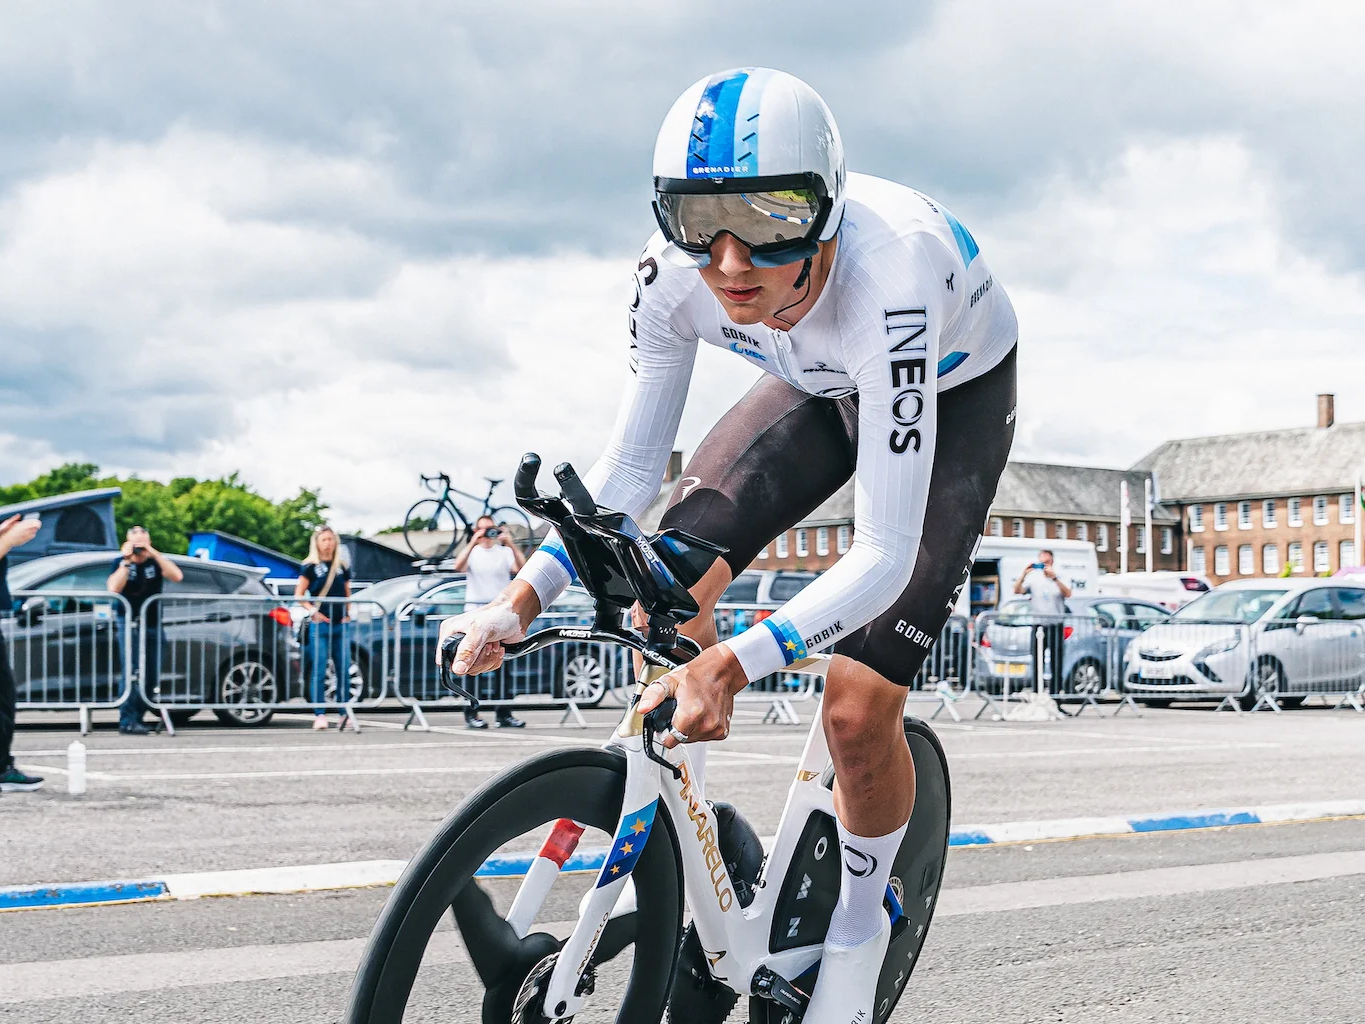
Aerodynamics: Time Trialing
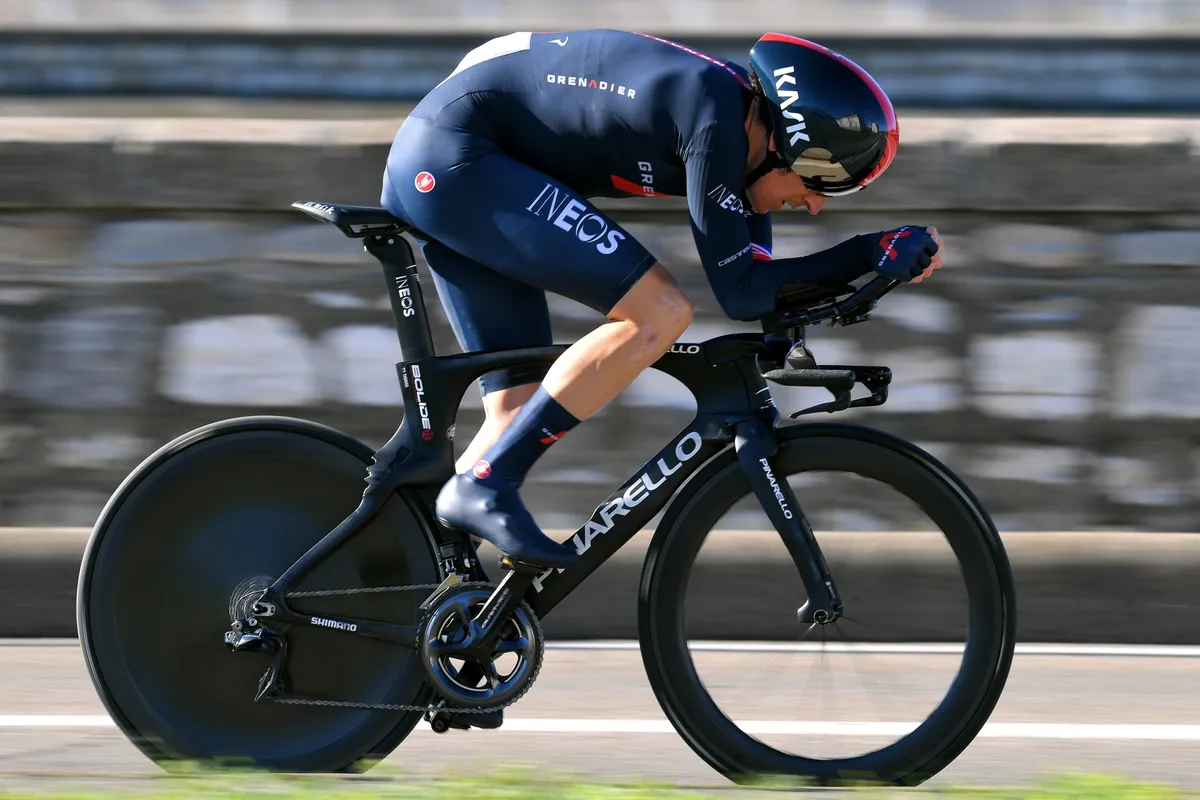
Aerodynamics
Aerodynamics plays a crucial role in time trialing. To improve it, focus on two key areas: body posture and equipment selection.
Overview of some equipment choices
Use this guide as a starting point to identify which equipment areas will have the greatest impact on improving your aerodynamics.
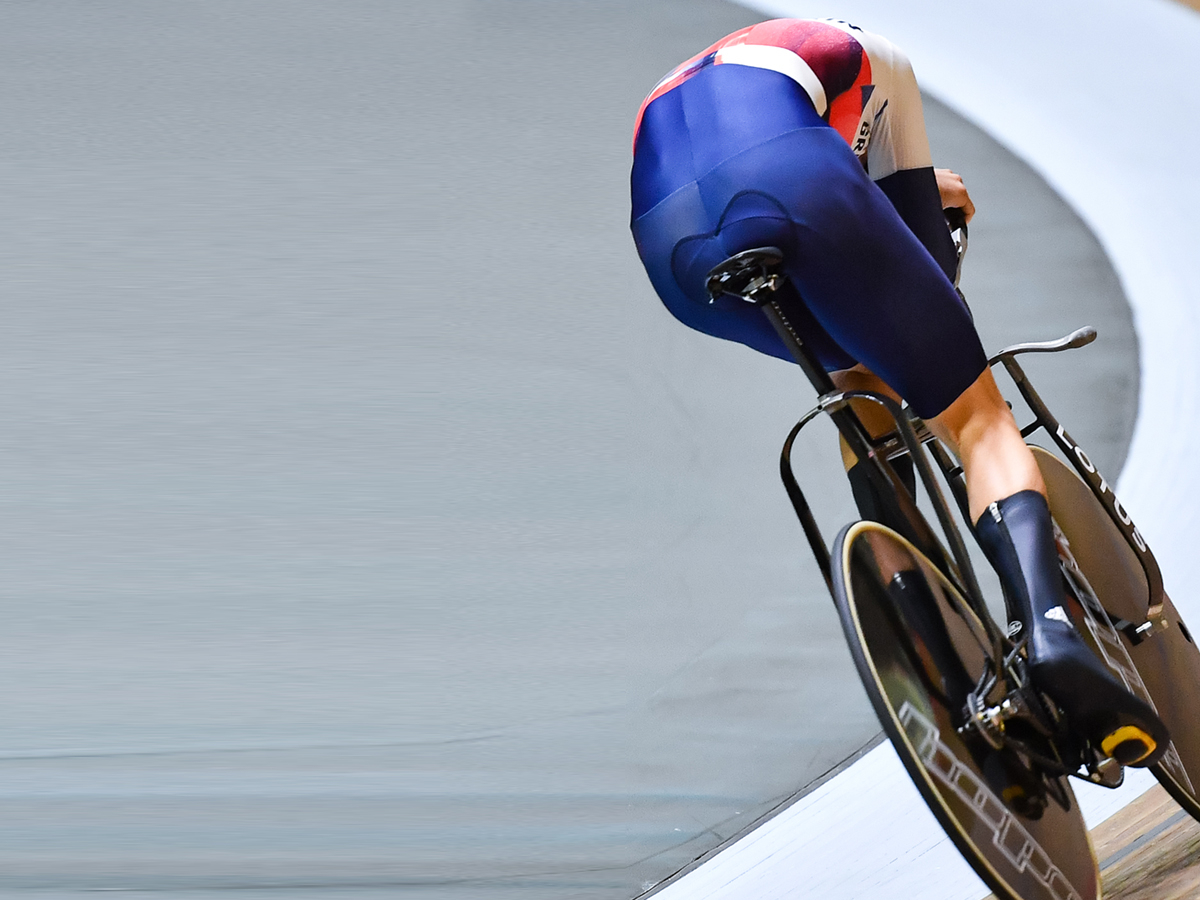
Types of Aerodynamic Testing
- Wind Tunnel: The gold standard for equipment and within a few hours the optimal rider position can be found. Disadvantages are its cost and does not always transfer within the real world
- Track Testing: Optimal to simulate real world riding. Able to have somewhat repeatability and attention to detail for positioning and equipment choice. Cons: ability to use and ride a track. Weather conditions affect outcomes.
- Field Testing: Can do anywhere or on actual race course. Will have to conduct multiply attempts to obtain enough data to rule out some of the environment and uncontrollable conditions.
- Computational Fluid Dynamics: Virtual wind tunnel enabling unlimited tests and location of testing. Can use as a tool to train rider position. Downside would be unrealistic riding conditions with simulations.

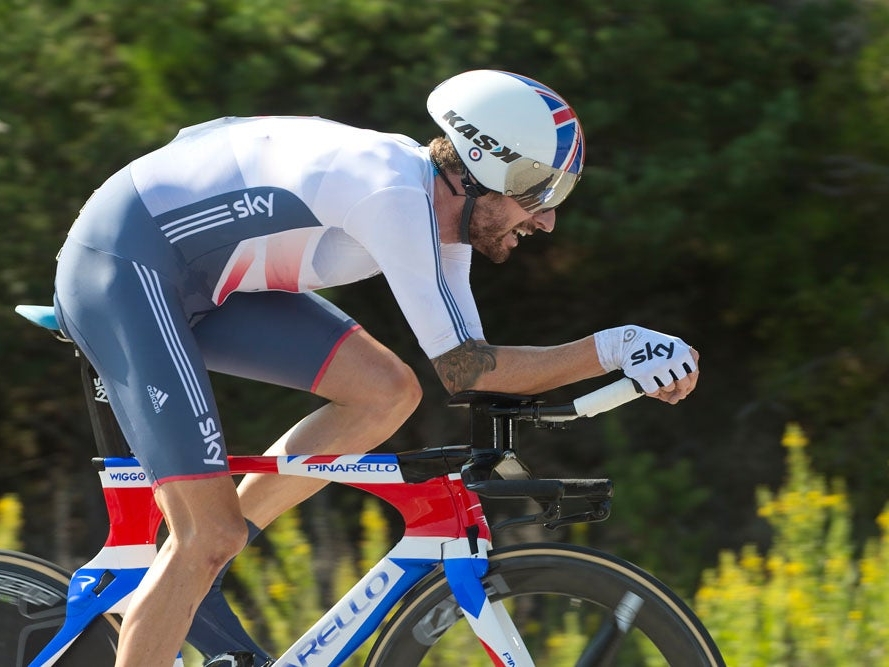
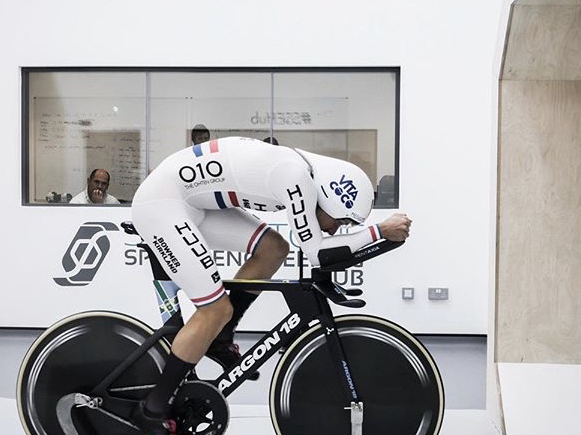
Rider Position: Back Shape
Back shape is crucial in aerodynamics, as it essentially acts as a wing. Recent trends emphasize achieving a flat back for optimal performance. However, this approach isn’t always ideal, as attempting to flatten the back can sometimes lead to wider shoulders, increasing the frontal area and compromising aerodynamics.
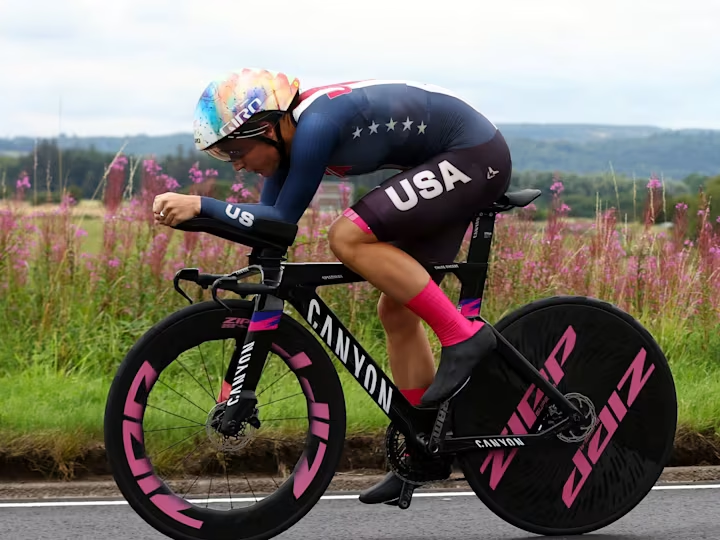
Rider Position: Forearms
Flat forearms are often preferred, likely due to wind tunnel testing showing improved speed for some riders. However, others opt for a position with hands higher than the elbows, which helps to narrow the shoulders and reduce frontal area for better aerodynamics.
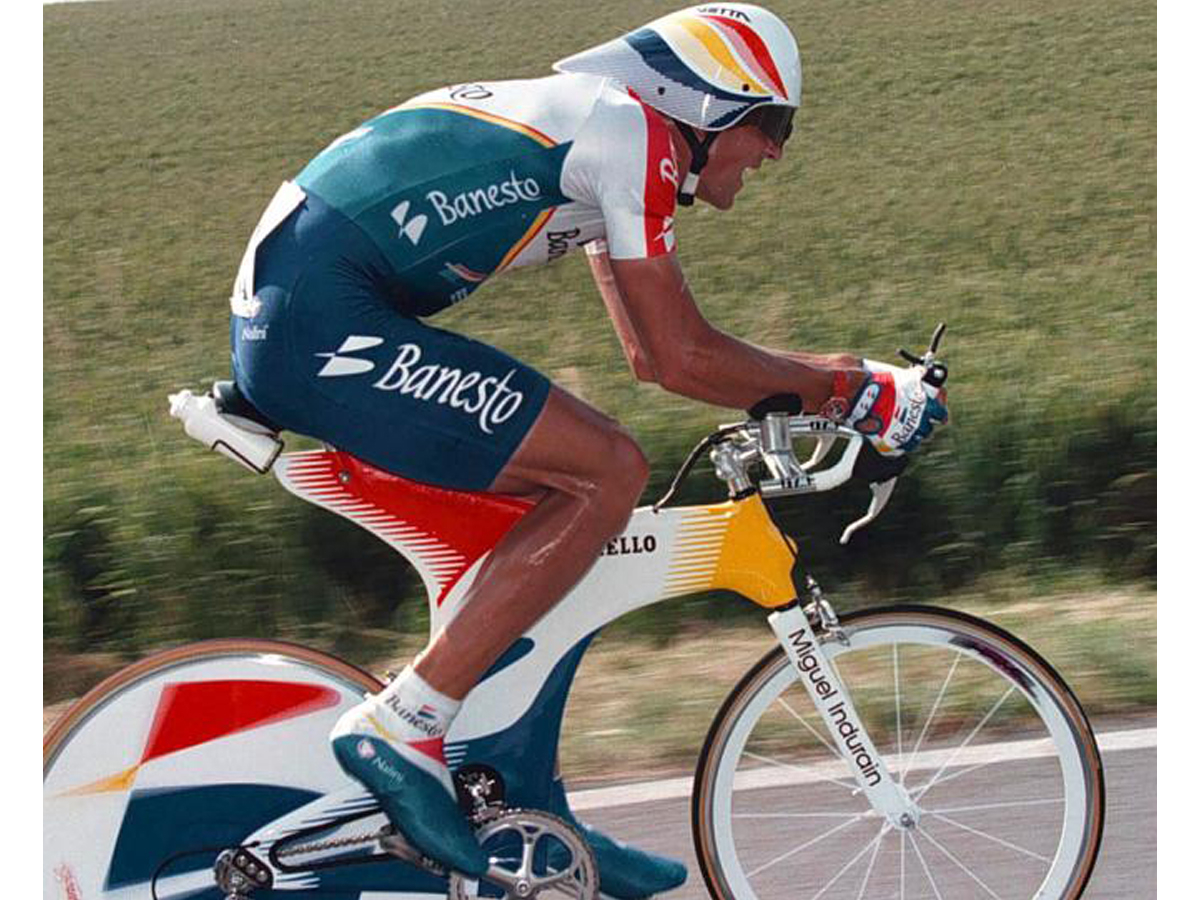
Rider Position: Head and mouth
The mouth naturally acts as an air scoop, which isn’t ideal for aerodynamics. However, the slight aerodynamic loss is outweighed by the need for maximum airflow when breathing under effort. To minimize this effect, riders can use their hands to help deflect air around and away from the face.
Equipement Selection: Frame
Modern frames are generally aerodynamic and responsive, making components and body position the key areas for improvement. That said, selecting the right frame size and aerofoil design is still important, as it enables optimal handlebar setup and efficient internal cable routing for enhanced aerodynamics.
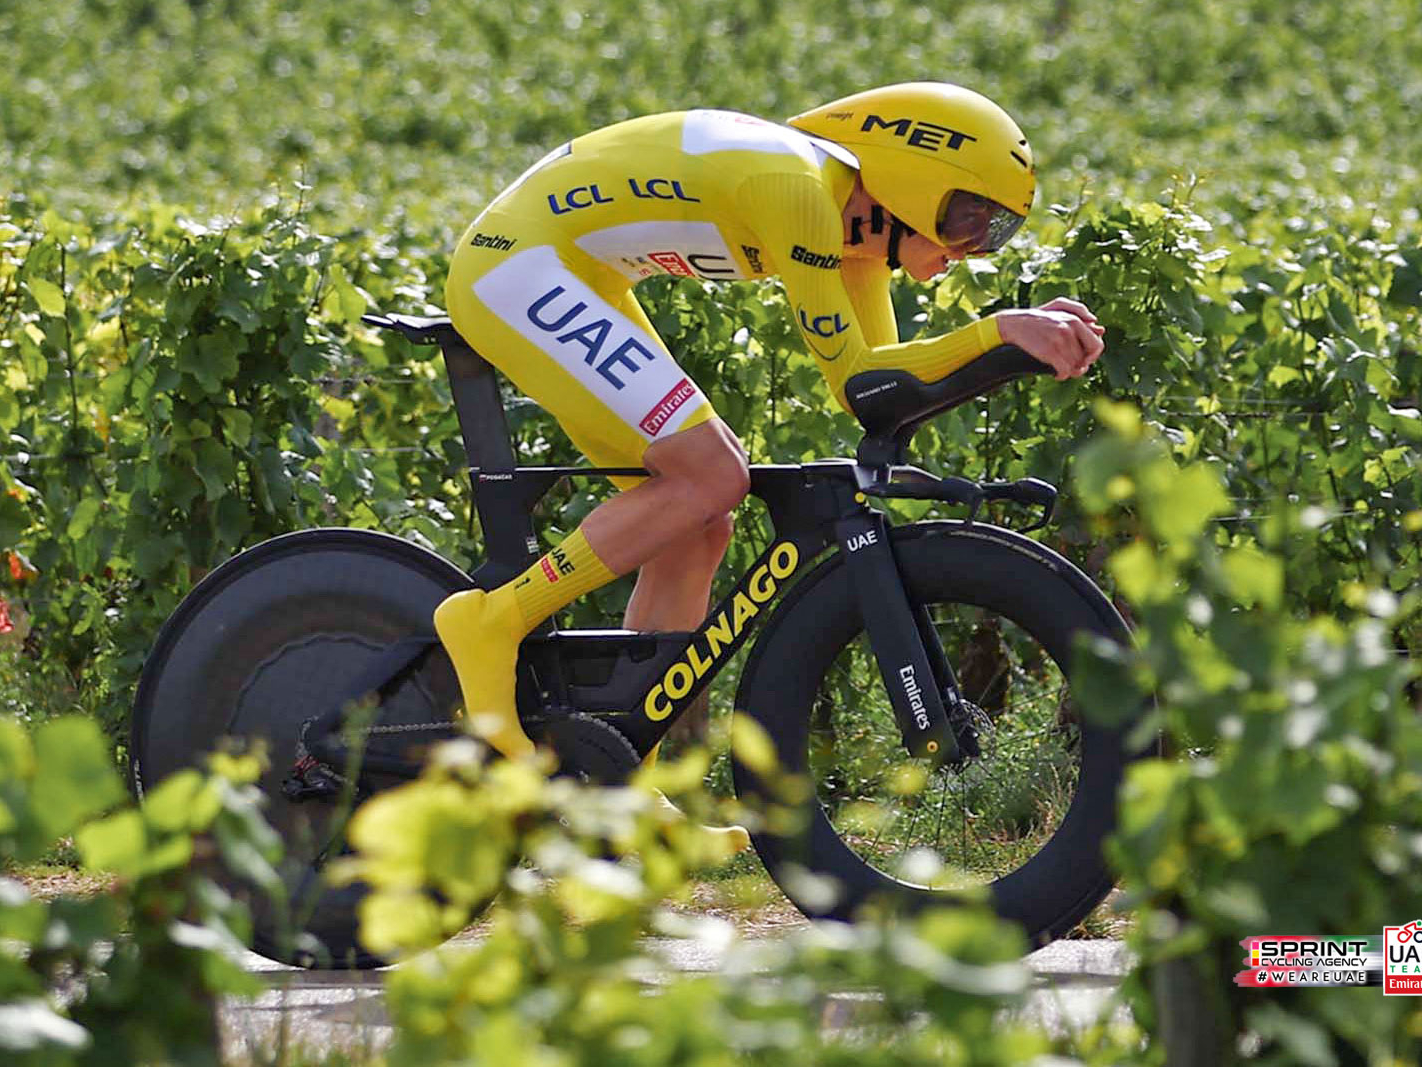
Equipement Selection: Overshoes
The fabric of overshoes is more aerodynamic than bare skin. To maximize this advantage, aim to cover not just the shoes but also as much of the shin as legally permitted with a tight, form-fitting overshoe.
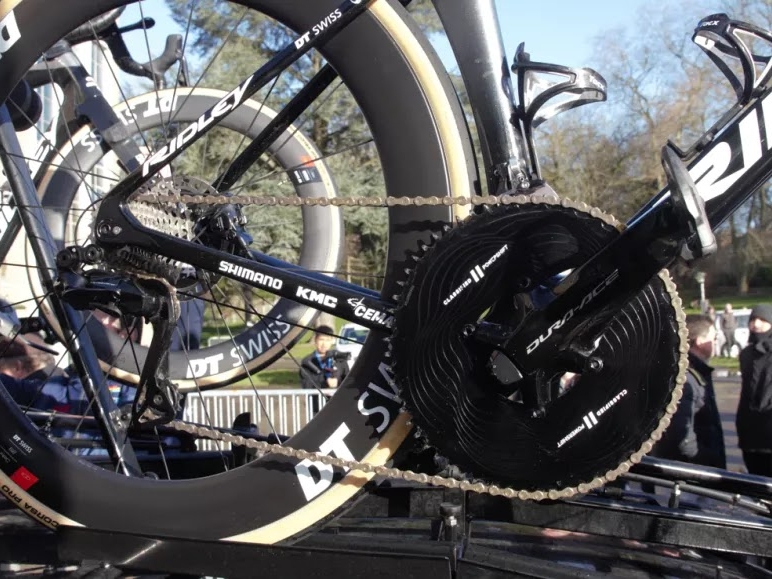
Chainrings/Gearing
Choose the right gearing to balance power output and aerodynamics. Aim for a straight chain line to maximize efficiency, and opt for a solid front chainring for improved aerodynamics. Select the chainring and cassette size based on the specific demands of the event course.
Equipement Selection: Helmet
The ideal helmet varies greatly between riders. The best approach is to test different styles in a wind tunnel or by tracking CdA to determine what works best for you. It’s crucial that the helmet bridges the gap between your head and back, creating smooth, uninterrupted airflow from your forehead down your spine.
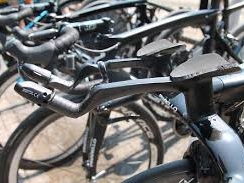
Equipement Selection: Stem/Bars
Front-end integration is a crucial aspect of a time trial bike. Aim for minimal cable exposure, hidden bolts, and a streamlined, wing-like shape to reduce drag. Additionally, customize the extensions to suit your riding style and optimize your aerodynamic positioning for maximum efficiency.
Equipement Selection: Skinsuit
Since the 1980s, the skinsuit has been a universal choice for aerodynamics. Variations in fabric textures can create different levels of drag, making material selection crucial. Though seemingly simple, the skinsuit plays a vital role in overall aerodynamics, as the rider is the largest contributor to drag. Optimizing fit, fabric choice, and seam placement can significantly enhance performance at high speeds.
Equipement Selection: Wheels
While a larger frontal area can create drag, real-world performance—especially in crosswinds—must be factored into wheel selection. Deep rims, tri-spokes, and disc wheels all carry a similar weight penalty but offer distinct aerodynamic benefits. Wheels play a crucial role in both aerodynamics and overall performance, making it essential to study the event course carefully and choose accordingly.

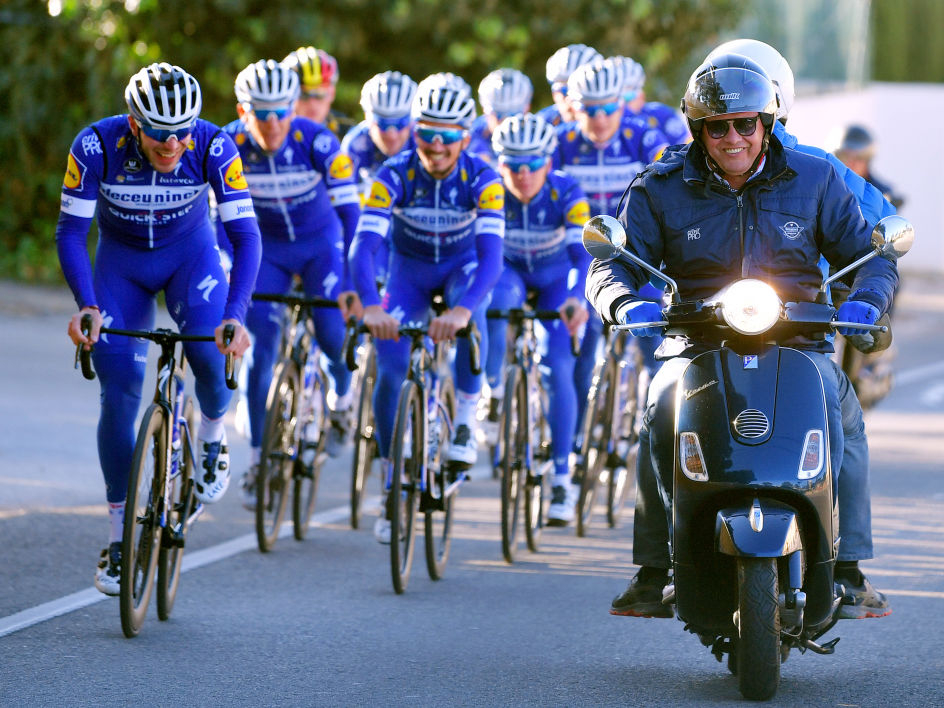
7 Steps to Athletic Perfection
7 Steps to Athletic Perfection
This document will focus on seven key areas to review what it takes to ride, train, and compete as a perfect athlete.
Some words and context sourced from Marco Pinotti; professional cyclist.
Consistency
- Focus on the day-to-day of training and athletic lifestyle
- Understand why you are doing something and when to do it
- Ask questions, be curious
- Be driven to be consistent
Motivation
- Set goals with specific aims
- Understand the process and your place within it
- Clear targets are vital
- Aligned motivation with your team organization

Self-Discipline
- Find a health addiction with your sport
- Have requirements not sacrifices
- Training should have a positive flow to it
- Attention to details
- Athlete lifestyle is 24/7/365
- View tasks through an atheles mindset
- Find balance: the closer you are to competition the more strict you have to be
Self Confidence
- Self-critical is not self-confident
- believe you are heading in the right direction
- Learn to adapt to what you are
- Find heroes to push you through the challenging times
- Use mental imagery to succeed
- Look to mentors for guidance
Focus
- Commit to focused goals
- Create a priorities lists and stick to it!
- Limit unnecessary distractions
- Training and training plan comes first!
- Be prepared for the task of training.
- Do not rely on “just training by feelings”
- Mental prepare yourself for each daily planned training
Balance
- Balance is never straight-forward
- You must be selfish at times but never lose awareness of your ego
- Ego can be your own worst enemy
- Focus on the method of success not the result
- A stable life in sport depends on a stable home life
- Ignore the peer pressure, stay systematic and stable
Morality
- Their are no short cuts
- Achieve small improvements to reach your objective
- Moral compass is important and gives real value
- Cheating is unacceptable and you can succeed clean!
Bonus
NEVER STOP LEARNING

Hot/Cold/Compression Recovery Session
Hot, Cold, Compression Recovery Session
Follow the step-by-step outline to complete this recovery session

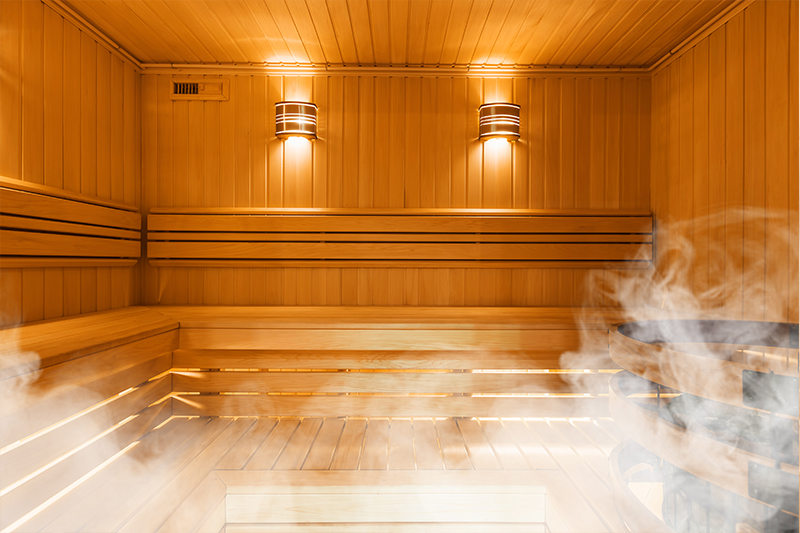
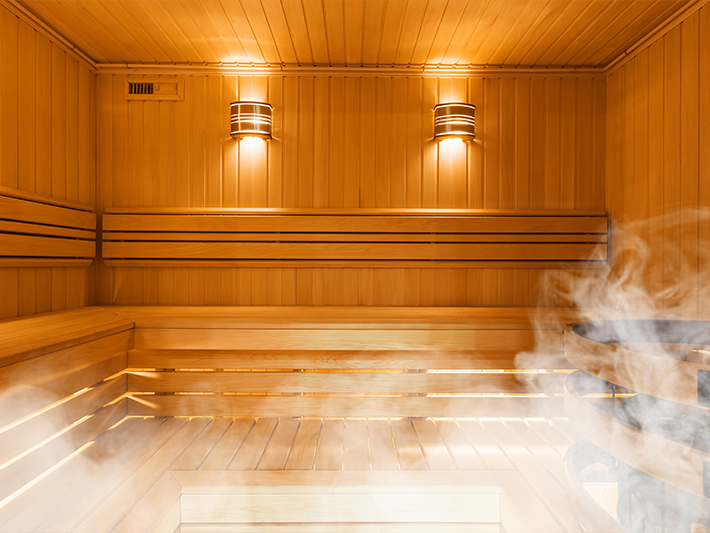
Sauna: Hot Therapy
Look to use a dry heat traditional sauna for hot therapy. The sauna should be 160-200 degrees (F).
Static Stretching
Pick 5-6 static stretches to complete. Hold each for 30 seconds and repeat twice. Look to target tight areas and full body.
Sauna: Hot Therapy
Look to use a dry heat traditional sauna for hot therapy. The sauna should be 160-200 degrees (F).
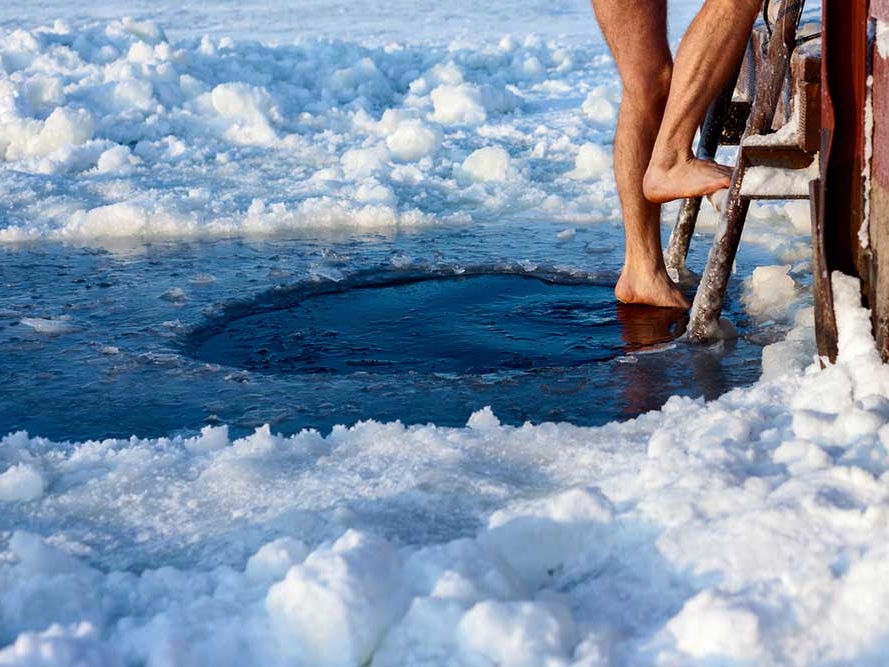
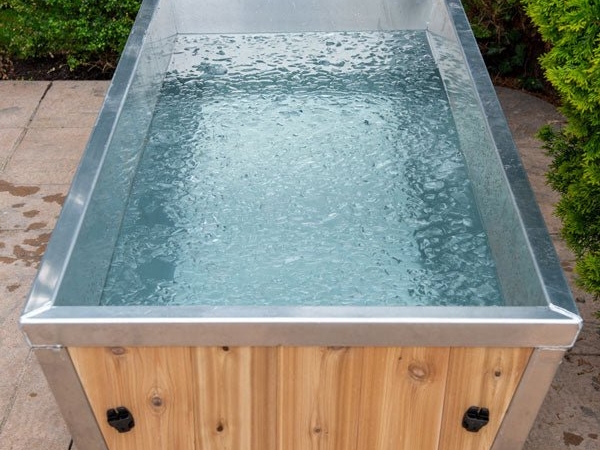
Cold Tub or Shower: Cold Water Immersion Therapy
Look to use a cold water such as a cold dunk bathtub or cold shower. The water should be 45-60 degrees (F).

Sauna: Hot Therapy
Look to use a dry heat traditional sauna for hot therapy. The sauna should be 160-200 degrees (F).
Cold Tub or Shower: Cold Water Immersion Therapy
Look to use a cold water such as a cold dunk bathtub or cold shower. The water should be 45-60 degrees (F).

Compression Boots
Plan to spend 10-20 minutes in compression boots. This will help Venus return of blood to the heart and flush your legs.
Computer Head Unit Dashboard Set-up
Head Unit Dashboard Set-up
Dashboard views for training

Look to this guide to set-up your bicycle head unit
It’s important to have your dashboard screens set up with the right information to complete training protocol.
Main Dashboard
Set up your main page with 8 fields of data
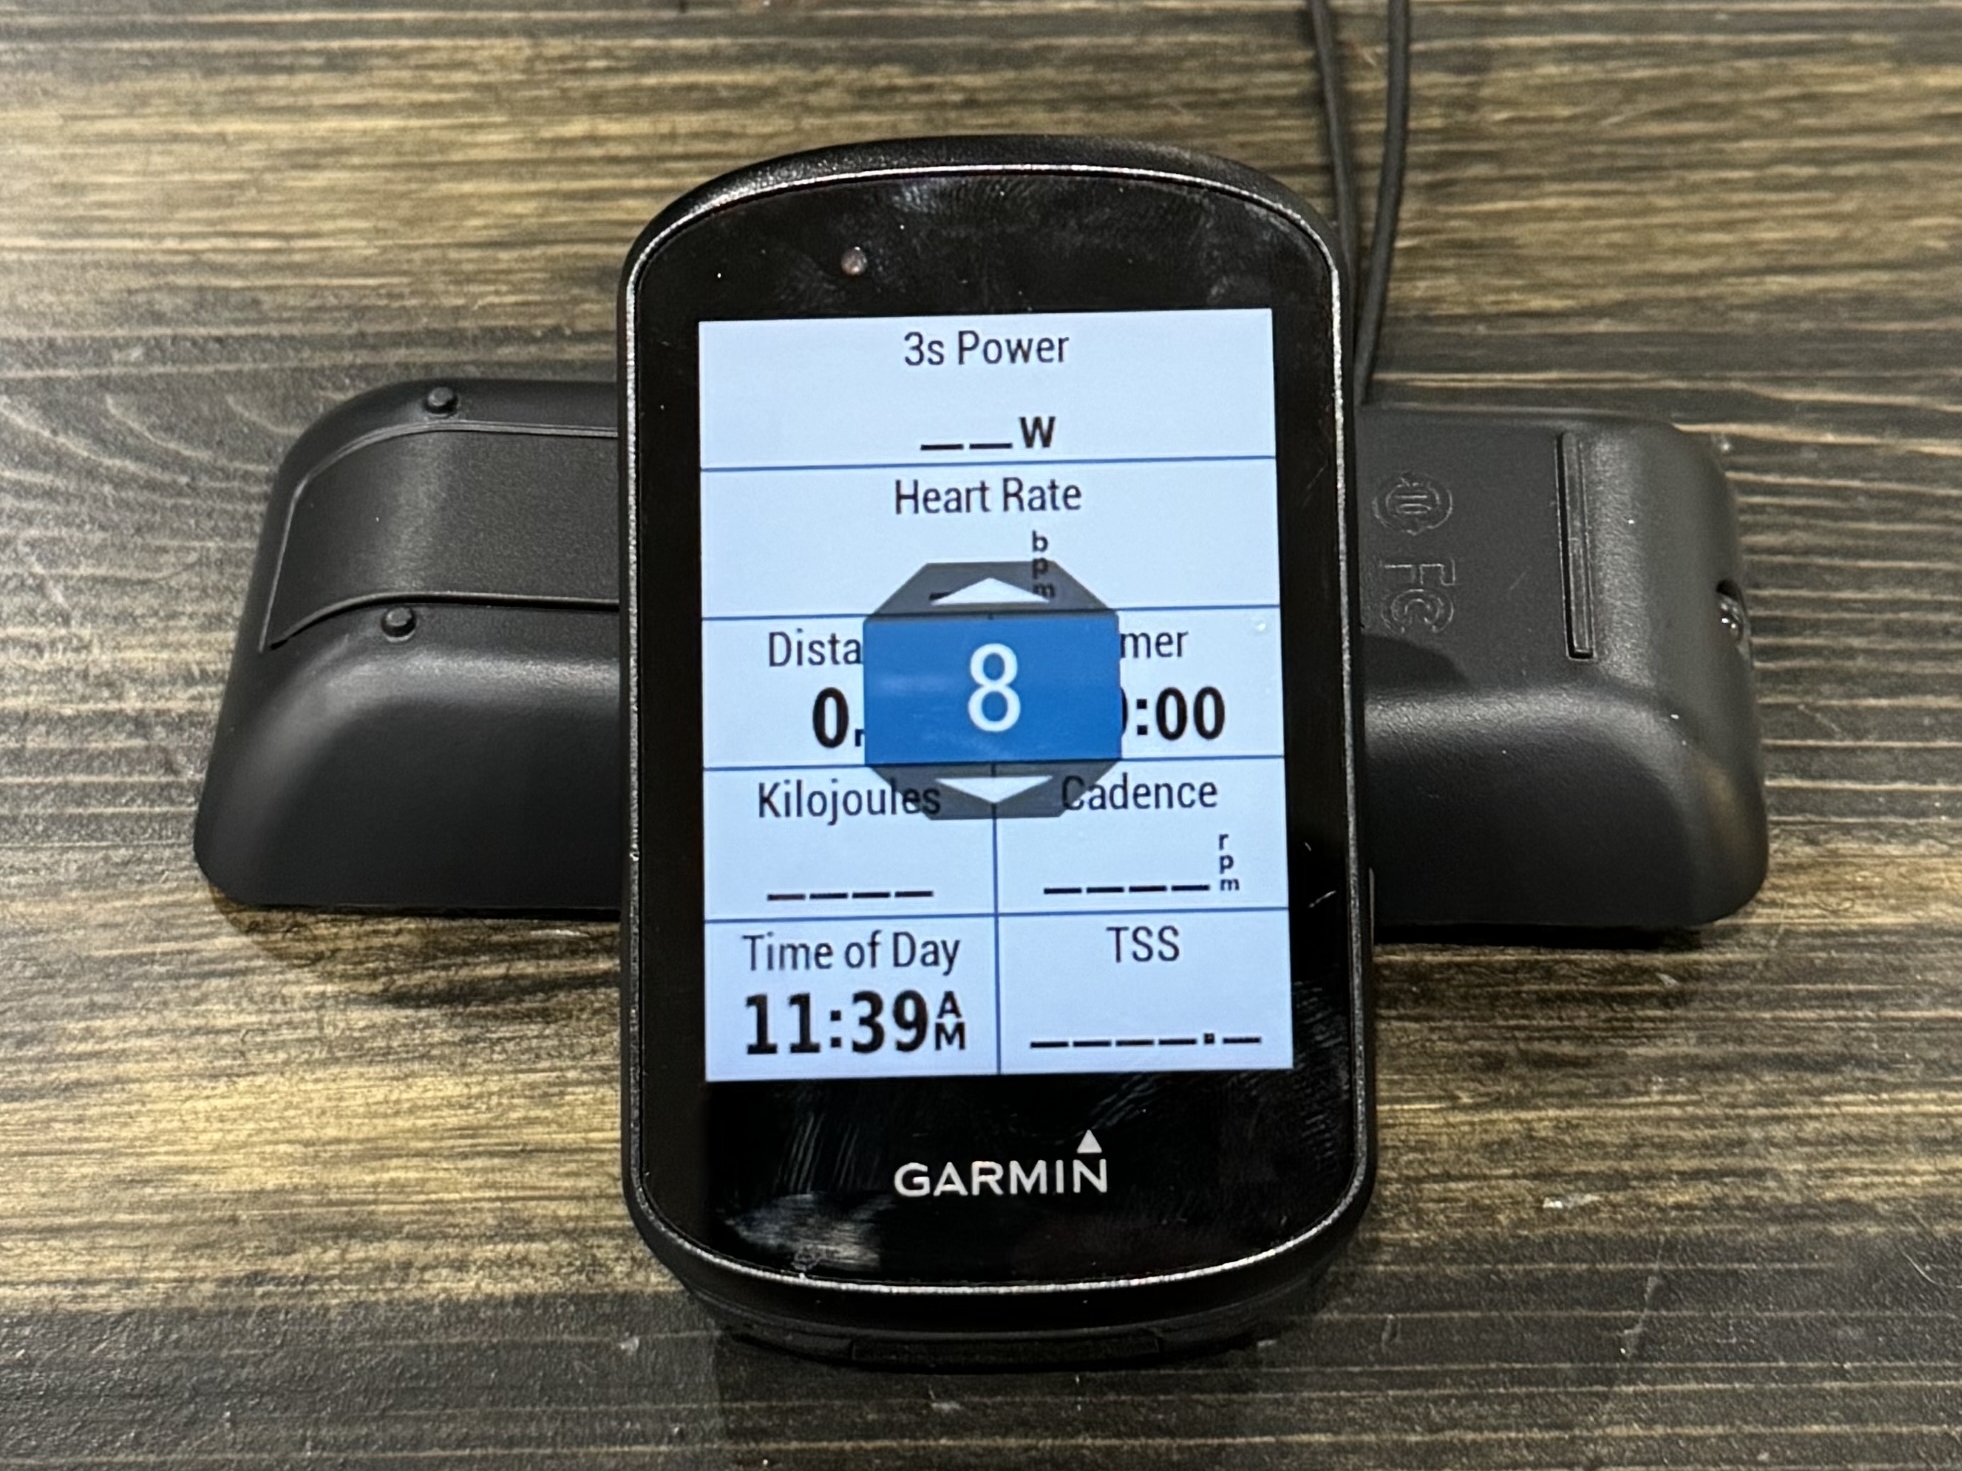
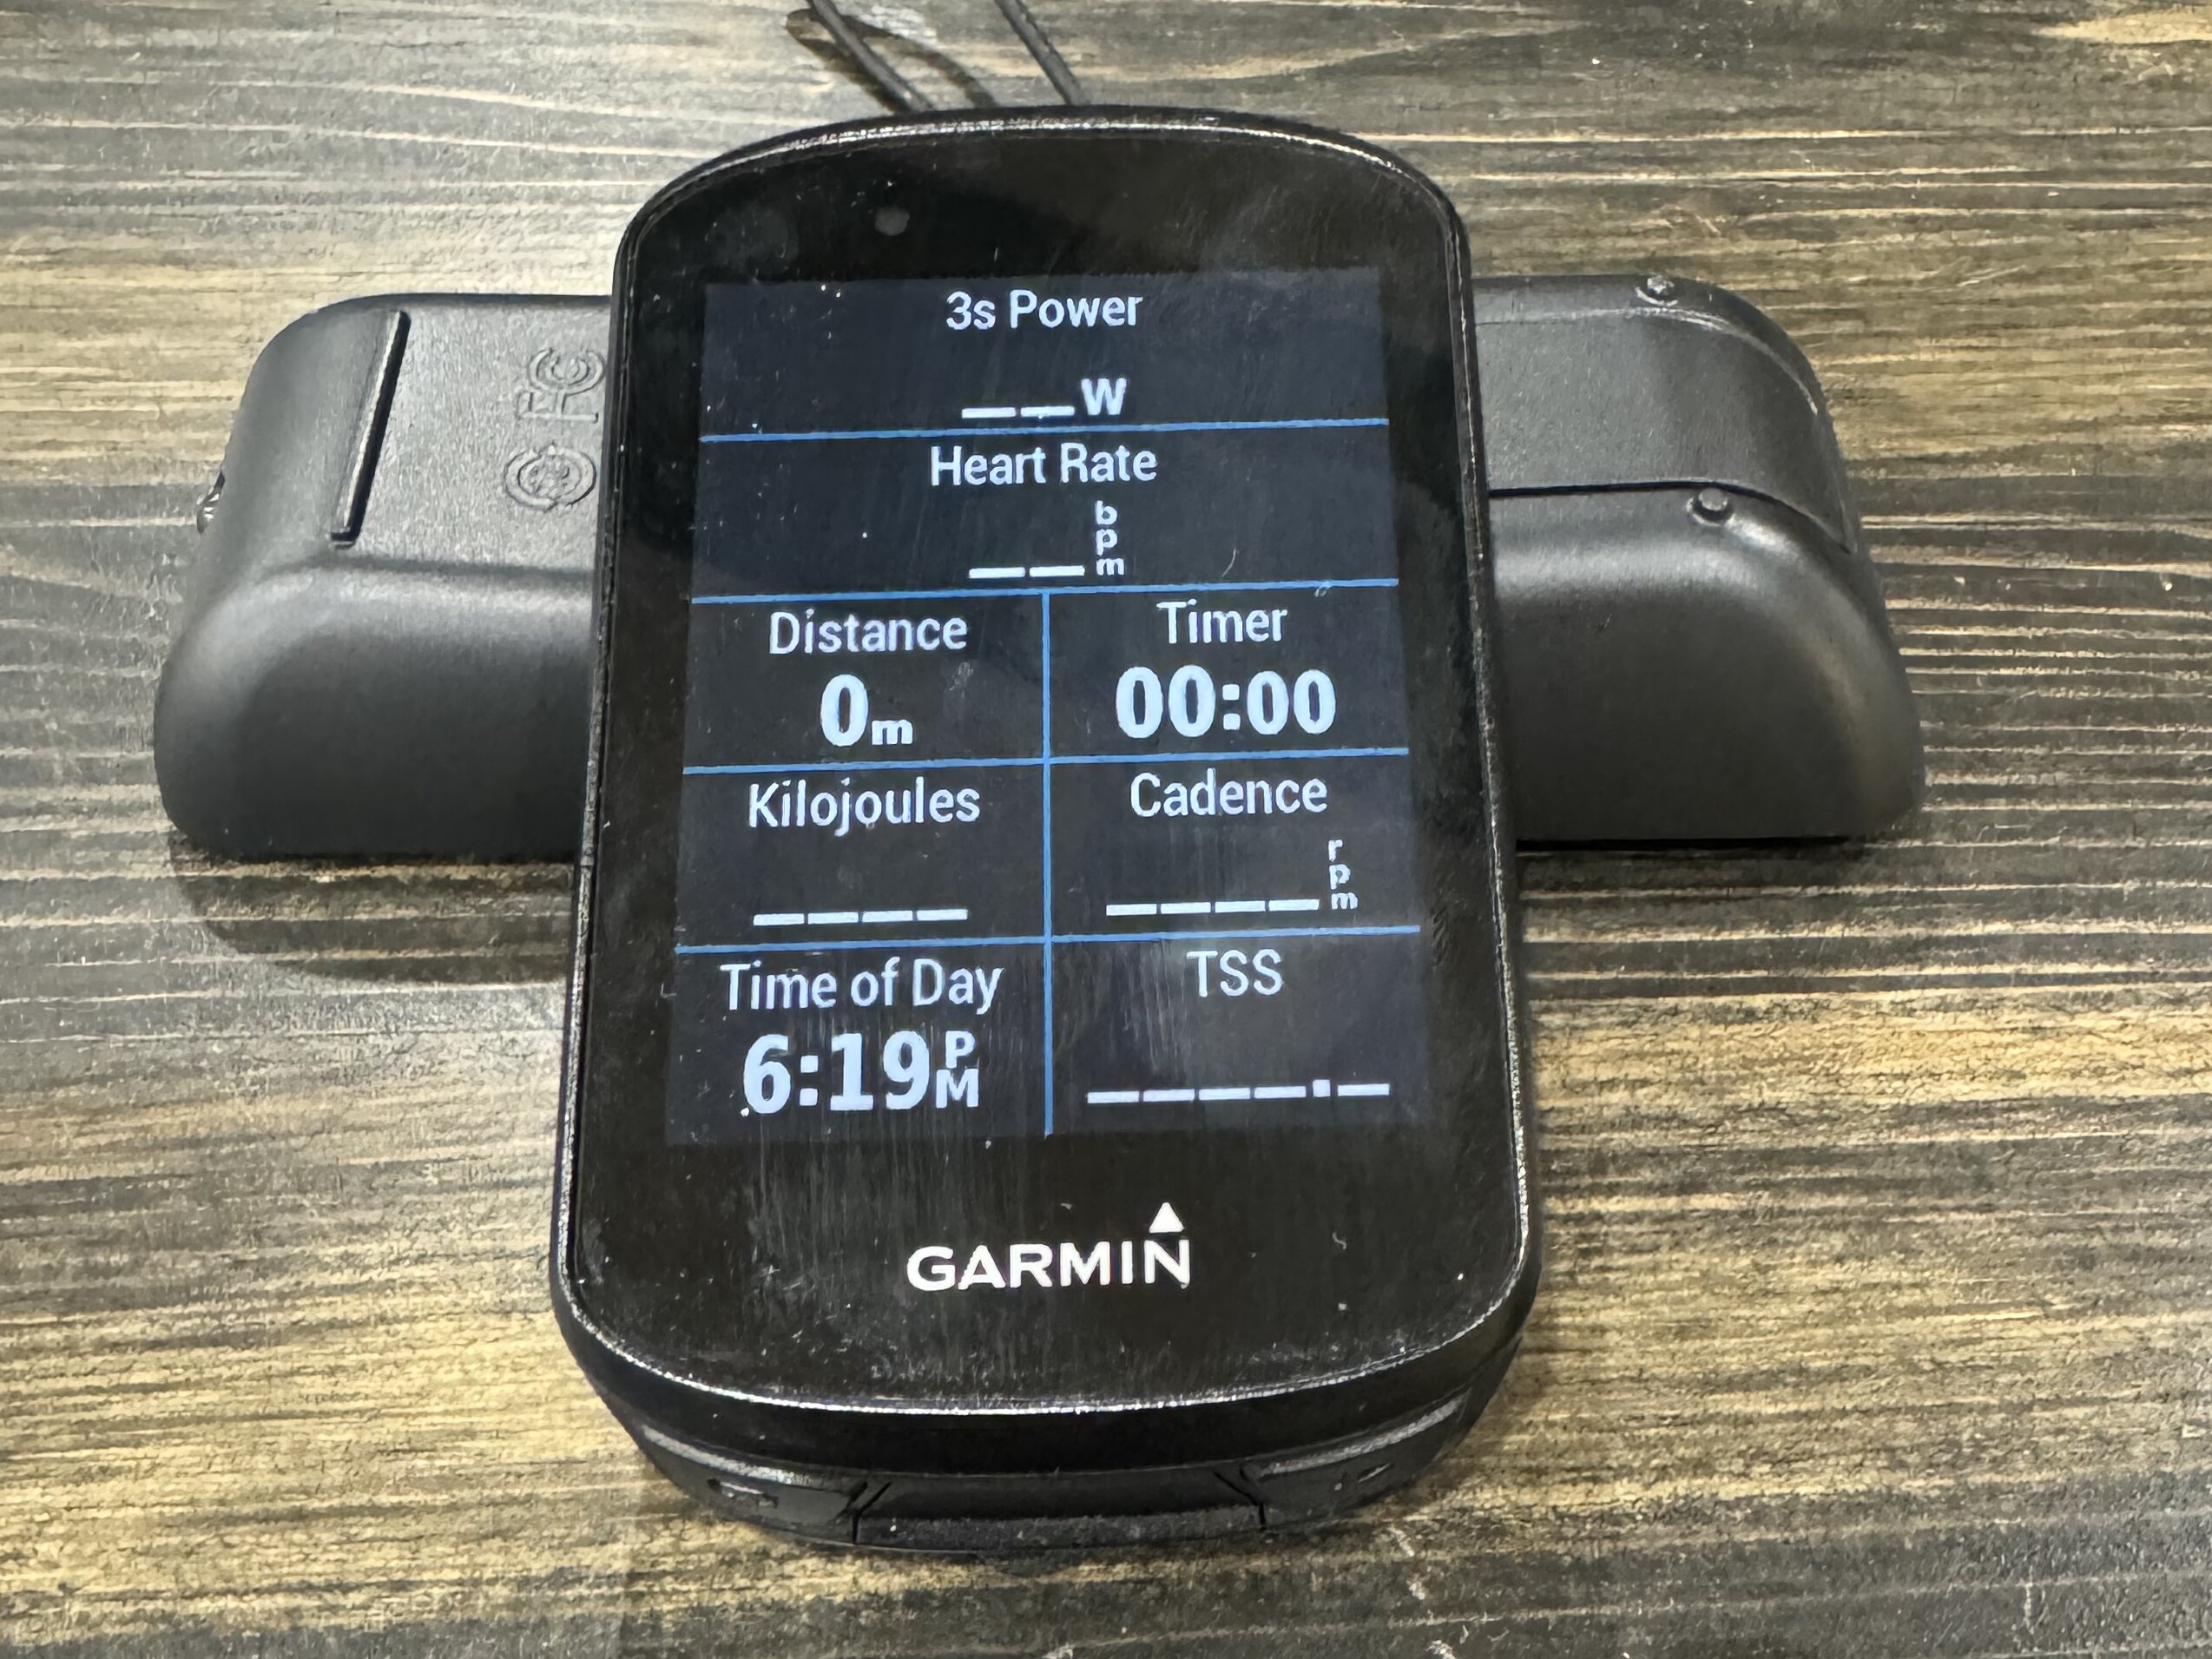
Main Dashboard Data Fields
- 3 Second Power (watts)
- Heart Rate (bpm)
- Distance (kms or miles)
- Timer
- Kilojoules
- Cadence (rpm)
- Time of Day
- TSS (Training Stress Score)
Interval Dashboard
Set up your interval page with 10 fields of data
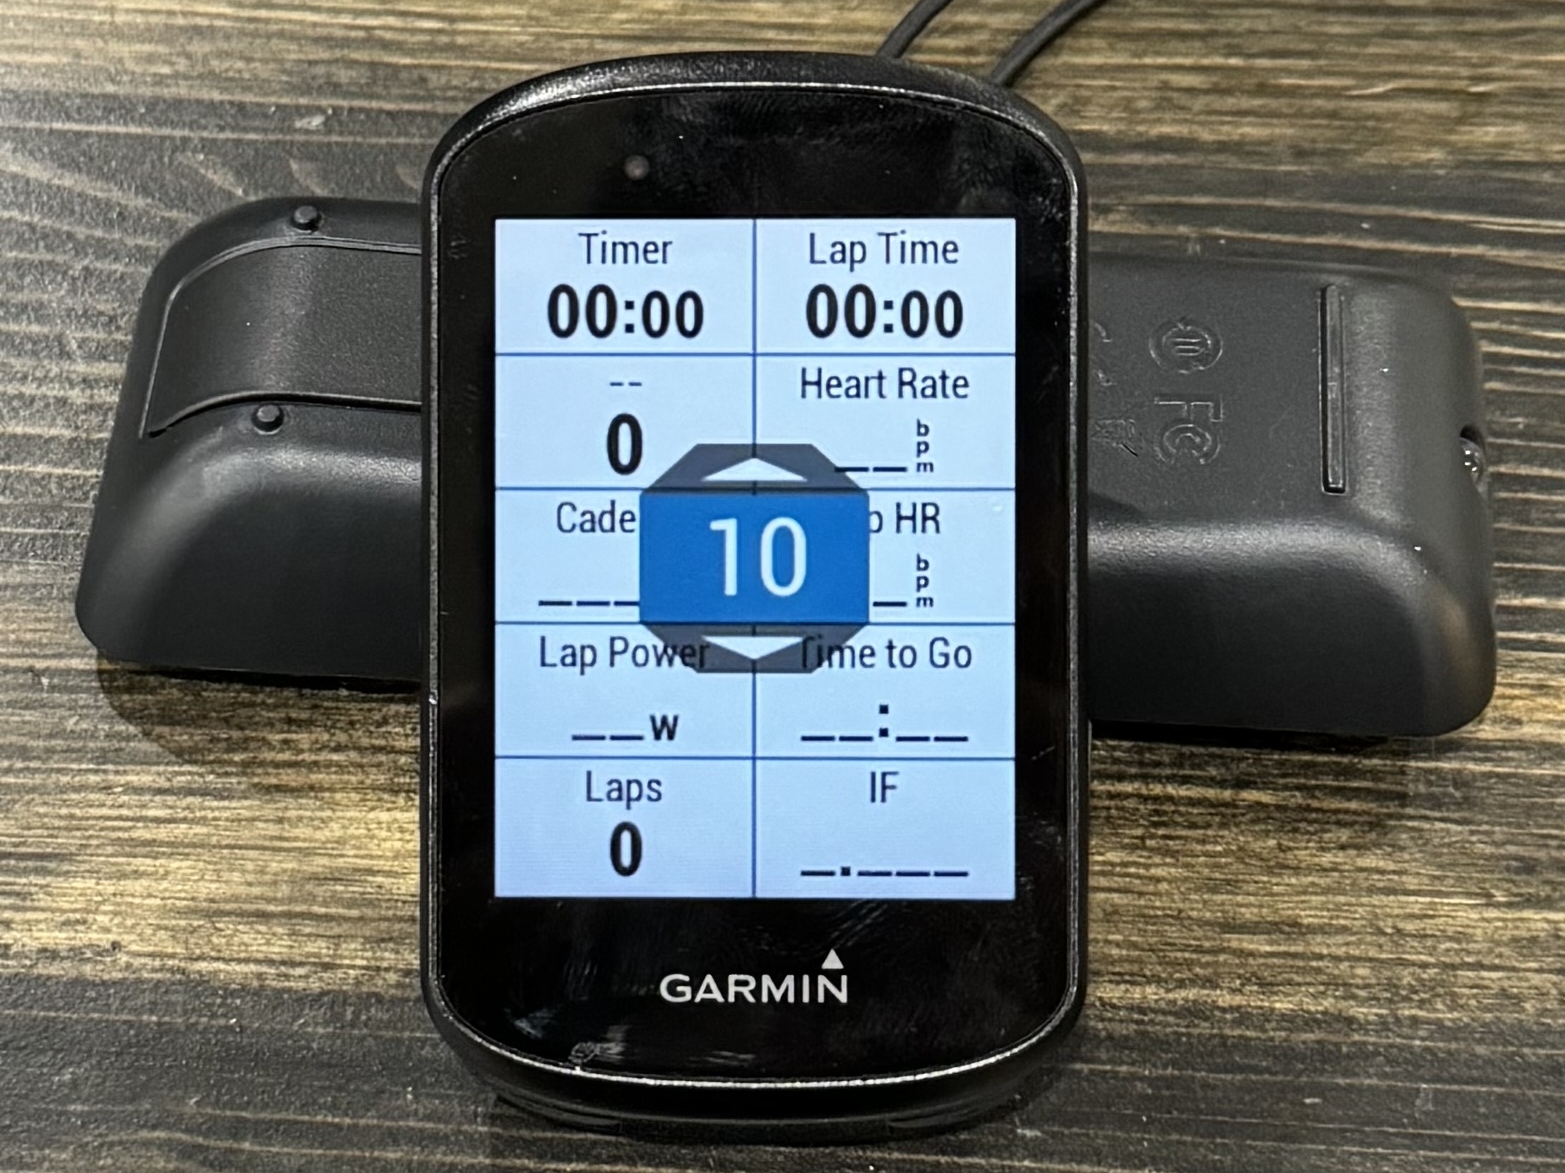
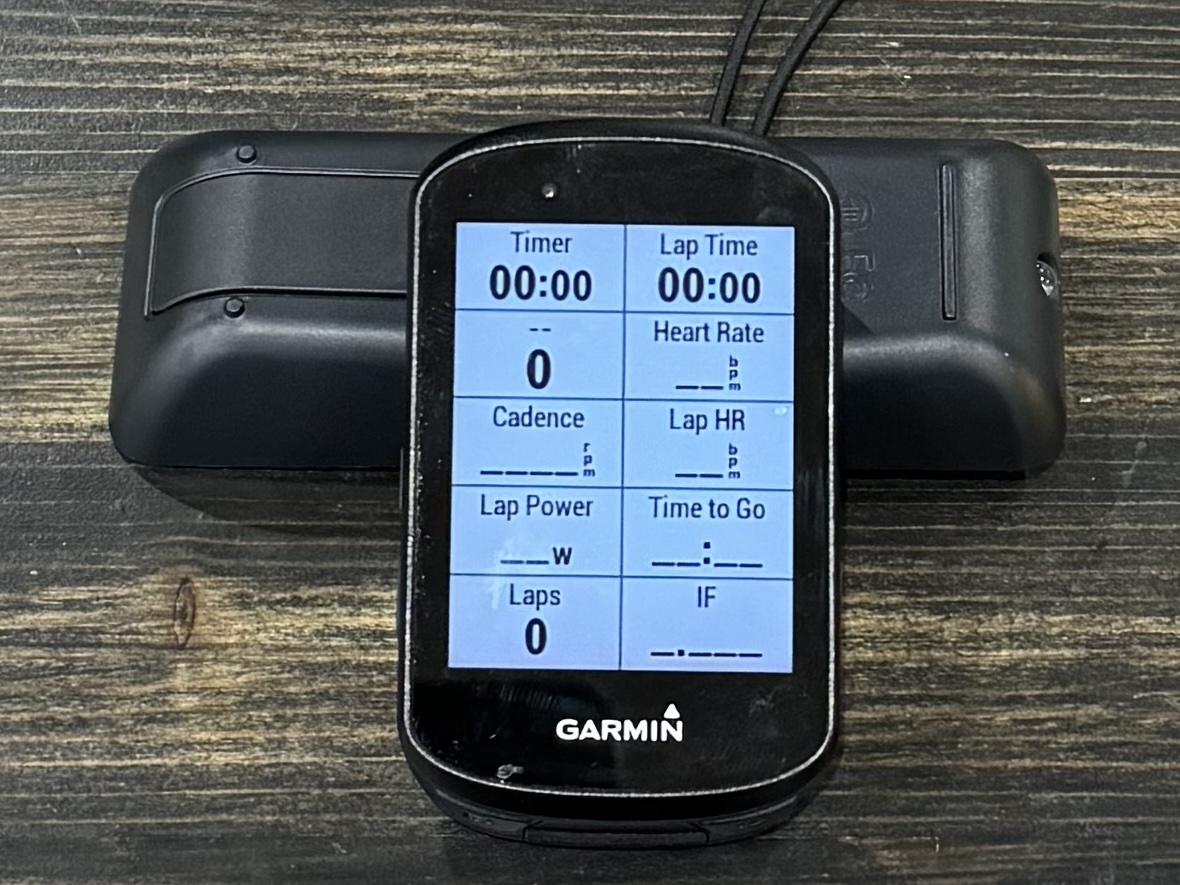
Interval Dashboard Data Fields
- Timer
- Lap (Interval) Timer
- Target (Under Workouts menu)
- Heart Rate
- Cadence
- Lap (Interval) Heart Rate
- Lap (Interval) Power (3 second)
- Time to Go for Interval
- Laps
- Lap (Interval) Intensity Factor
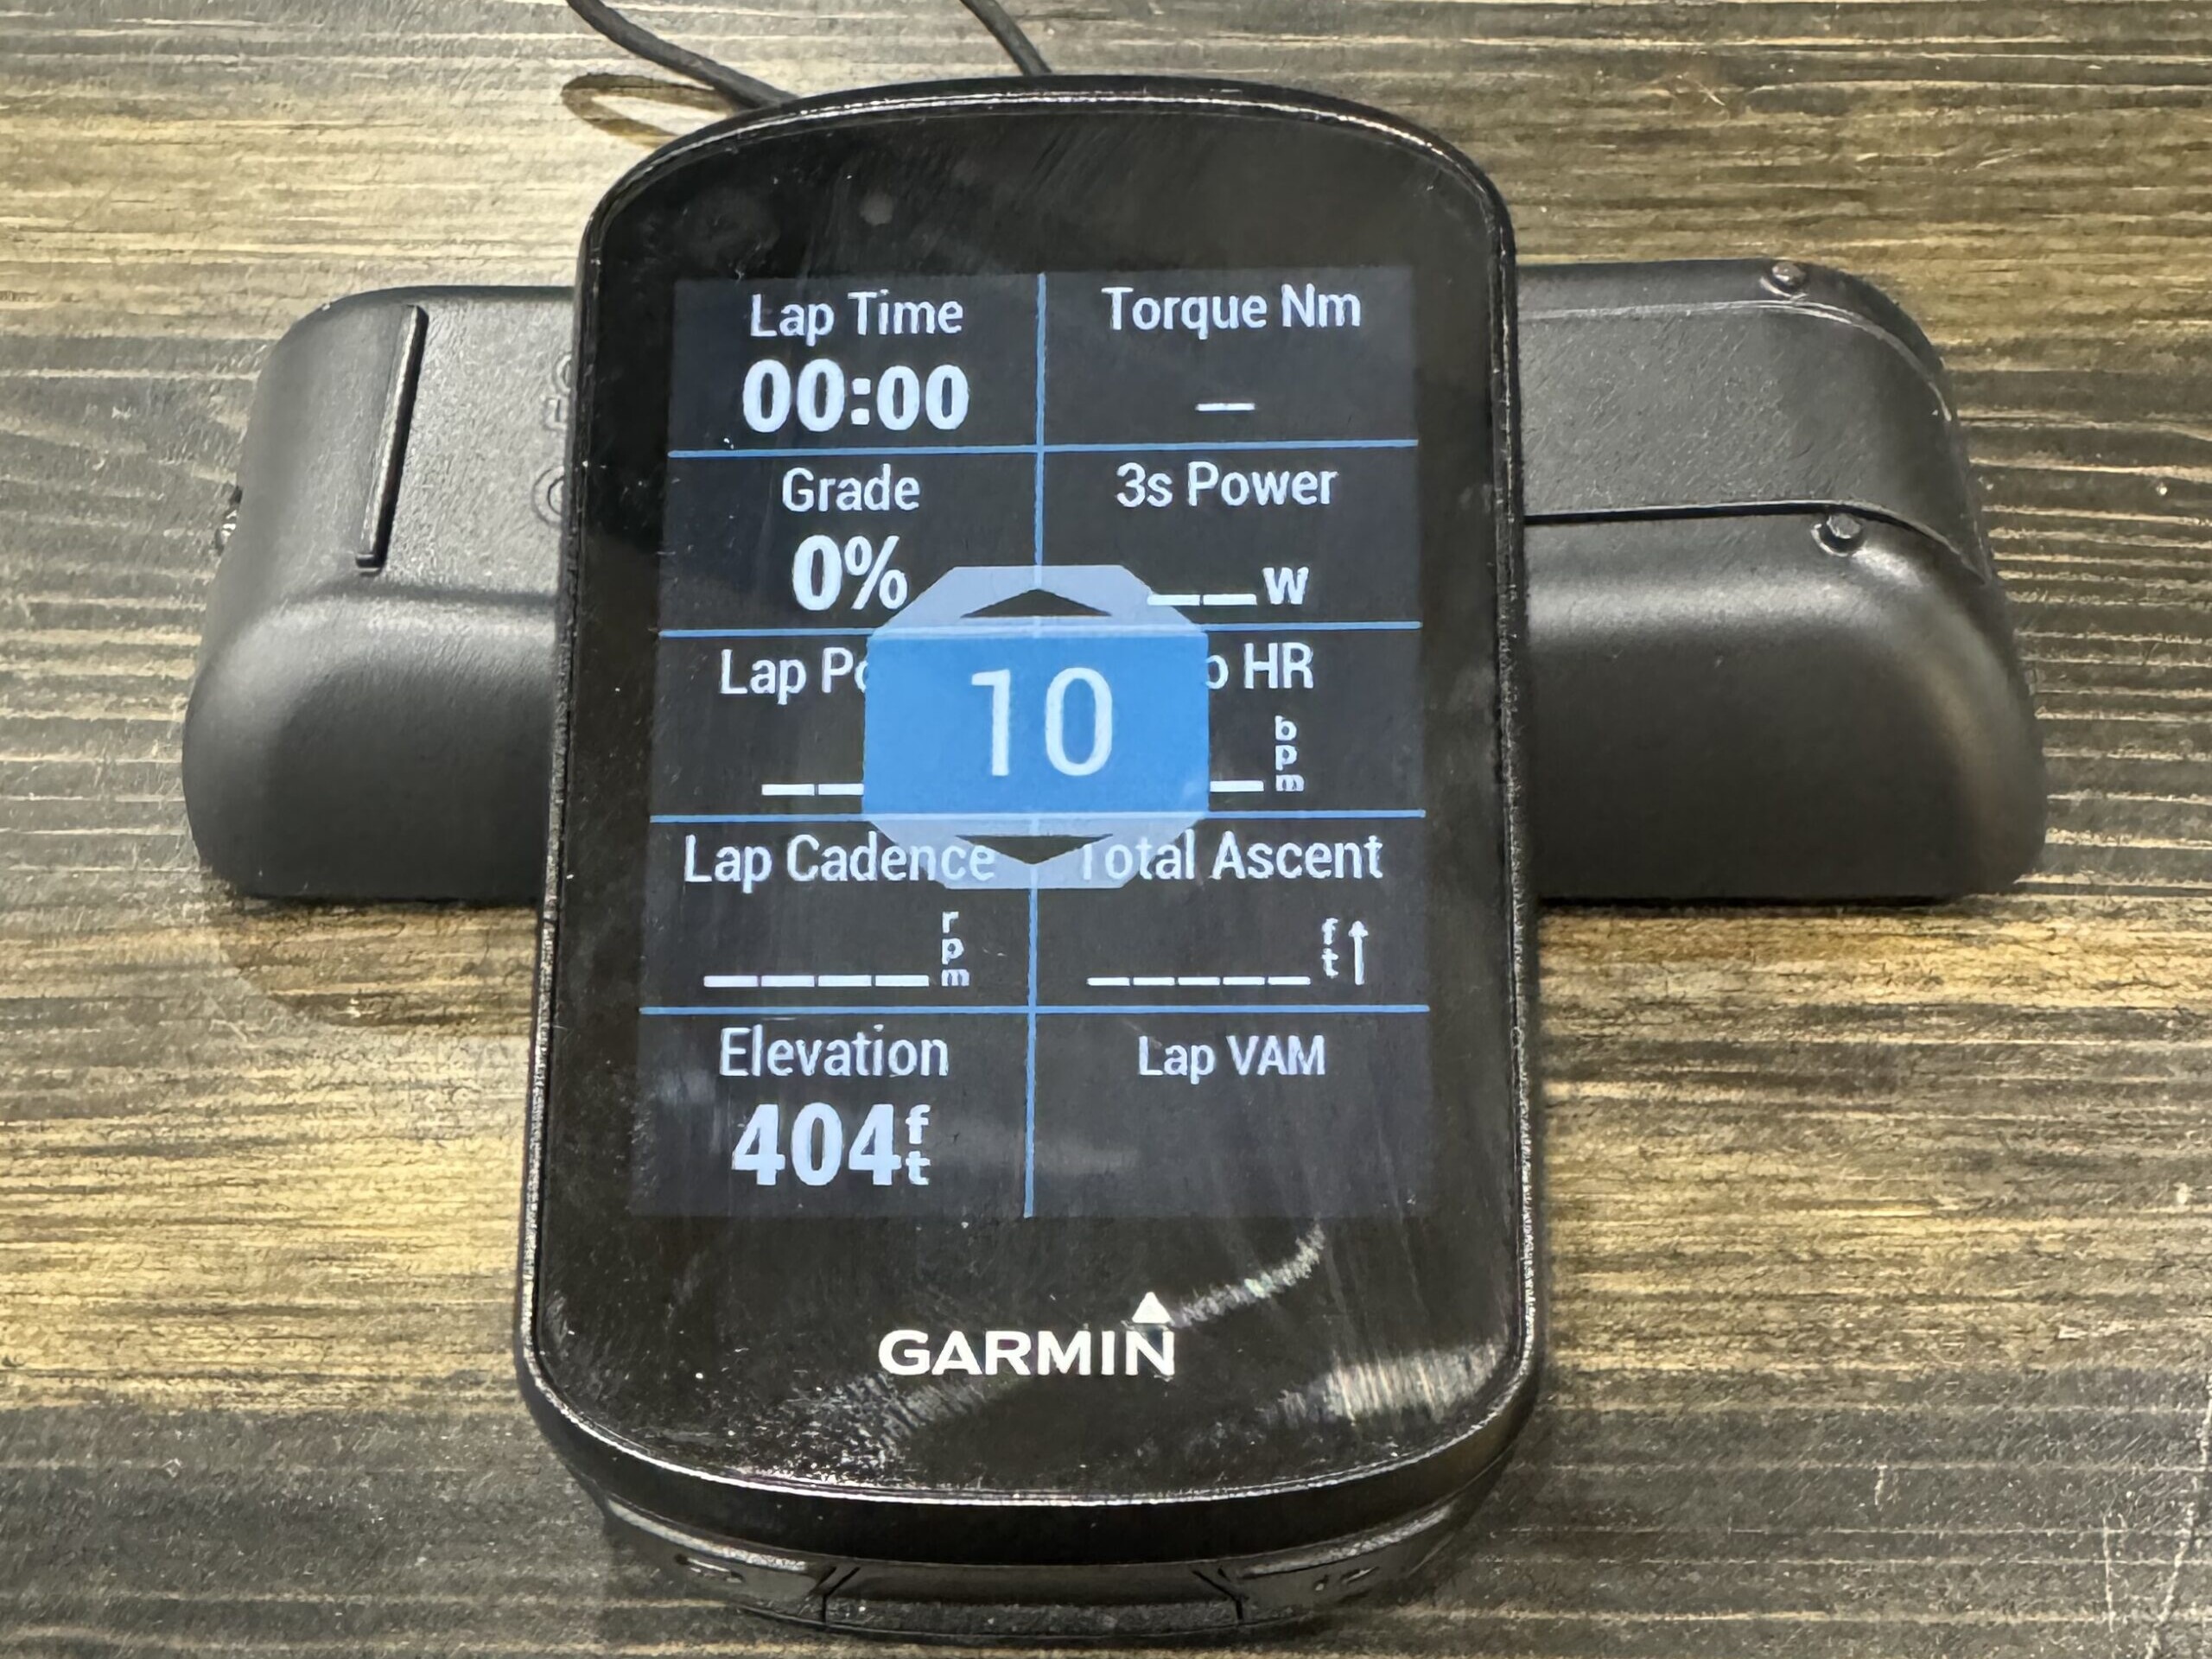
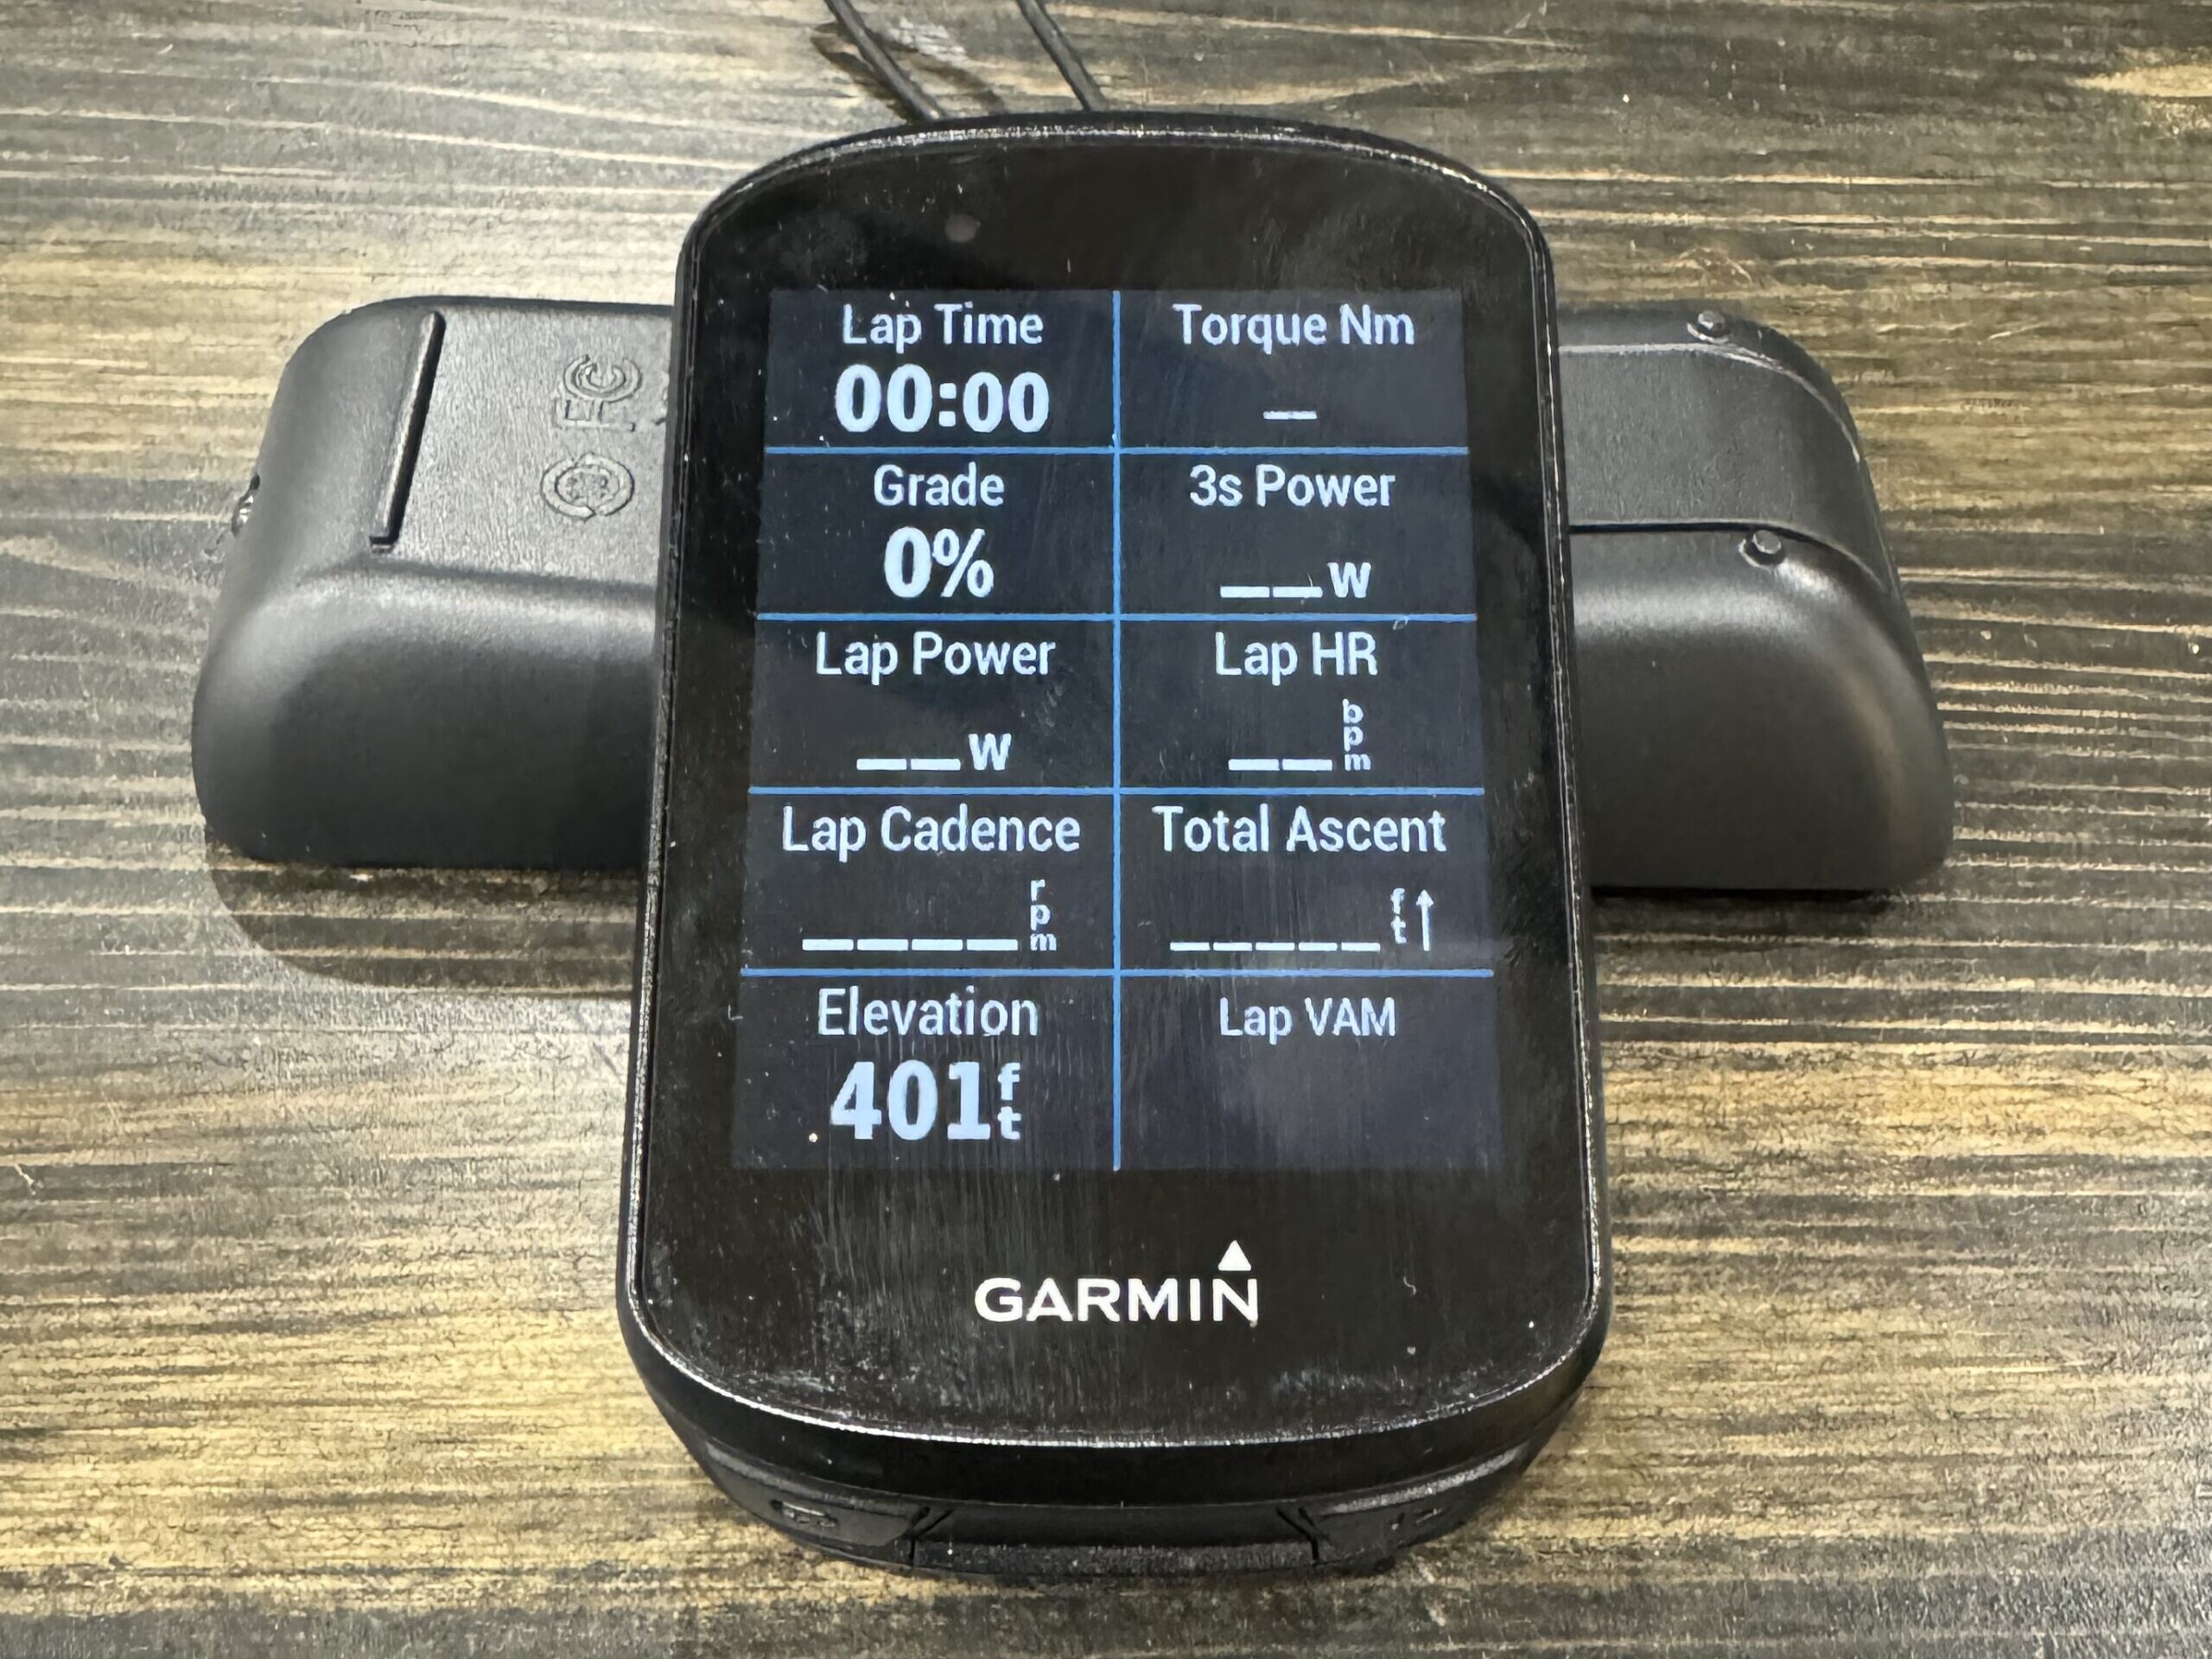
Other Data Pages
Feel free to add any other pages that you personally like and/or use.
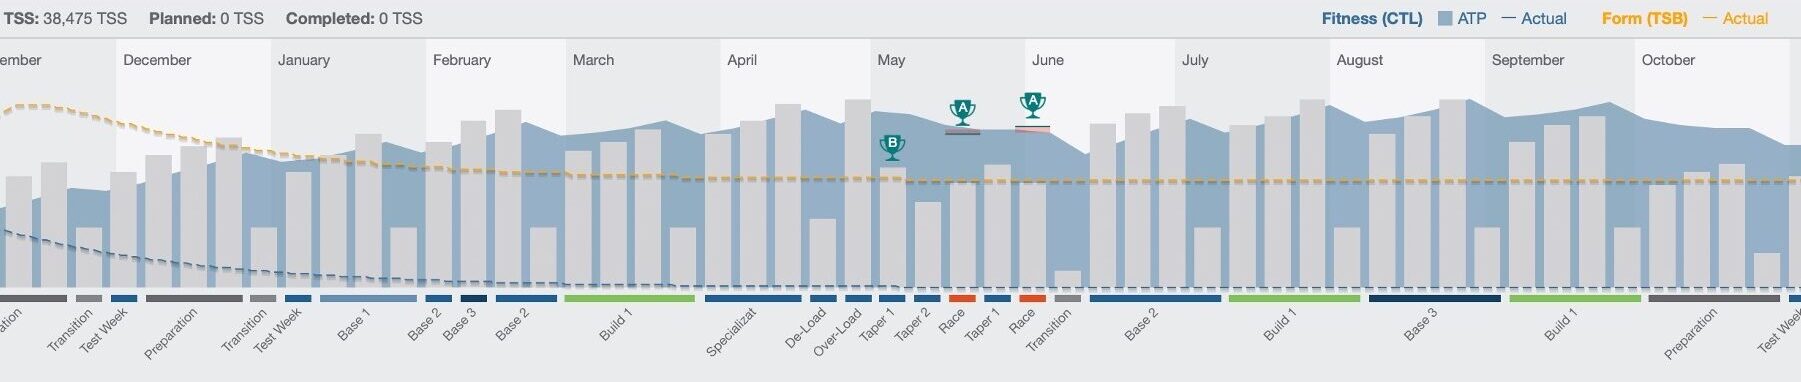
Annual Training Plan
Annual Training Plan
Annual Training Plan (ATP) is a guideline or roadmap to make sure maximum human performance is achieve for competition events.
Macro, Meso, and Micro Phases.
An ATP is broken down into:
Macro:
- 3 goal events throughout the year/season
Meso:
- Preparation
- Aerobic (Base)
- Anaerobic (Build)
- Specialization
- Race
- Off Season
Micro
- Weekly and monthly workout schedule
Preparation Phase
The Preparation Phase primary focus is on skills and aerobic endurance training including sport specific, resistance, and cross training modalities.
Key elements:
- Work on pedaling dynamics
- Start aerobic energy system rebuild
- Increase strength-endurance
- Work on mobility and repair injuries
- Set up training area and routine
Base Phase
The Base Phase focuses on aerobic or endurance training modalities to increase:
- Stroke volume
- Mitochondria density
- Catecholamines
- Parasympathetic nervous system tolerance
Build Phase
The Build Phase focuses on the anaerobic energy system efficiency. Primarily through specific interval intensities, durations, and recovery bouts.
Key Elements:
- Short hard intervals
- Intensive intervals
- Group rides and/or Training races
- Raise power at select durations
- Repetitive high power output
Specialization Phase
The Specialization Phase primary focus is the prepare for specific event demands. Keying into durations, intensities, repetition, and recovery bouts athletes can training towards a goal event by increasing tolerances to practice the stress for success.
Race Phase
The Race Phase is all about competition. Making sure the athlete is ready both physically and mentally to performance at their best. This phase focuses on event demands and recovery techniques.
Off Season Phase
The Off Season Phase is a chance to relax and take a break from structured exercise training. Look to be active but through informal daily exercise.
Key Elements:
- Engage in alternative athletic activities such as hiking, swimming, team sports, running, etc.
- Relax your nutrition plan
- Take time away from your primary sport
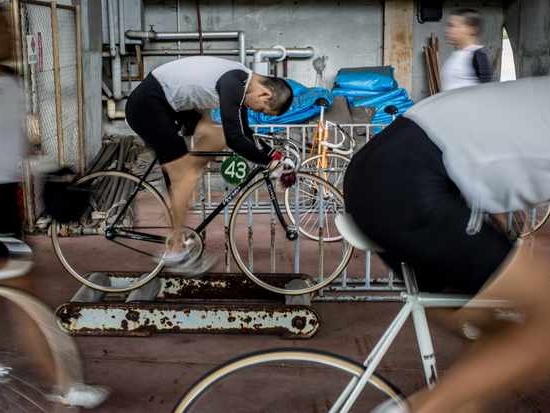
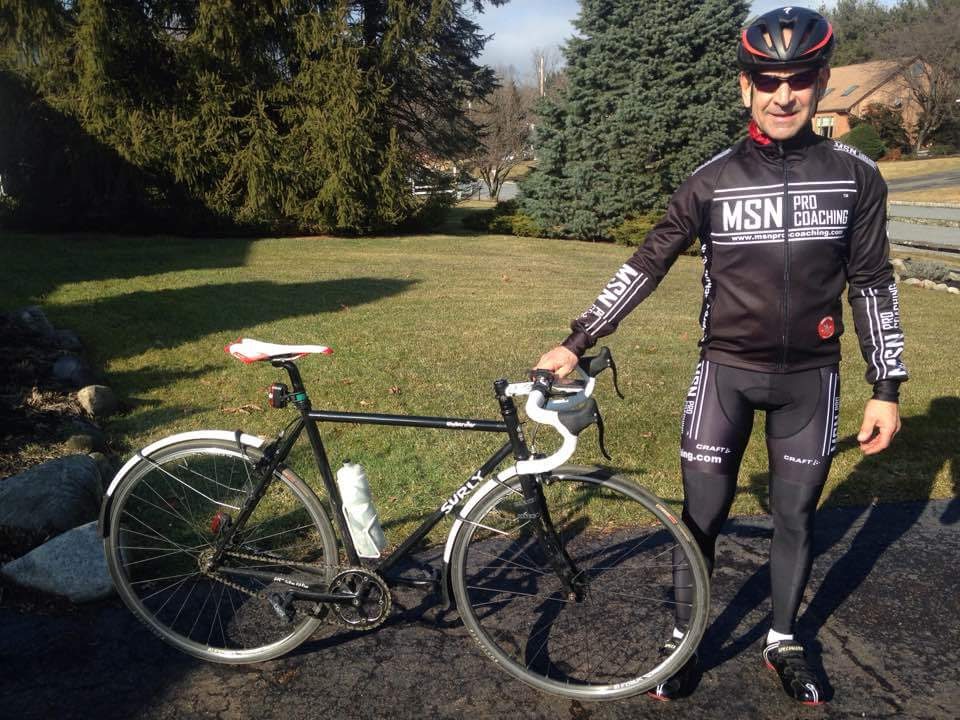
Fixed Gear Bicycle Setup
Fixed Gear Bicycle Setup
Setup and training with a fixed gear bicycle
The benefits of training on a fixed gear bicycle
- Helps to develop a 360-degree pedal stroke
- Keeps you warm during cold weather riding
- Teaches better bike handling control as you can brake with your legs as well as the calipers
- Training is hard with limited gearing to emphasize force and velocity outputs
- Allows focus to be on cadence and fundamentals of riding form
Fixed Gear Bicycle Setup
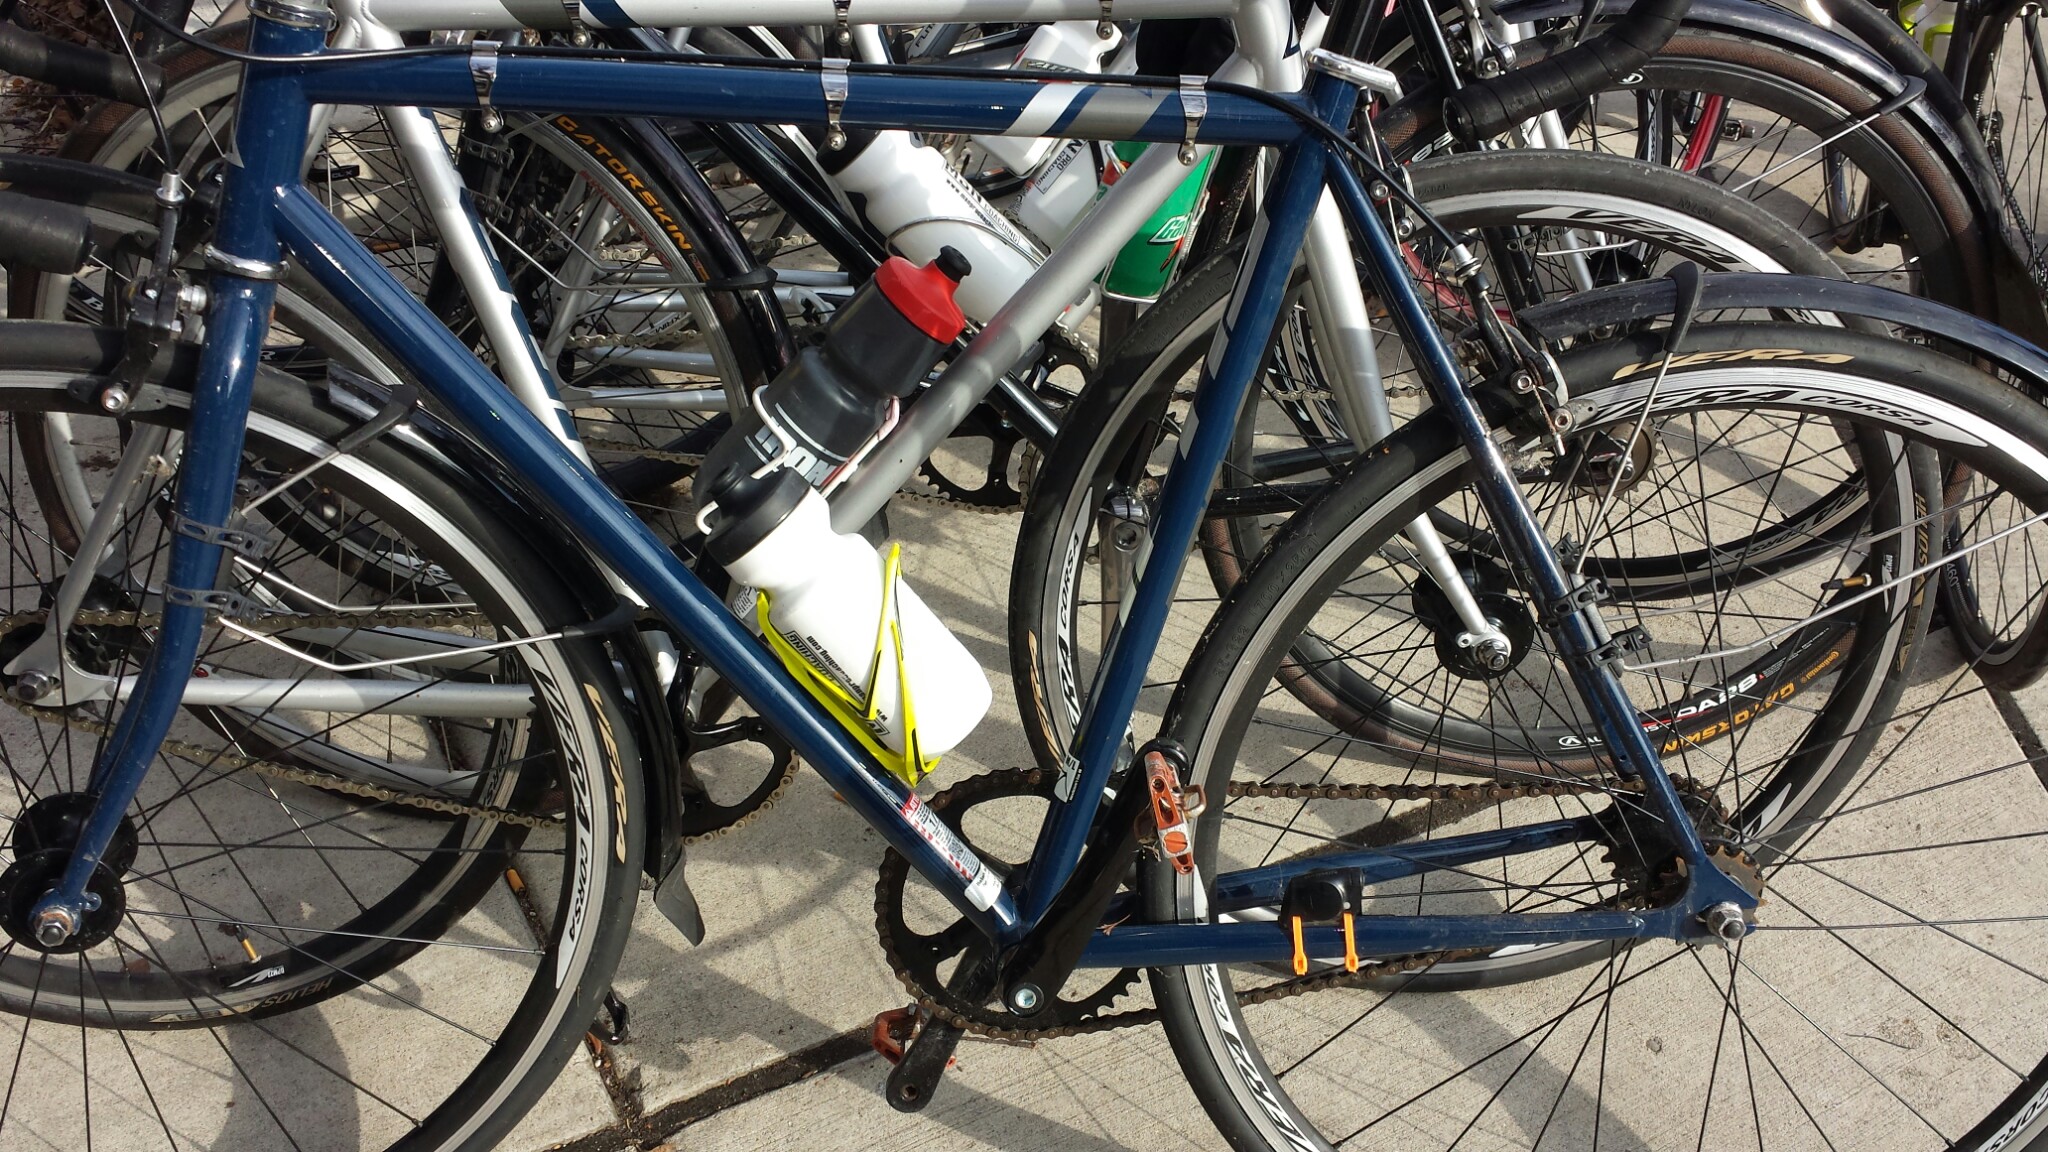
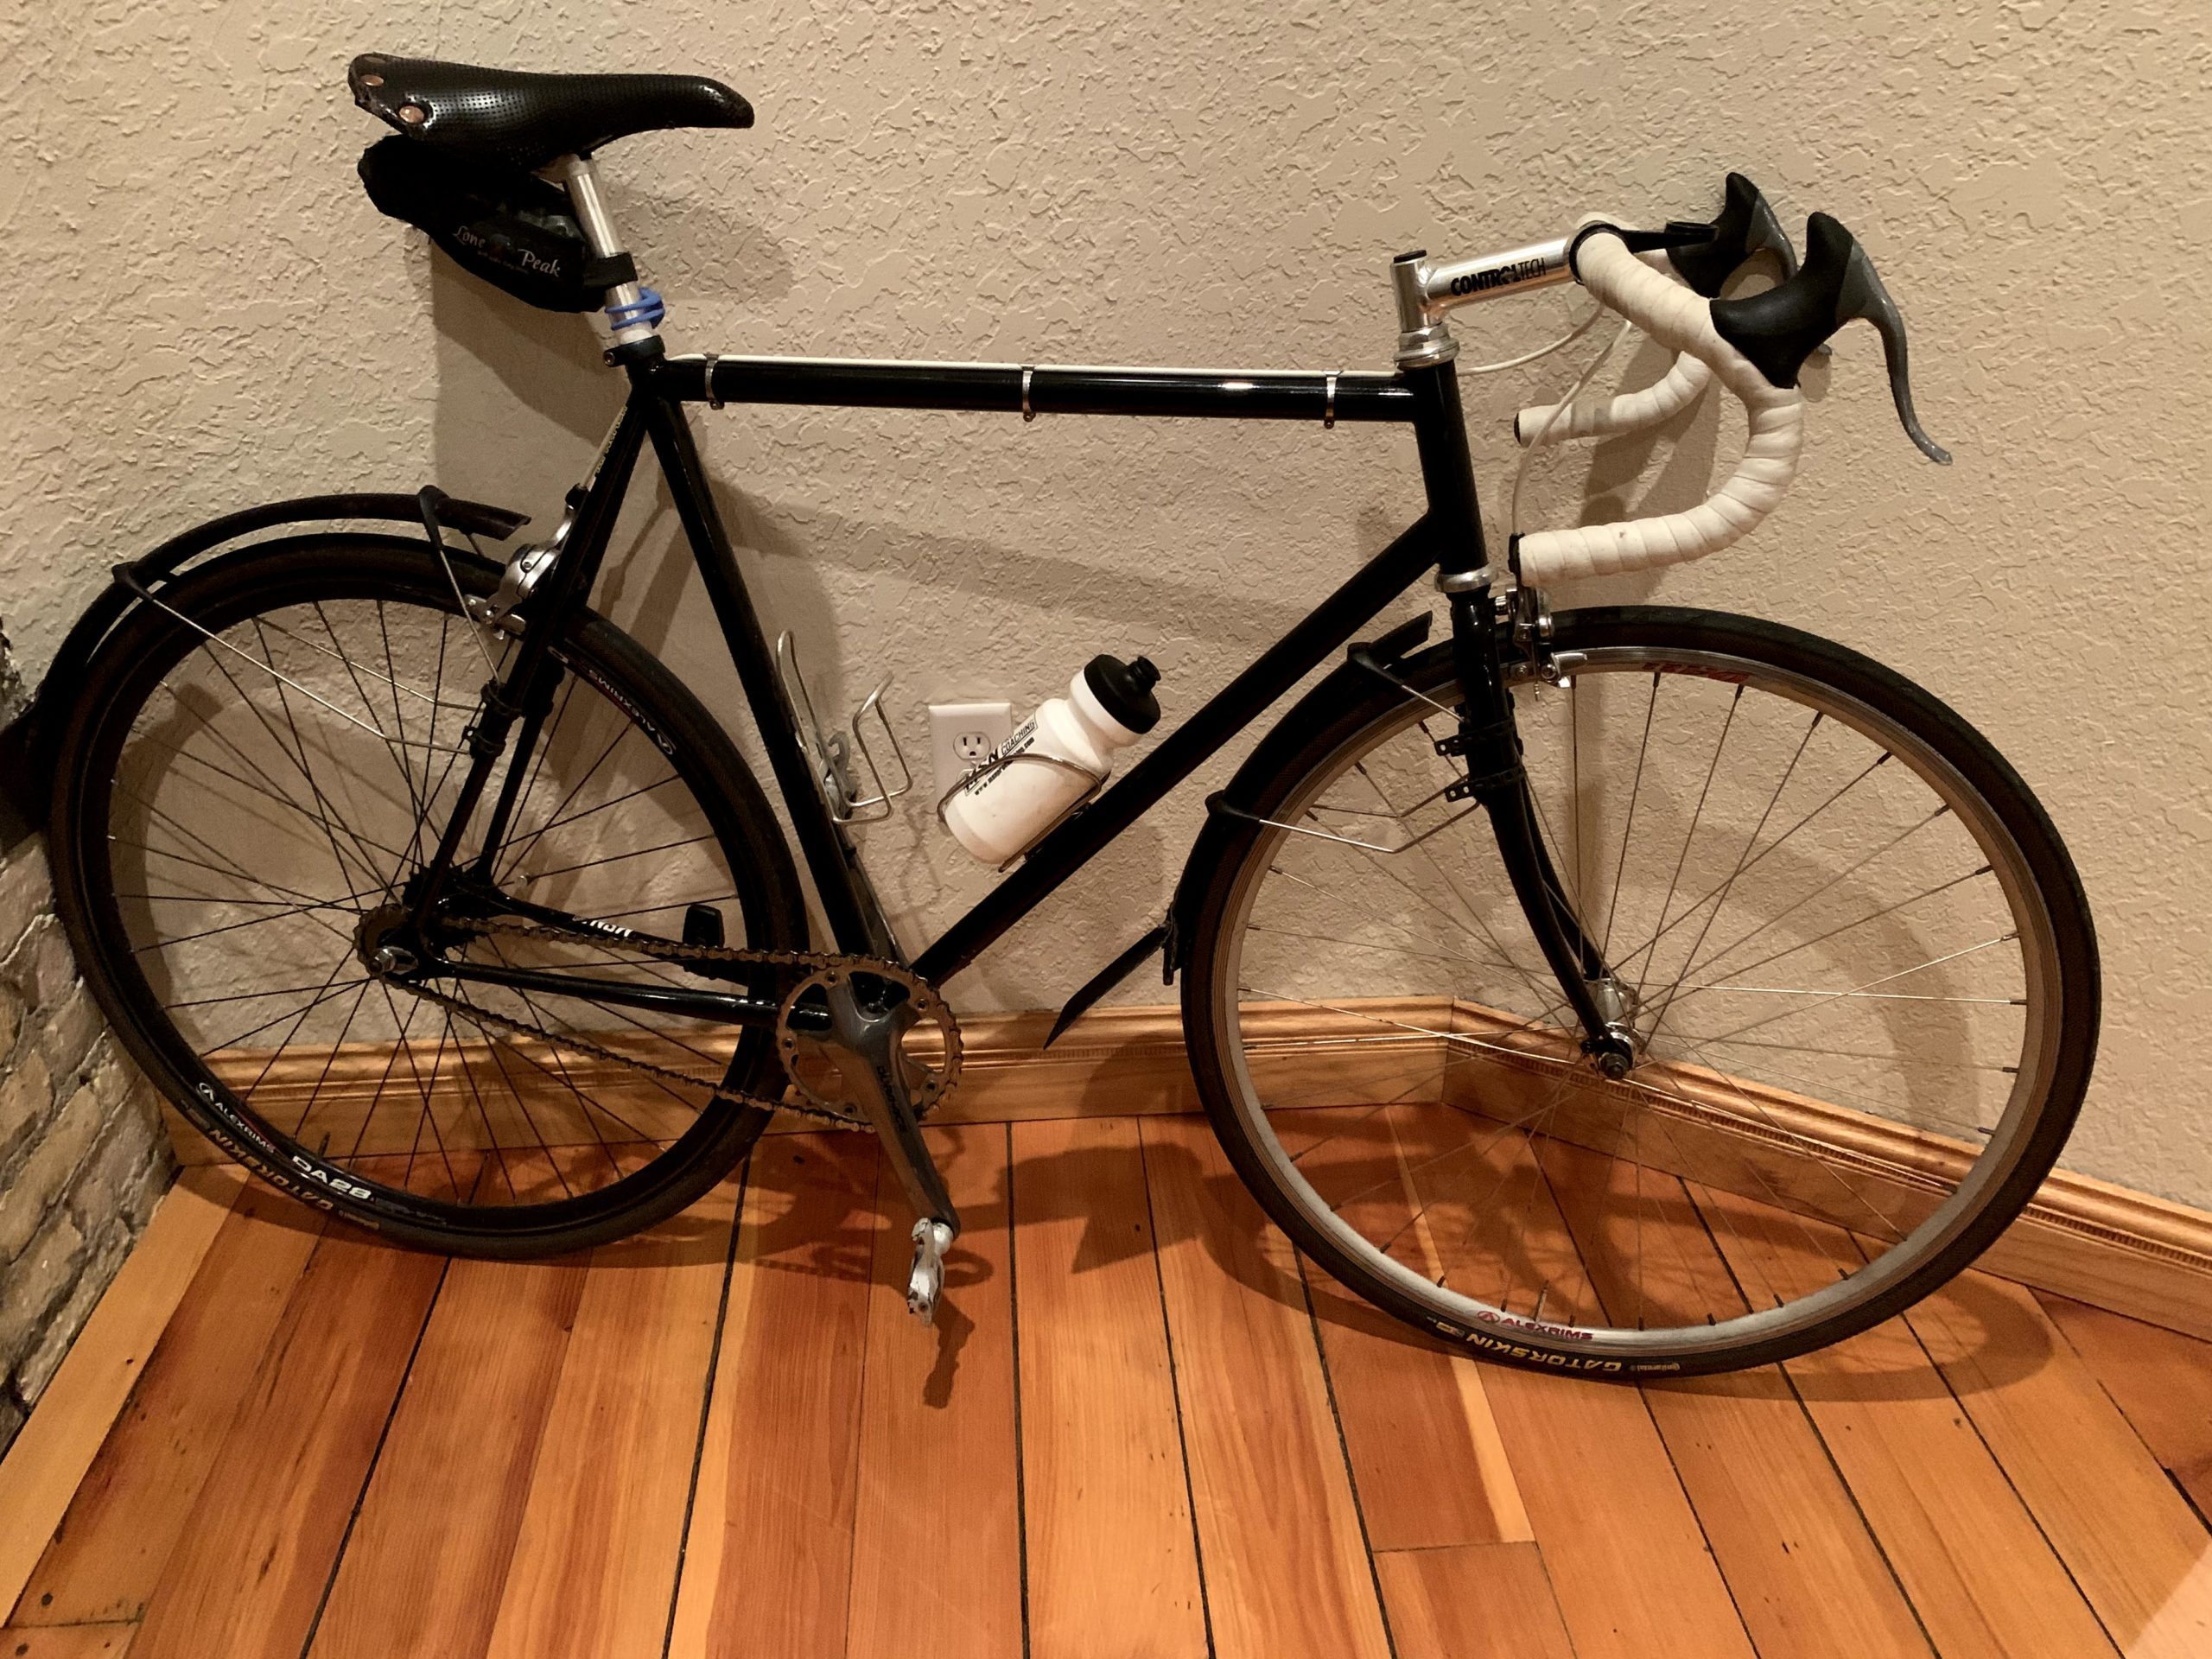
Setting up a fixed gear bike should be easy and fun. Look to find an older steel road frame or track frame with horizontal rear dropouts and holes to mount brake calipers.
The setup of a fixed gear bike is to mirror image your road bicycle including: saddle height and set-back, reach and drop to the handlebars, brake leveler hoods setup the same as your road bike and have water bottle placement on the frame. This bike is a training tool, not a race bike so light weight and performance parts are not needed.
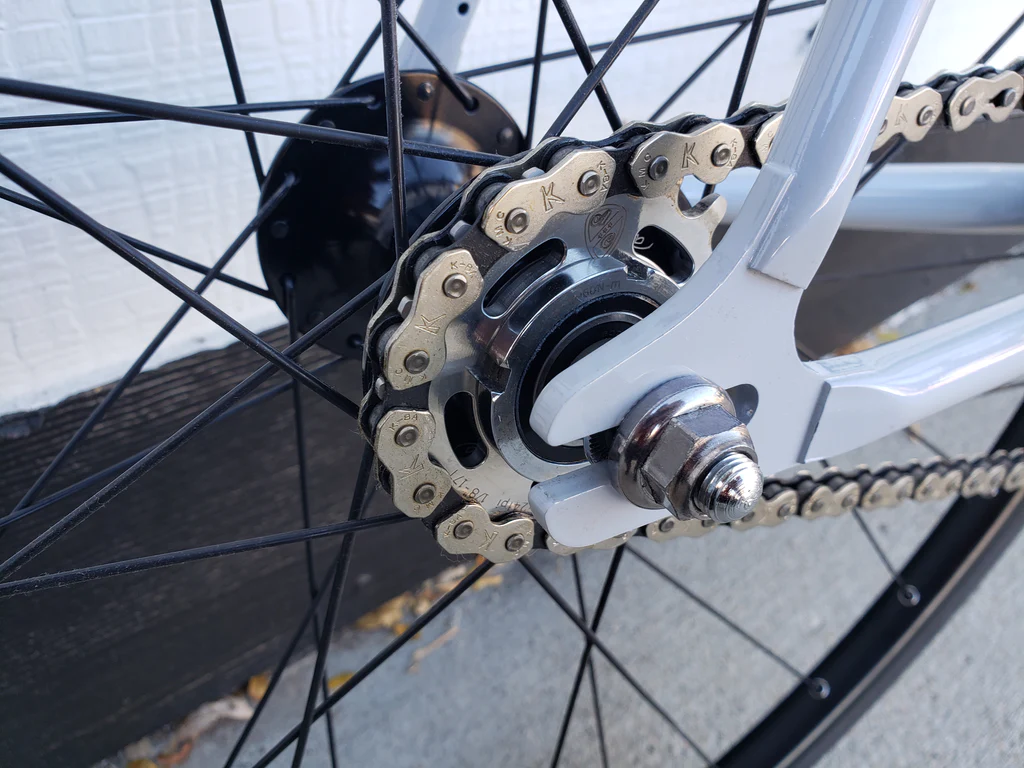
Gearing Setup
Fixed gear riding should start on flat roads and with a small or easy gear to allow for high cadences. Make sure the rear wheel is setup with a track “fixed” cog. This means that the bike cannot coast or stop the pedals from moving. You must continually pedal while riding a fixed gear bicycle.
Gearing:
Start with 39-42 front chain ring & 17-21 rear cog (~55 inches: 42×21)
Increase to 48-50 front chain ring & 16-18 rear cog (~72 inches: 48×18)
Home Bike Studio Setup
Put together your Home Bike Studio
Set up in an area with enough space for your bike, with plenty of room and free of any potential obstacles.
Set up in an area with enough space for your bike, with plenty of room and free of any potential obstacles.
The area should have good ventilation and a cool temperature. A spare room, garage, and/or basement are popular options.
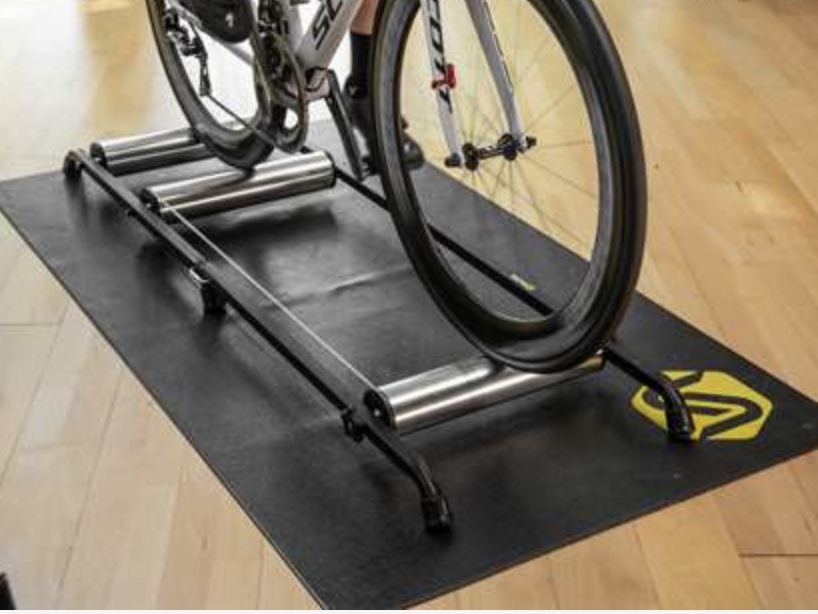
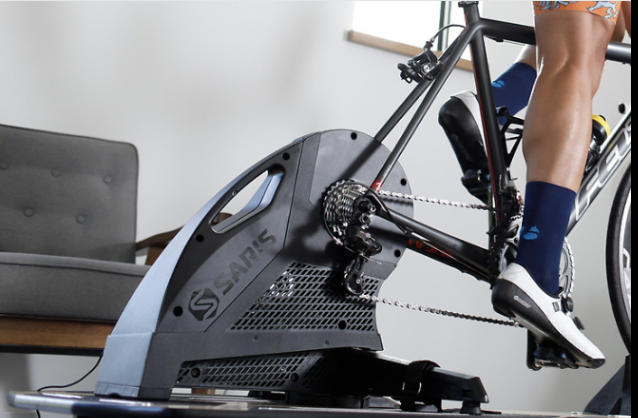
Equipment Needed:
Equipment Needed:
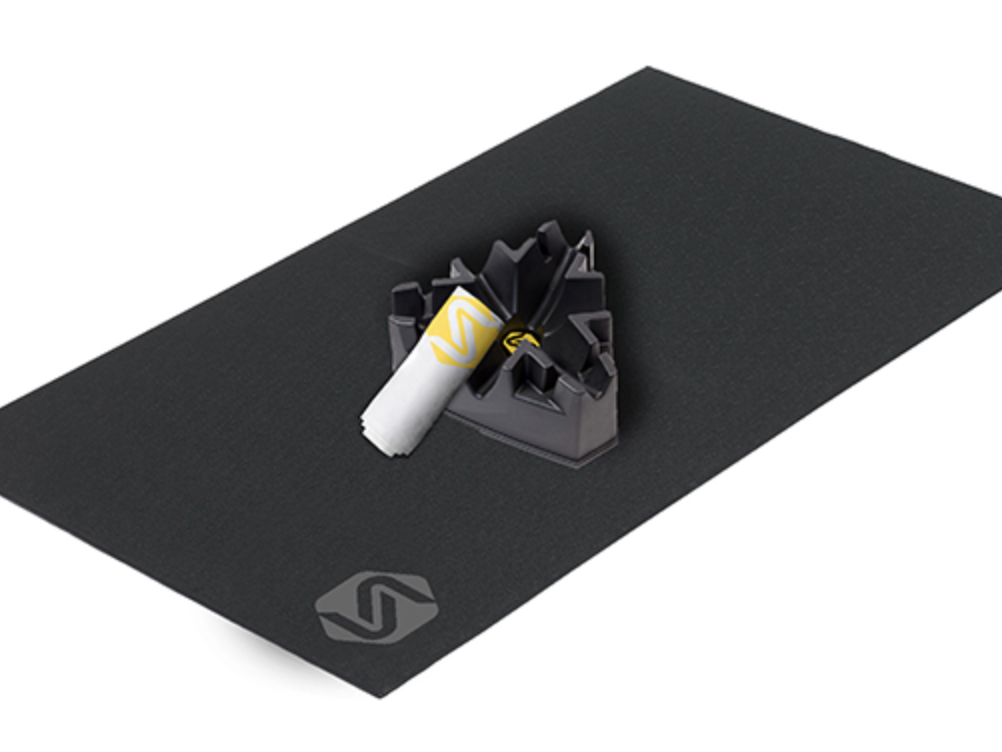
Smart Trainer, Aluminum Rollers, Rubber Mat, Climbing Front Wheel Block
Smart Trainer, Aluminum Rollers, Rubber Mat, Climbing Front Wheel Block
Other Equipment Needed
Entertainment: TV, Radio, Computer, etc.
Entertainment: TV, Radio, Computer, etc.
Fan: 20”, Centrifugal, AC Unit, Towel
Fan: 20”, Centrifugal, AC Unit, Towel
Software Platforms:
- Zwift
- TrainerRoad
- Rouvy
- 3rd party turbo app (Wahoo app for example)