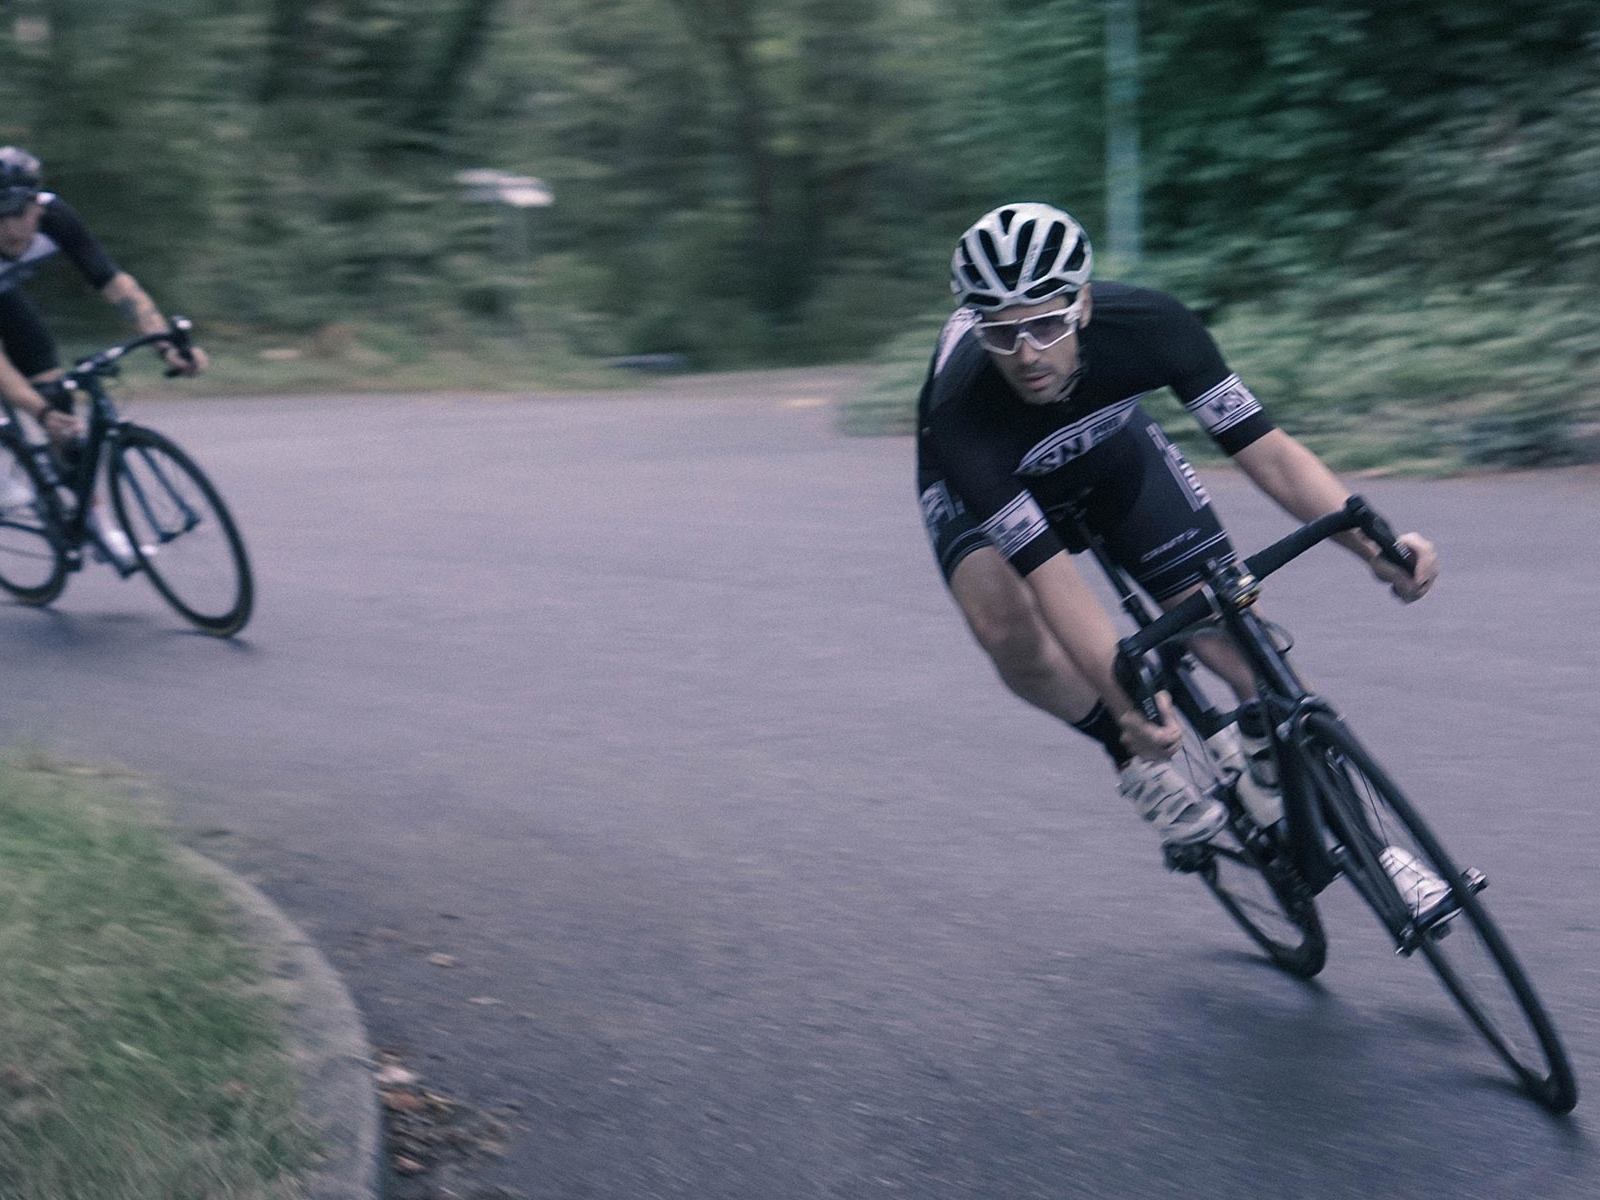
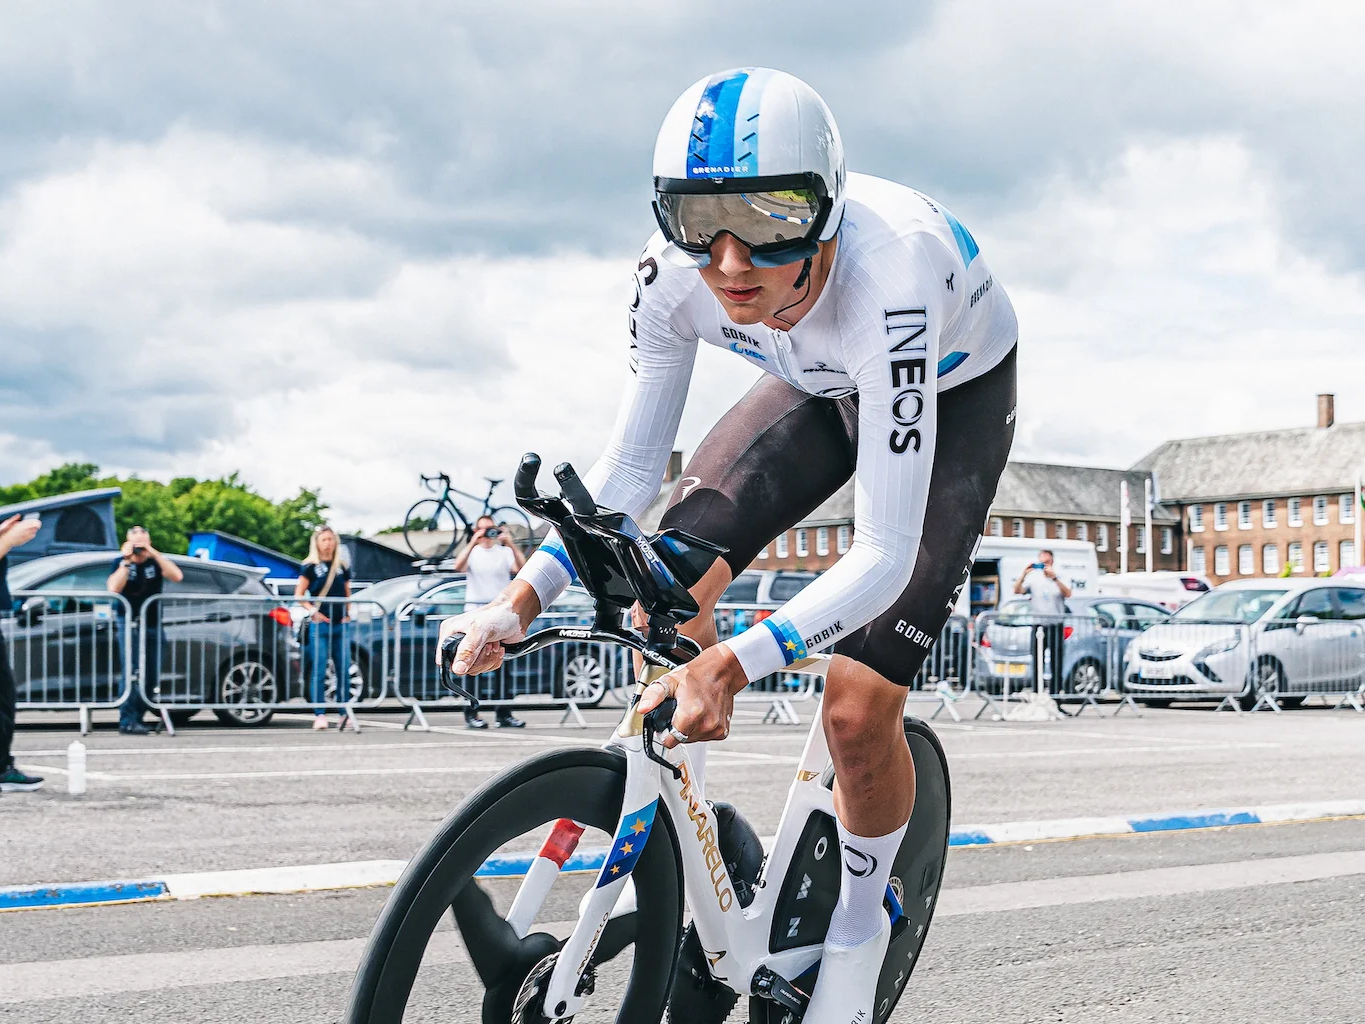
Aerodynamics: Time Trialing
Aerodynamics
Aerodynamics plays a crucial role in time trialing. To improve it, focus on two key areas: body posture and equipment selection.
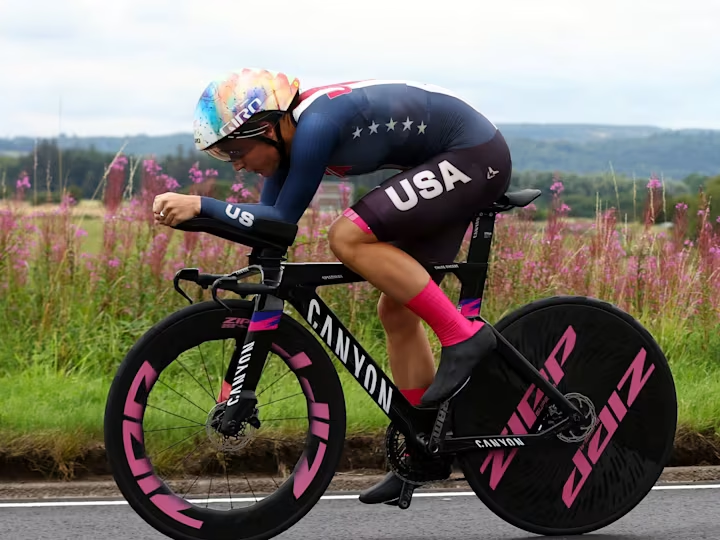
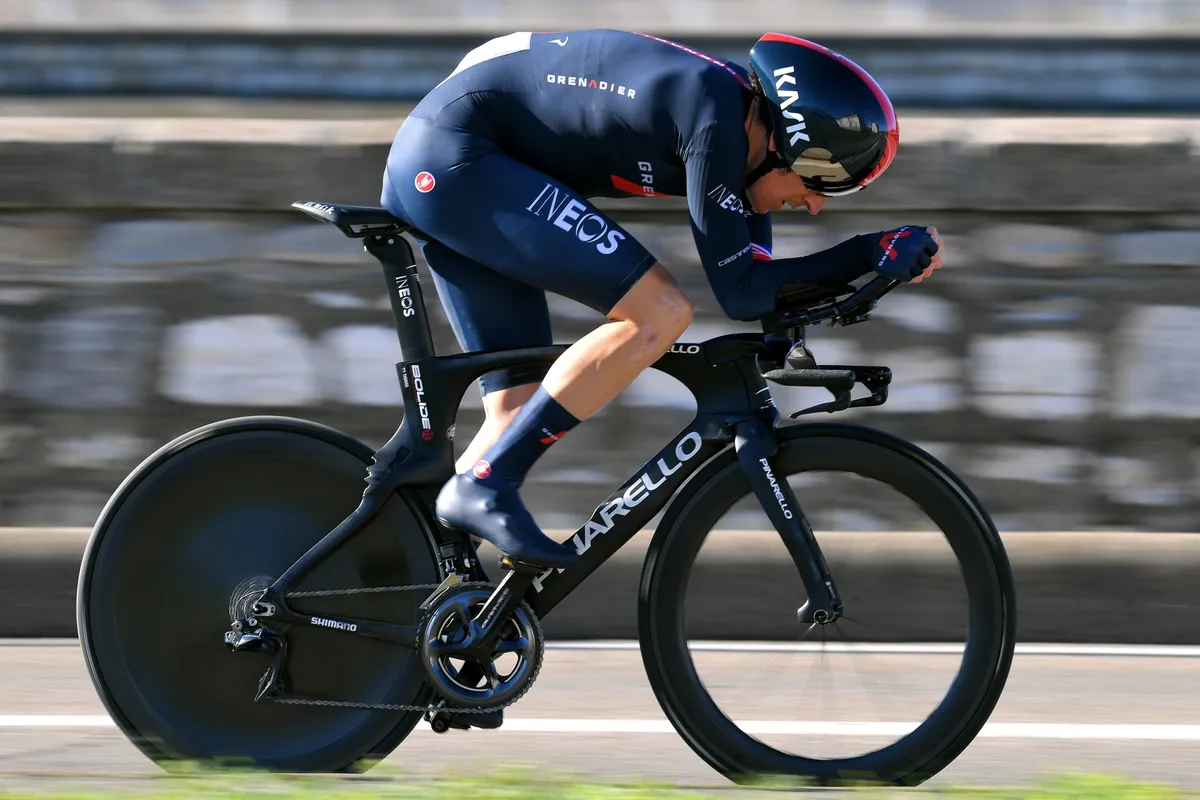
Overview of some equipment choices
Use this guide as a starting point to identify which equipment areas will have the greatest impact on improving your aerodynamics.
Types of Aerodynamic Testing
- Wind Tunnel: The gold standard for equipment and within a few hours the optimal rider position can be found. Disadvantages are its cost and does not always transfer within the real world
- Track Testing: Optimal to simulate real world riding. Able to have somewhat repeatability and attention to detail for positioning and equipment choice. Cons: ability to use and ride a track. Weather conditions affect outcomes.
- Field Testing: Can do anywhere or on actual race course. Will have to conduct multiply attempts to obtain enough data to rule out some of the environment and uncontrollable conditions.
- Computational Fluid Dynamics: Virtual wind tunnel enabling unlimited tests and location of testing. Can use as a tool to train rider position. Downside would be unrealistic riding conditions with simulations.

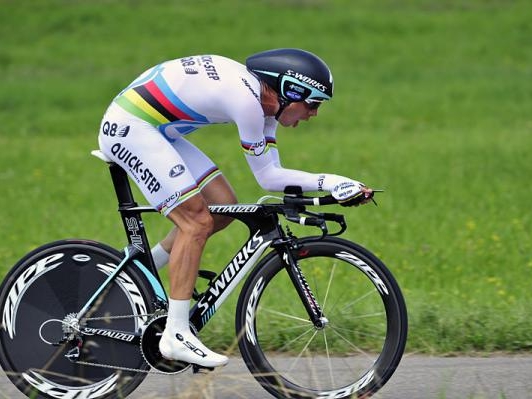
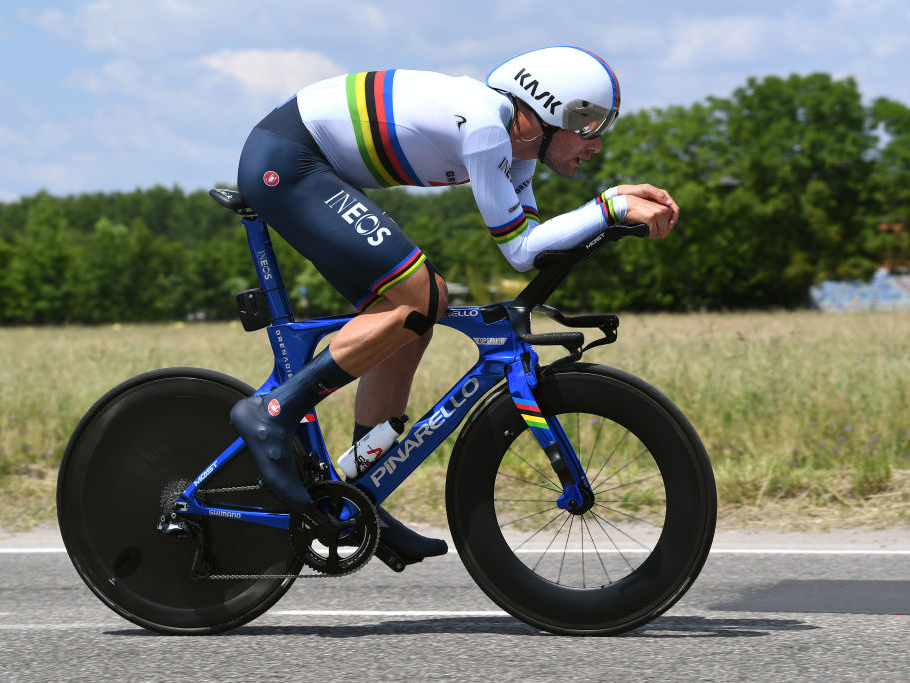
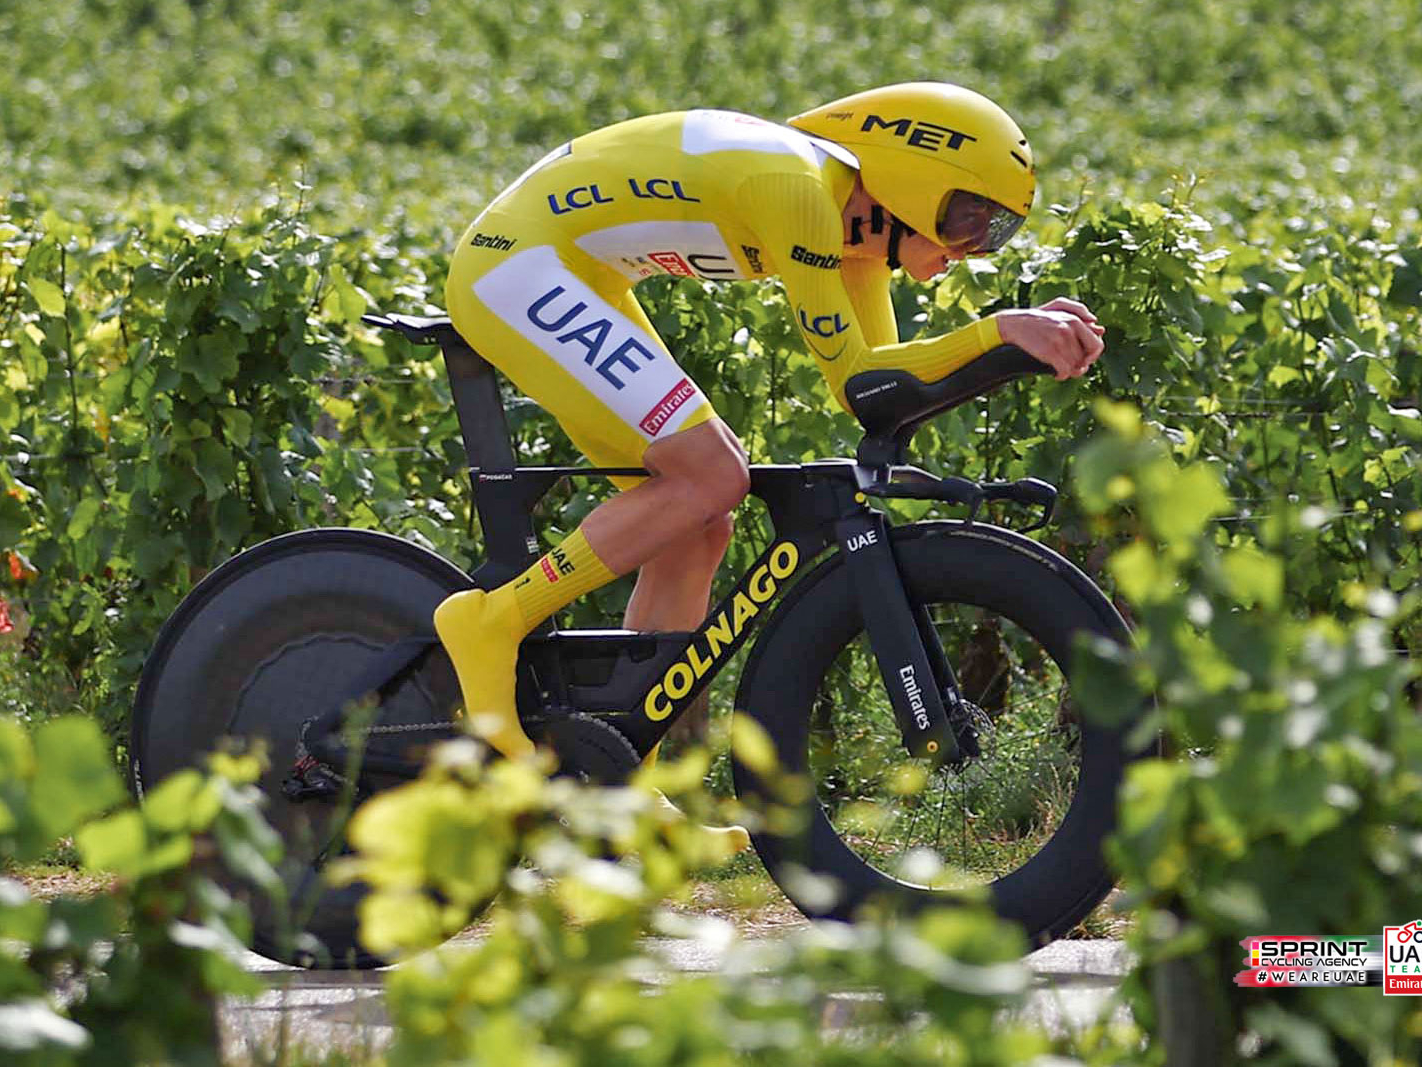
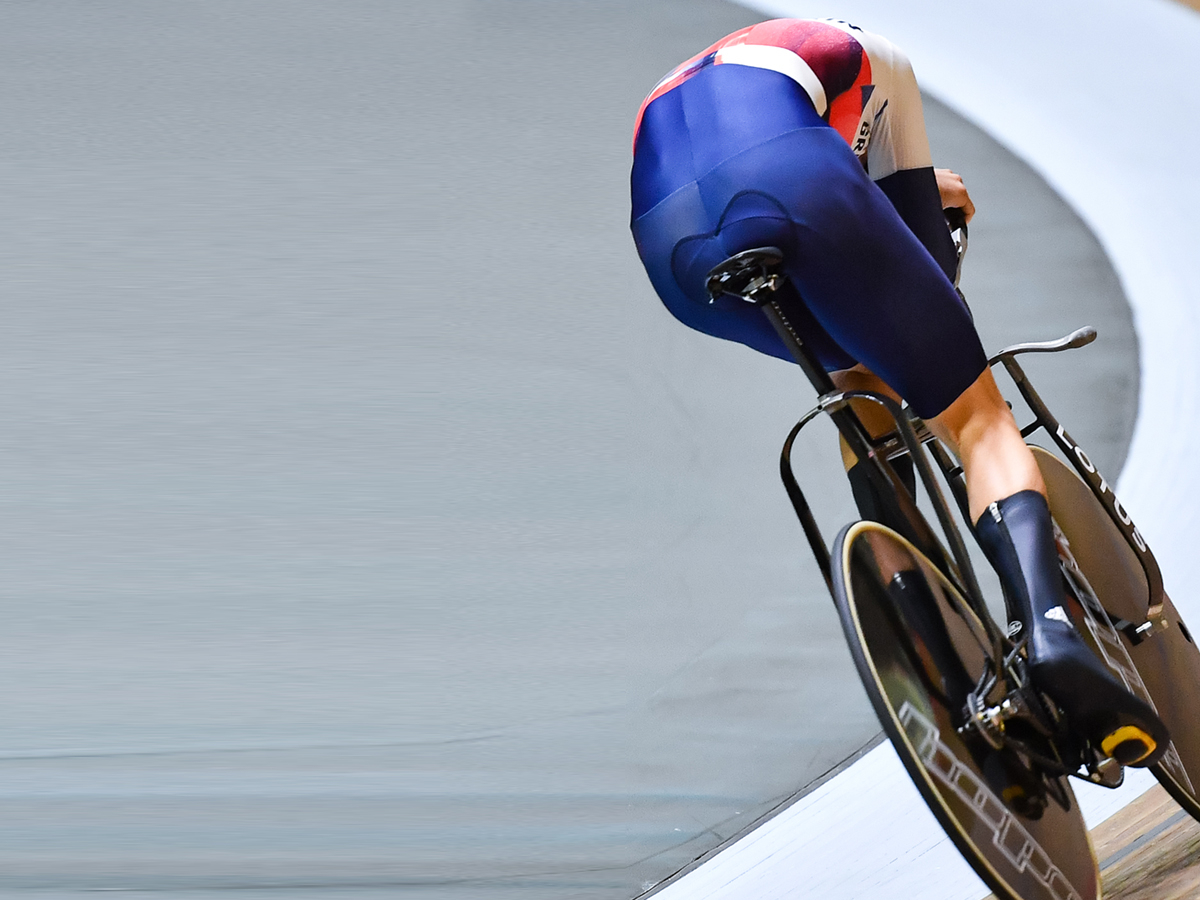
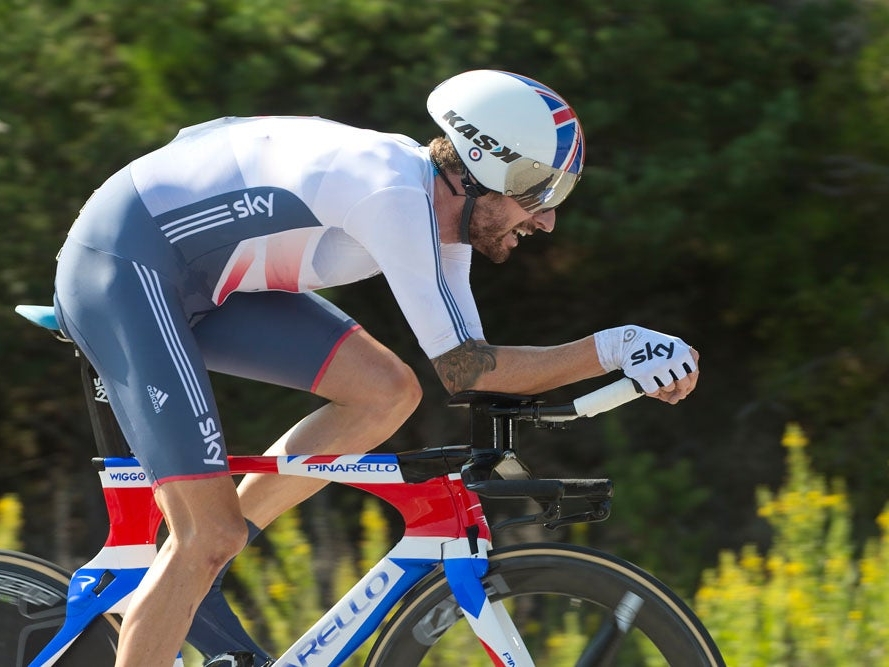
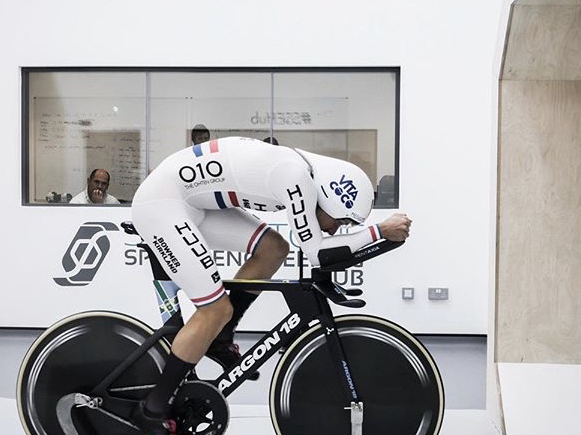
Rider Position: Back Shape
Back shape is crucial in aerodynamics, as it essentially acts as a wing. Recent trends emphasize achieving a flat back for optimal performance. However, this approach isn’t always ideal, as attempting to flatten the back can sometimes lead to wider shoulders, increasing the frontal area and compromising aerodynamics.
Rider Position: Forearms
Flat forearms are often preferred, likely due to wind tunnel testing showing improved speed for some riders. However, others opt for a position with hands higher than the elbows, which helps to narrow the shoulders and reduce frontal area for better aerodynamics.
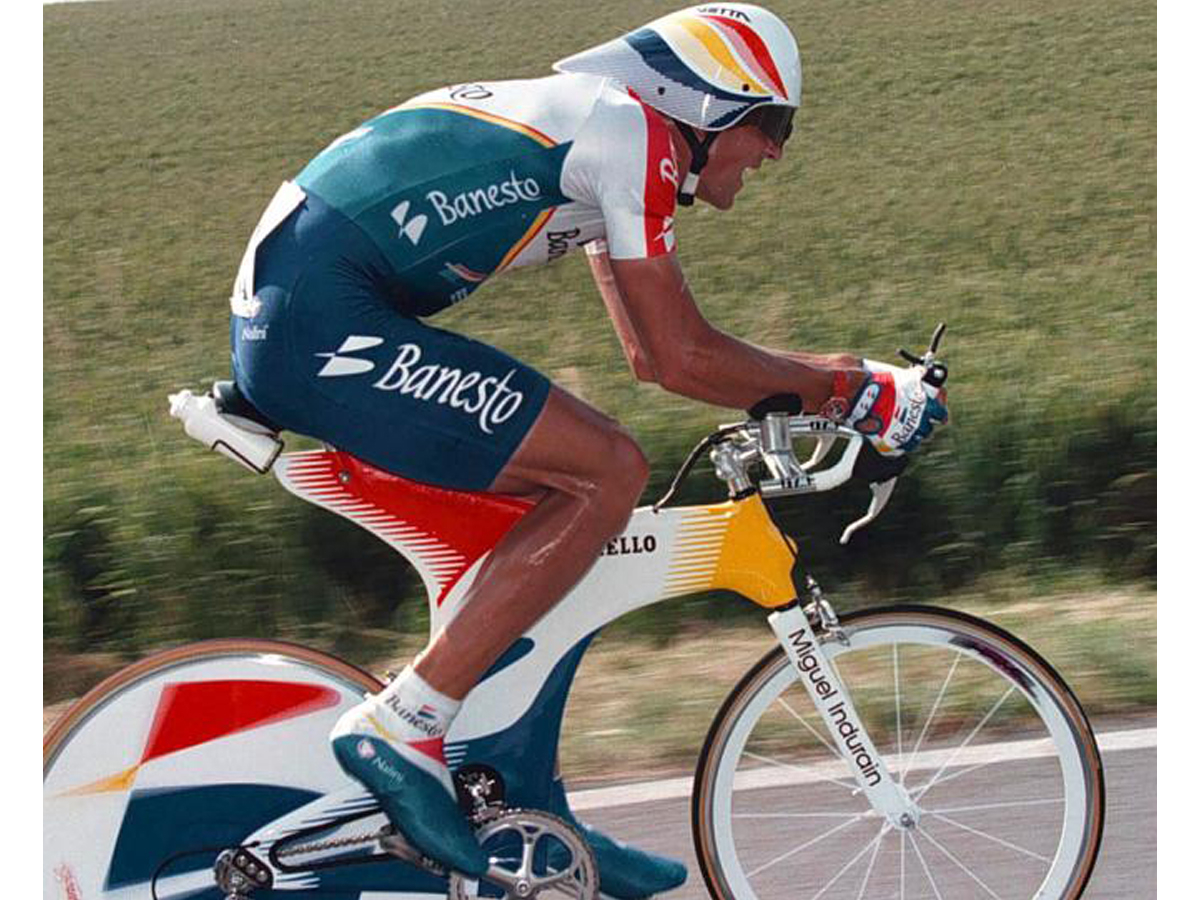
Rider Position: Head and mouth
The mouth naturally acts as an air scoop, which isn’t ideal for aerodynamics. However, the slight aerodynamic loss is outweighed by the need for maximum airflow when breathing under effort. To minimize this effect, riders can use their hands to help deflect air around and away from the face.
Equipement Selection: Frame
Modern frames are generally aerodynamic and responsive, making components and body position the key areas for improvement. That said, selecting the right frame size and aerofoil design is still important, as it enables optimal handlebar setup and efficient internal cable routing for enhanced aerodynamics.
Equipement Selection: Overshoes
The fabric of overshoes is more aerodynamic than bare skin. To maximize this advantage, aim to cover not just the shoes but also as much of the shin as legally permitted with a tight, form-fitting overshoe.
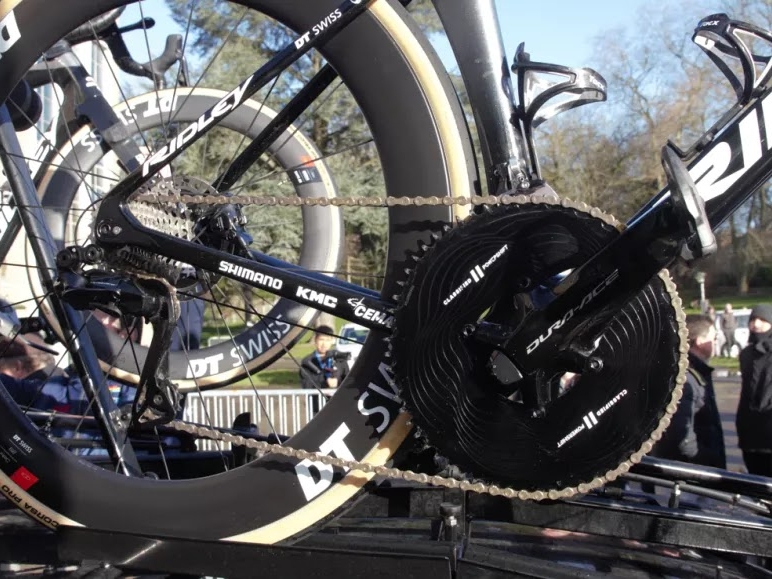
Chainrings/Gearing
Choose the right gearing to balance power output and aerodynamics. Aim for a straight chain line to maximize efficiency, and opt for a solid front chainring for improved aerodynamics. Select the chainring and cassette size based on the specific demands of the event course.
Equipement Selection: Helmet
The ideal helmet varies greatly between riders. The best approach is to test different styles in a wind tunnel or by tracking CdA to determine what works best for you. It’s crucial that the helmet bridges the gap between your head and back, creating smooth, uninterrupted airflow from your forehead down your spine.
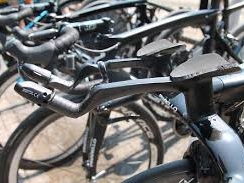
Equipement Selection: Stem/Bars
Front-end integration is a crucial aspect of a time trial bike. Aim for minimal cable exposure, hidden bolts, and a streamlined, wing-like shape to reduce drag. Additionally, customize the extensions to suit your riding style and optimize your aerodynamic positioning for maximum efficiency.
Equipement Selection: Skinsuit
Since the 1980s, the skinsuit has been a universal choice for aerodynamics. Variations in fabric textures can create different levels of drag, making material selection crucial. Though seemingly simple, the skinsuit plays a vital role in overall aerodynamics, as the rider is the largest contributor to drag. Optimizing fit, fabric choice, and seam placement can significantly enhance performance at high speeds.
Equipement Selection: Wheels
While a larger frontal area can create drag, real-world performance—especially in crosswinds—must be factored into wheel selection. Deep rims, tri-spokes, and disc wheels all carry a similar weight penalty but offer distinct aerodynamic benefits. Wheels play a crucial role in both aerodynamics and overall performance, making it essential to study the event course carefully and choose accordingly.
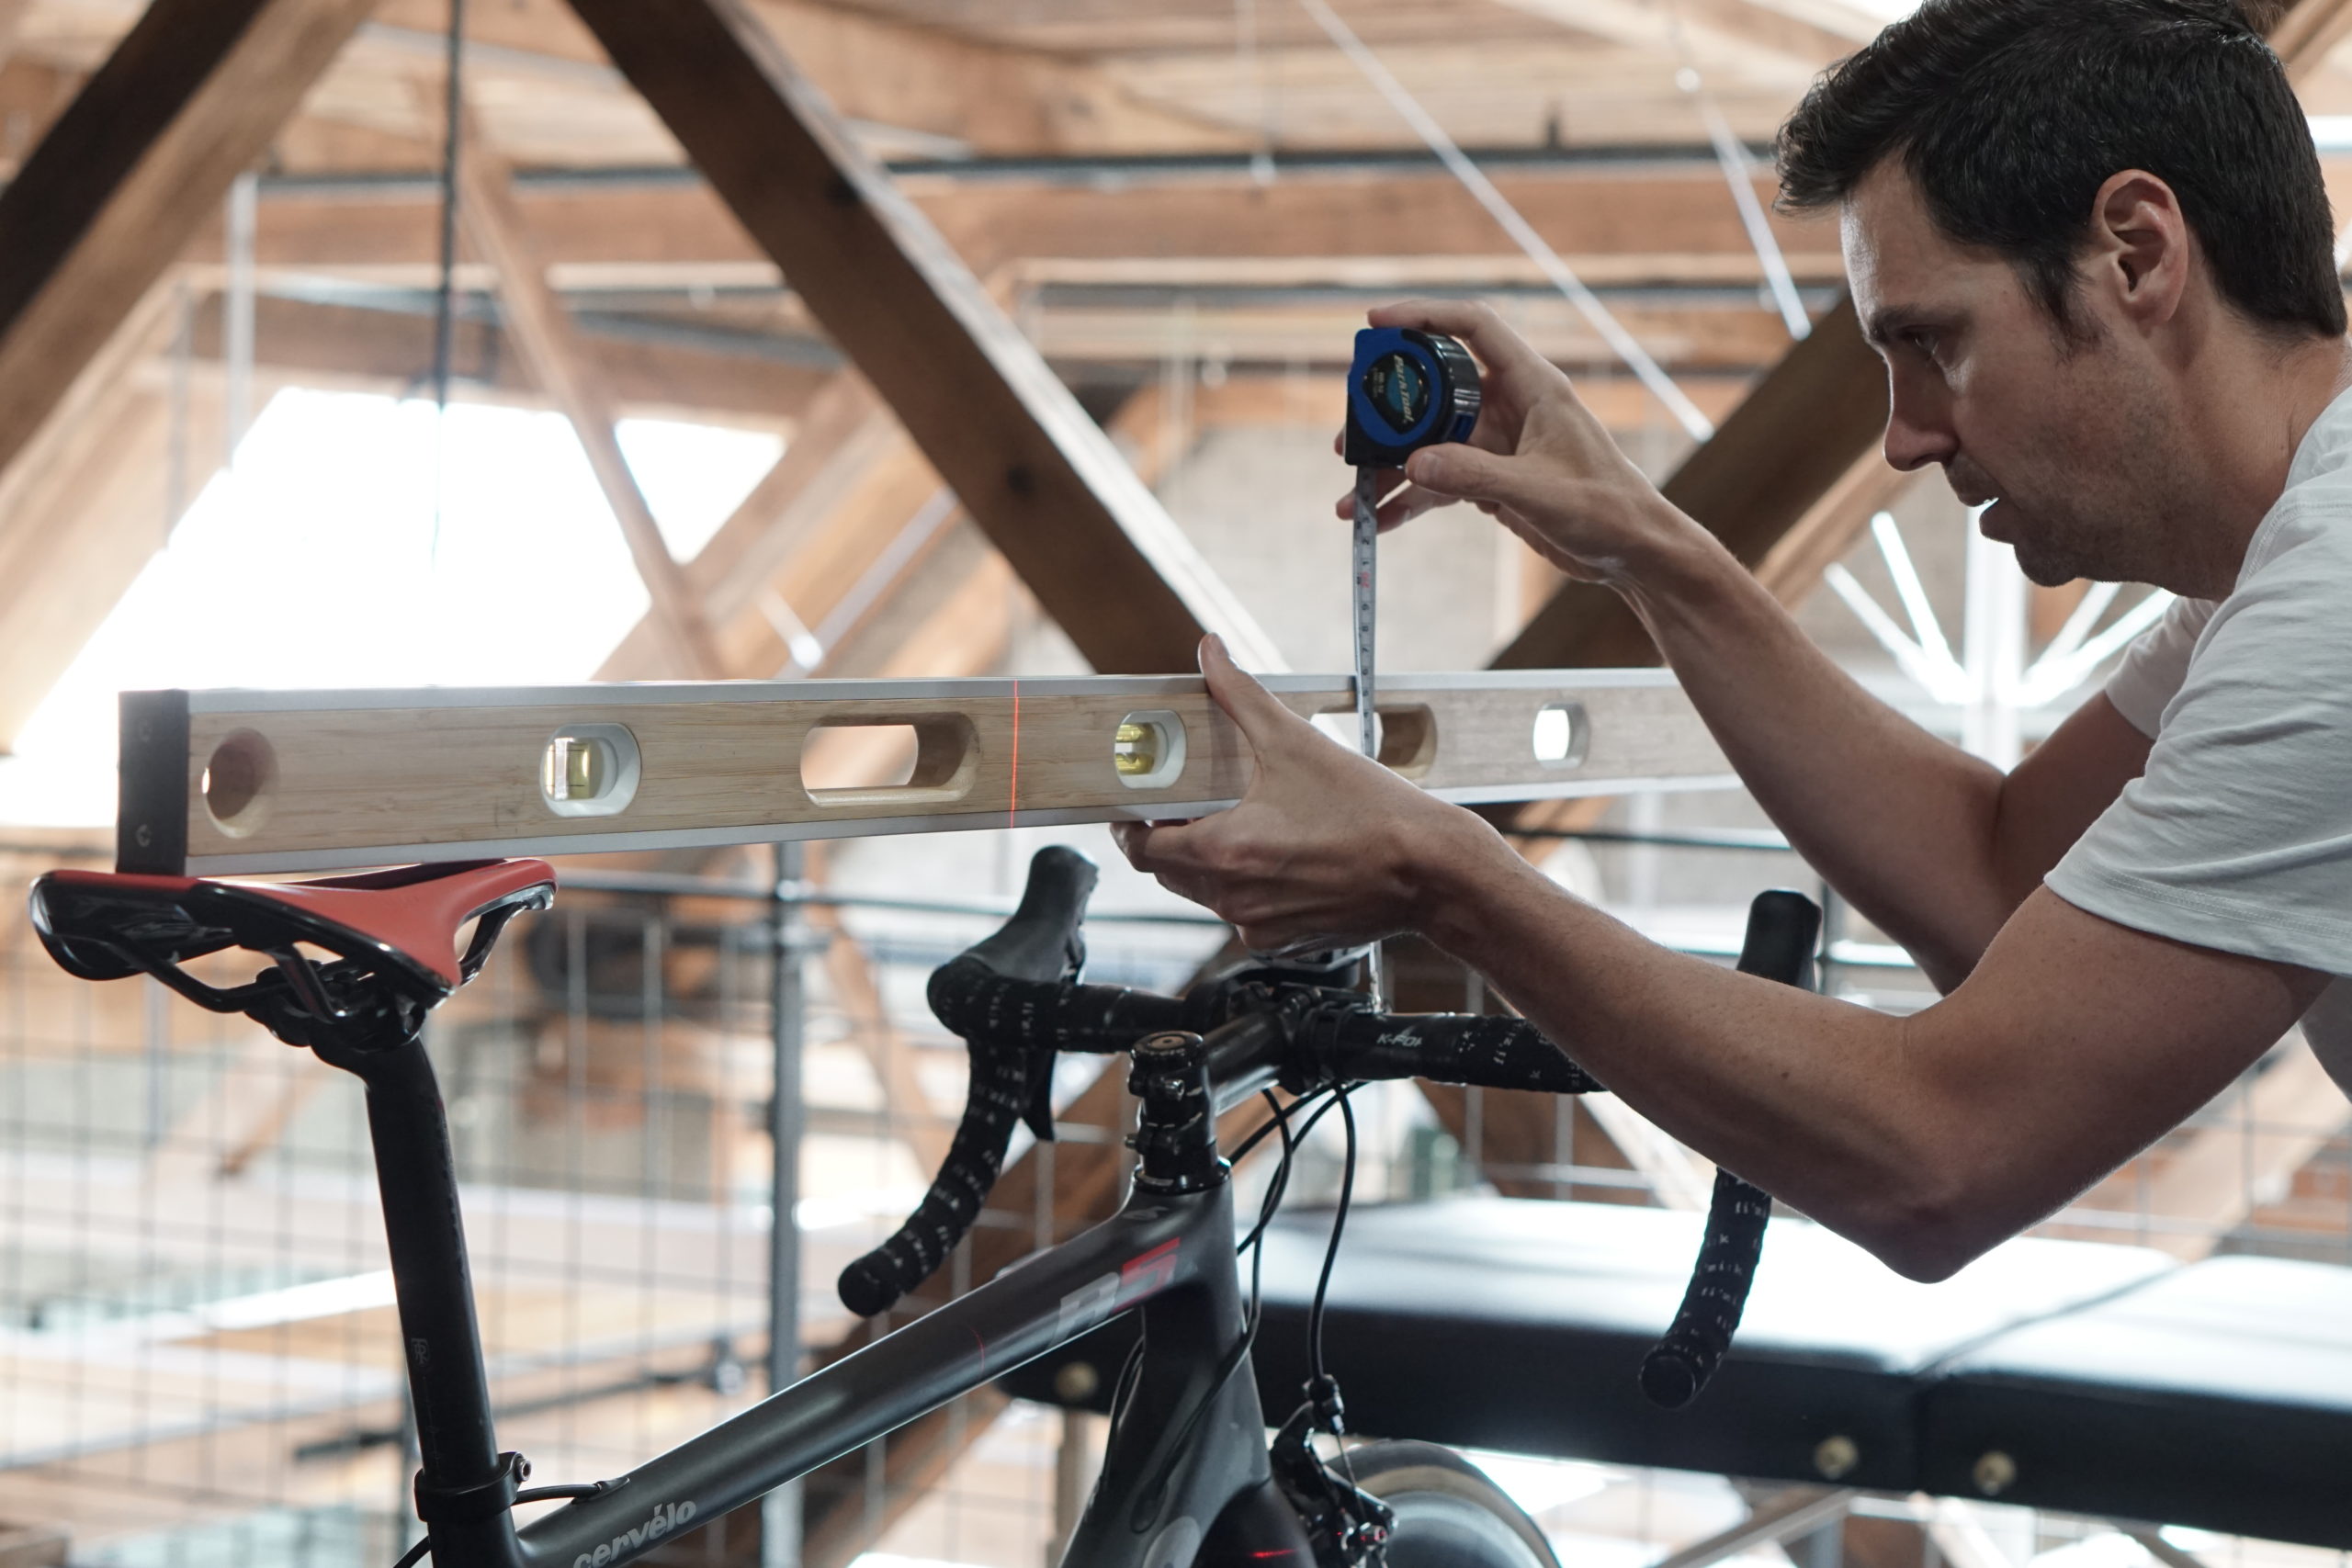
Bicycling Fitting & Riding Form
Bicycling Fitting & Form
MSN Pro Coaching Fitting Review
You have just finished having your bike fit by MSN Pro Coaching and you learned a lot! Here is a sheet to review, to remember and to put into practice all that you learned.
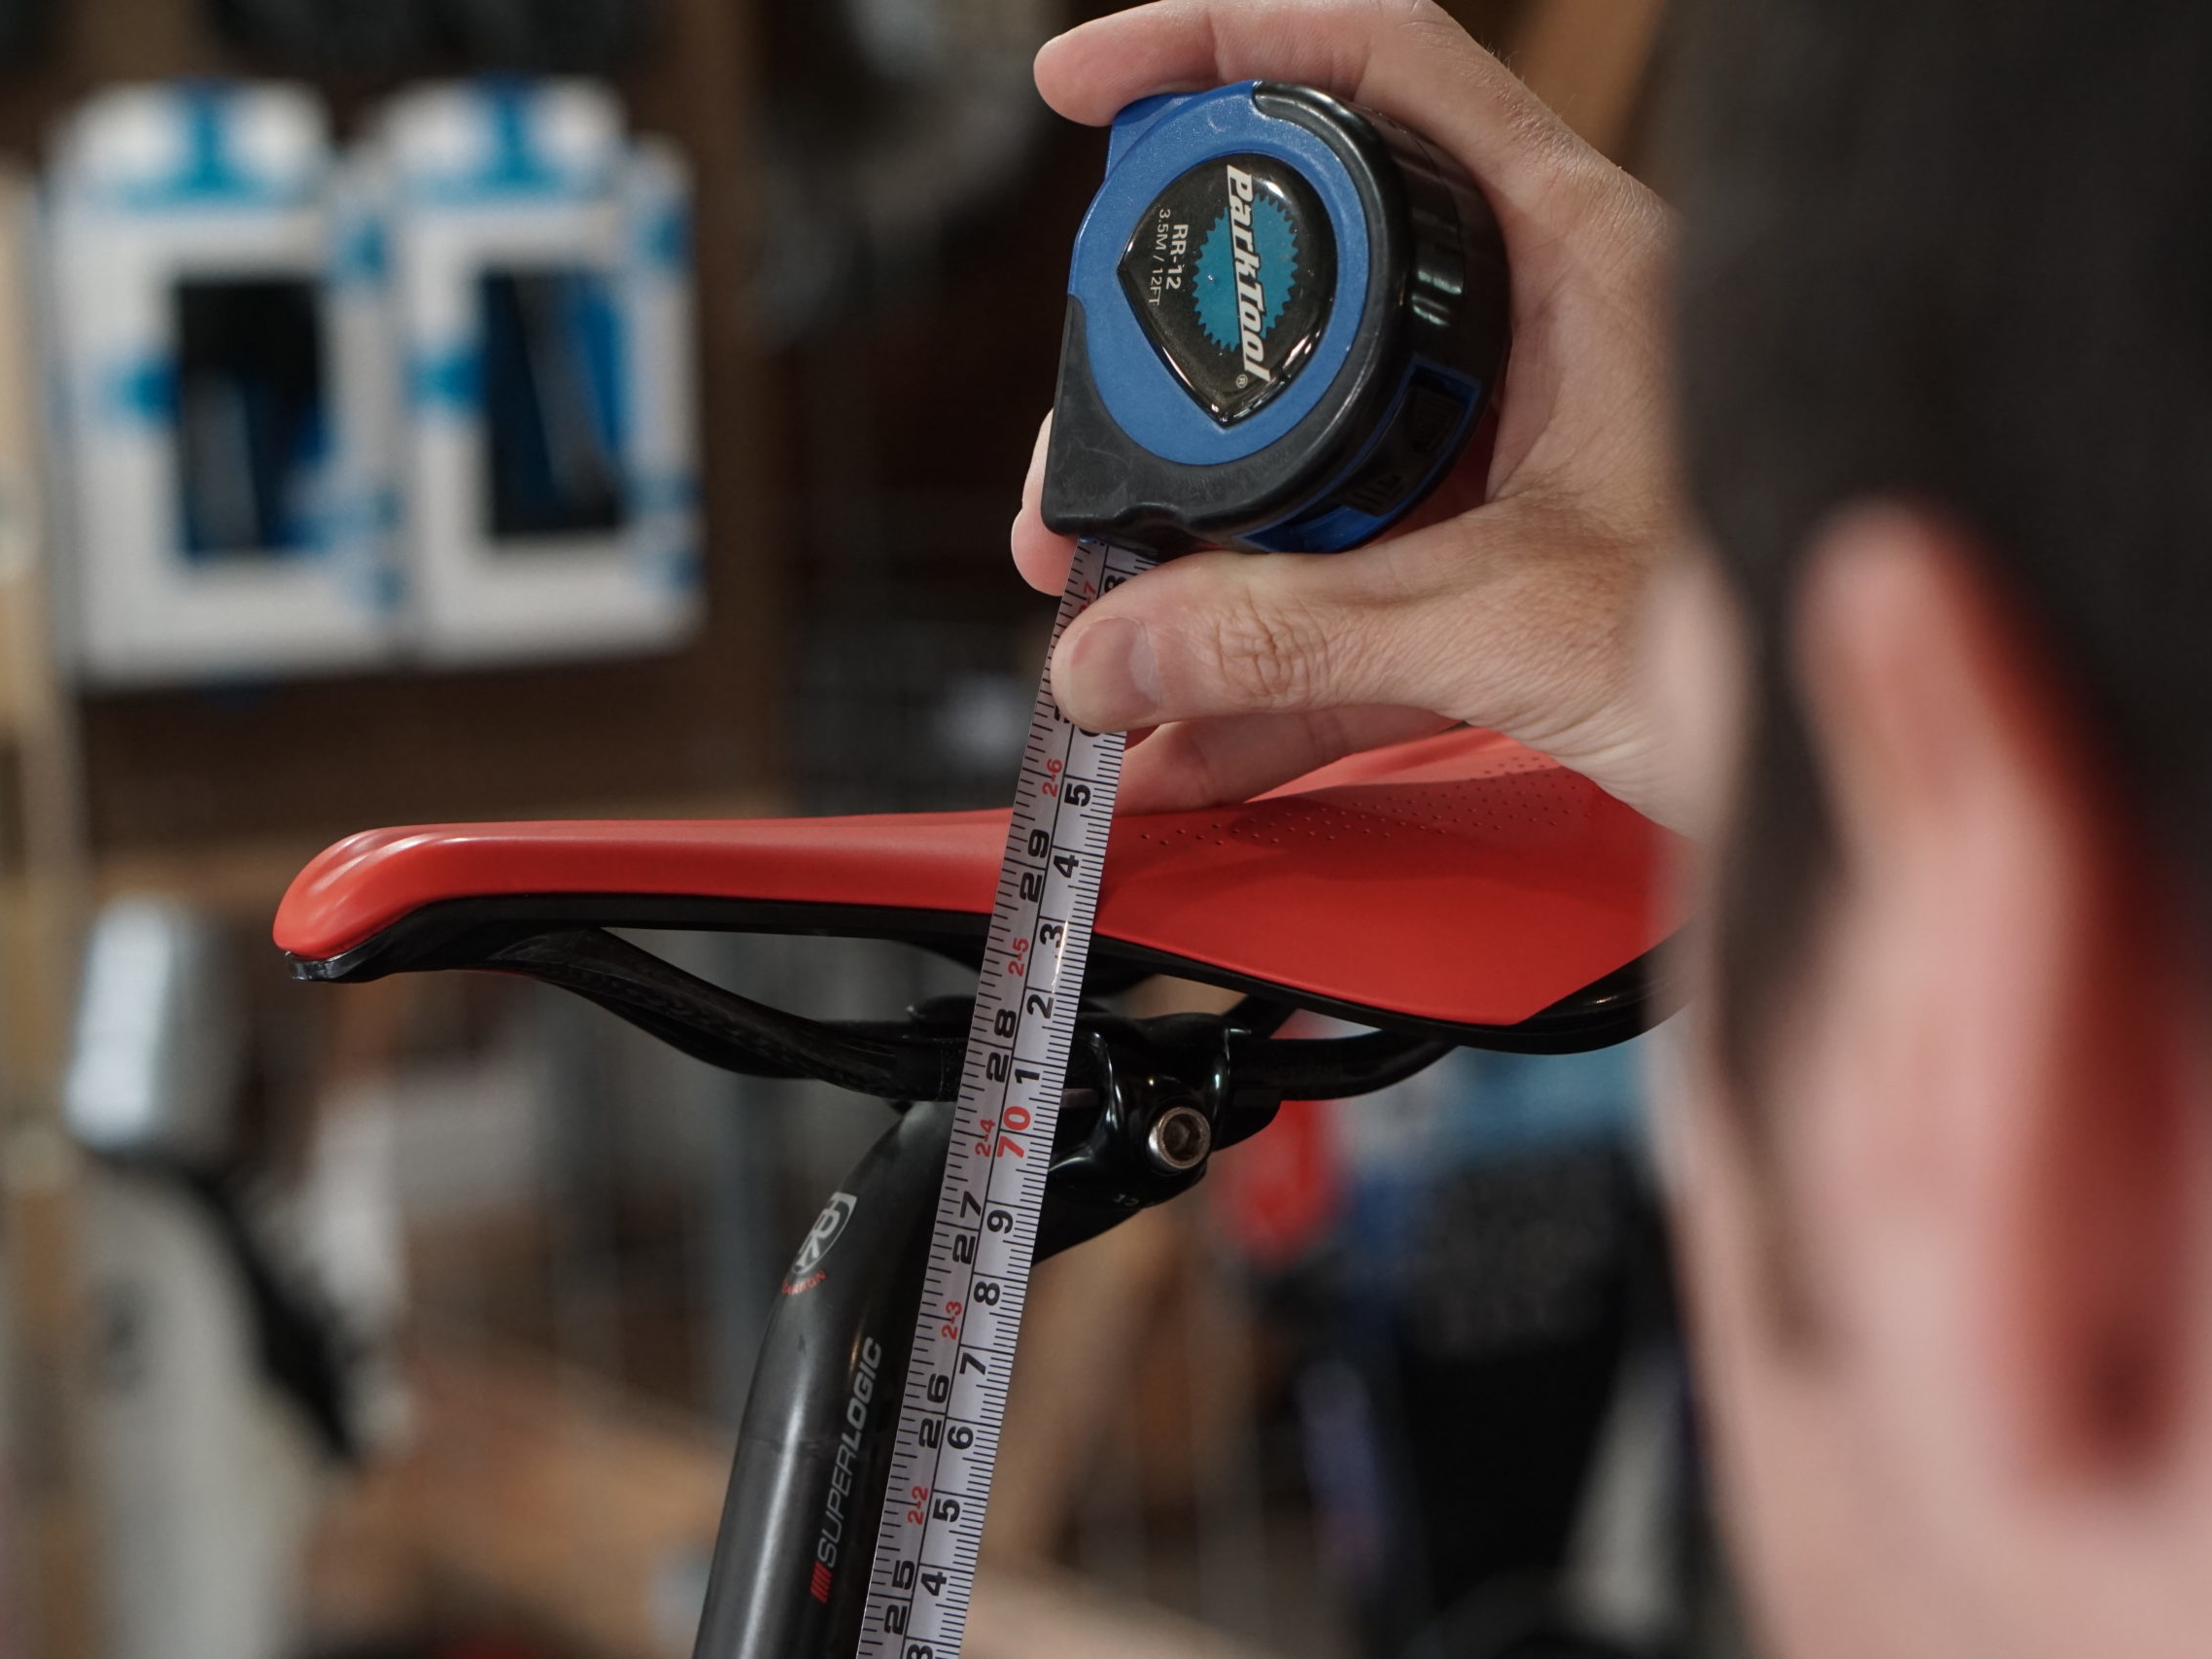
Bicycle Fitting
Fitting is all about having the bike adjusted to your body. Fitting is 99% accomplished the day of the fit. The other 1% is learned through practice and adaptation over time. There are two parts to the 1%.
1. The Gray Zone: is any minute adjustment that needs to be made after you ride your bike in the weeks following your fit, any discomfort should be noted and brought up during any refitting. These adjustments should be done by a professional fitter and preferable the one that performed the fit. These adjustments are literally only millimeters.
2. Fundamentals: is what you need to learn and have your body adapt too. Below I will review the 2 key areas needing attention; pedaling dynamics and body posture. These are the 2 major areas that make your bicycle more efficient and you stronger as you ride longer.
Pedaling Dynamic’s
As you complete the bottom of the pedal stroke, try to have your foot even or parallel with the ground at all times.
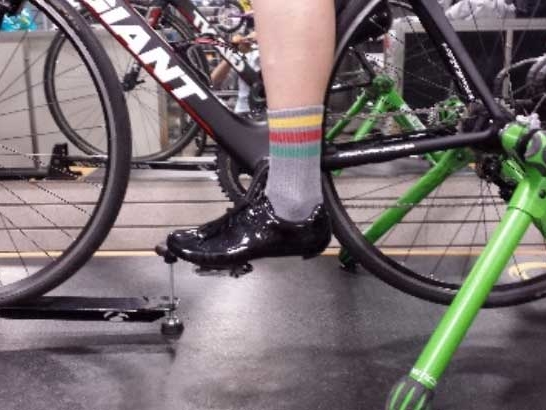
Image 2
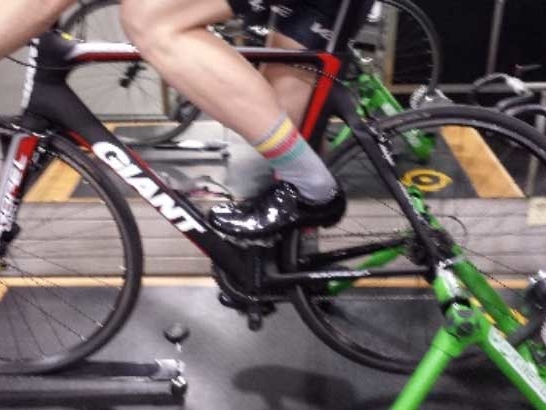
Image 3
Pedaling Dynamic’s
This will insure that you are pulling through the bottom of the stroke (Image 2) and pushing forward over the top of the stroke (Image 3). This creates rounded circle style pedaling, shown to distribute power evenly throughout the pedal stroke. Once learned you will travel faster and farther than before.
Body Posture (includes 3 parts)
Knees:
1.Tracking in a straight line with the center of your knee over your second toe (Image 4). Make sure your knee does not swing in or out. Think of a piston driving straight down for maximum power.
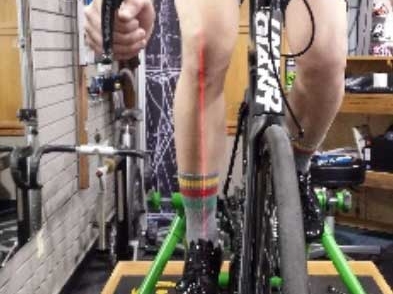
Image 4
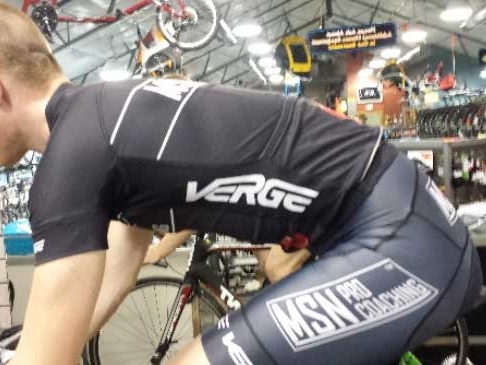
Image 5
Back:
2. Puff your chest out to straighten your back and allow your diaphragm to expand and contract as much as possible (Image 5). It is important to have good back posture and torso extension so you can take in as much air (oxygen) as possible.
Elbows:
3. Bend your elbows and rotate them in (Image 6). This is important for good posture, absorbing road vibrations and allowing your upper body, shoulders, and neck to relax. This allows you to put more focus and effort into the pedals and not areas that will slow you down.
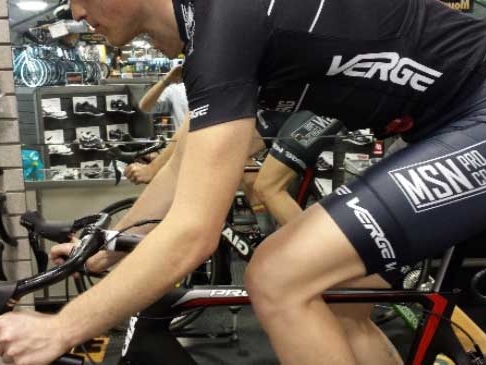
Image 6
With these areas covered and practiced, over time you will enjoy your riding and become more efficient at pedaling a bicycle. Thank You for choose MSN Pro Coaching for you bicycle fitting needs.